
Sierra 3500 Denali 4WD V8-6.0L (2011)
Note: Do not open cooling system.
5. Remove the evaporator tube nut from the evaporator.
6. Disconnect the evaporator tube from the evaporator.
7. Remove the evaporator tube nut from the auxiliary A/C tube, if equipped.
8. Disconnect the evaporator tube from the auxiliary A/C tube, if equipped.
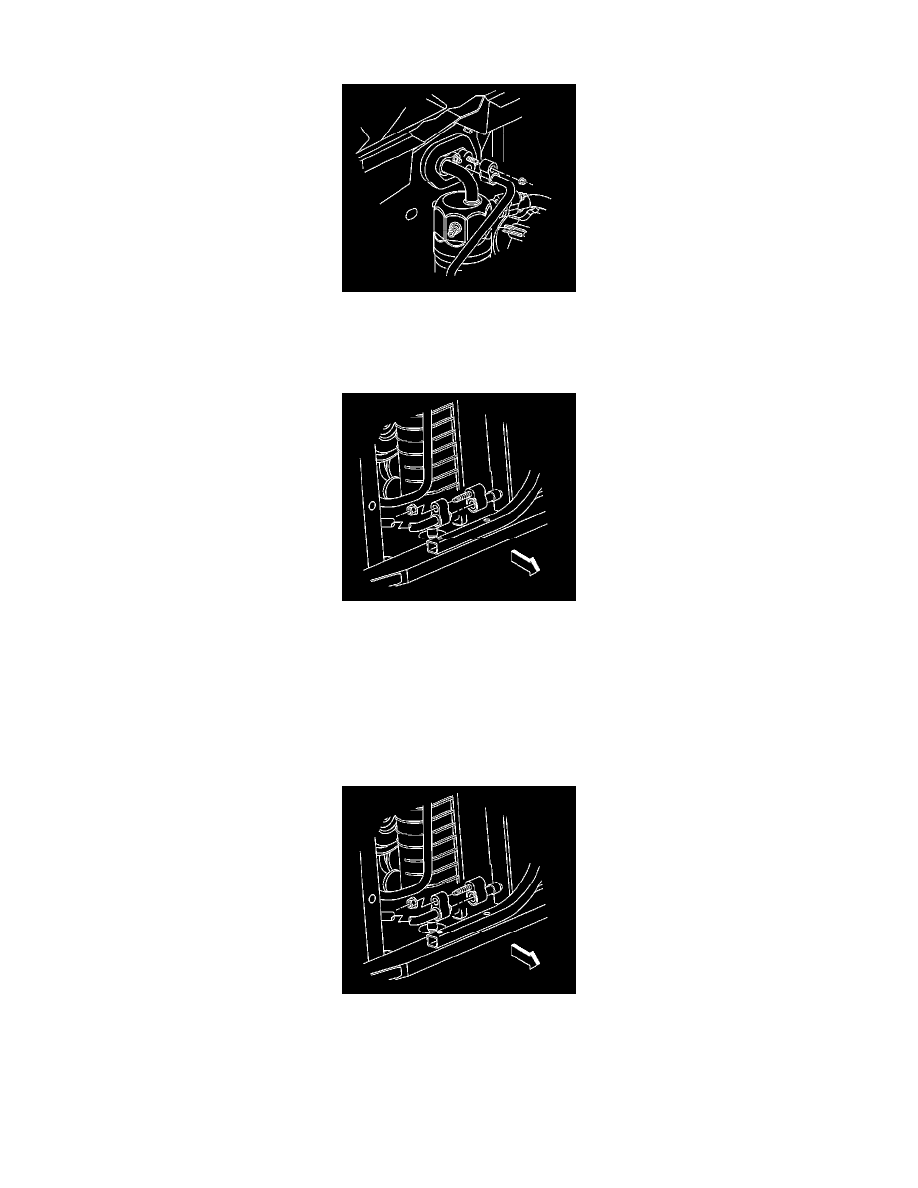
9. Remove the evaporator tube nut from the condenser.
10. Disconnect the evaporator tube from the condenser.
11. Remove the evaporator tube from the vehicle.
12. Discard all of the used sealing washers. Cap all of the open connections.
Installation Procedure
1. Connect the evaporator tube to the condenser using new sealing washers. Refer to Air Conditioning System Seal Replacement (See: Coupler
HVAC/A/C Coupler O-ring/Service and Repair/Air Conditioning System Seal Replacement).
Caution: Refer to Fastener Caution (See: Service Precautions/Vehicle Damage Warnings/Fastener Caution).
2. Install the evaporator tube nut to the condenser and tighten to 16 Nm (12 lb ft).
3. Connect the evaporator tube to the auxiliary A/C tube using new sealing washers, if equipped. Refer to Air Conditioning System Seal Replacement
(See: Coupler HVAC/A/C Coupler O-ring/Service and Repair/Air Conditioning System Seal Replacement).
4. Install the evaporator tube nut to the auxiliary A/C tube, if equipped, and tighten to 16 Nm (12 lb ft).
5. Install the evaporator tube to the evaporator.