
Sierra Classic 1500 2WD V8-5.3L Hybrid (2007)
15. Install the 3-phase cable nuts (4).
1.
Tighten the nuts a first pass to 14 N.m (10 lb ft).
2.
Tighten the nuts a final pass to 14 N.m (10 lb ft).
Important: The 3-phase cable cover studs may have a tendency to spread apart when the nuts are torqued. Once they have spread apart,
they may not align with the holes in the cover. The studs can be realigned by squeezing them together at the tips. Each stud has a hex on
the tip end where a tool cane be place without damaging the threads.
3. Install the 3-phase cable cover (2) and nuts (3).
Tighten the nuts to 9 N.m (80 lb in).
4. Install the transmission fill tube into the transmission.
5. Position the transmission fill tube bracket onto the stud and install the nut.
Tighten the nut to 18 N.m (13 lb ft).
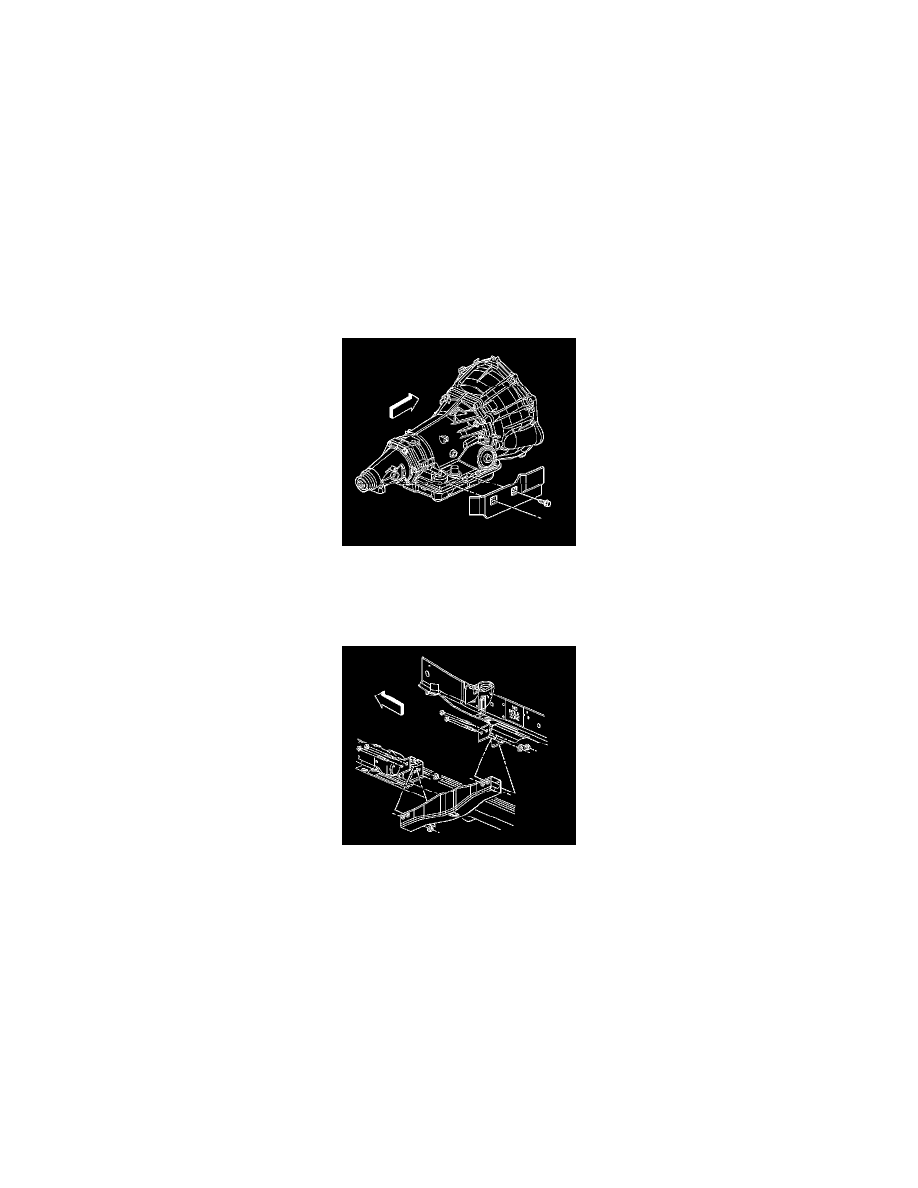
6. Raise the rear of the transmission.
7. Install the transmission heat shield and bolts.
Tighten the bolts to 17 N.m (13 lb ft).
8. Install the catalytic converter.
9. Raise the transmission slightly and install the transmission support.
10. Install the transmission support bolts and nuts.
Tighten the bolts to 70 N.m (50 lb ft).
11. Lower the transmission onto the support.