
Sierra Classic 1500 4WD V8-5.3L (2007)
Headliner: Service and Repair
Headlining Trim Panel Replacement
Caution: Do not attempt to repair or alter the head impact energy-absorbing material glued to the headliner or to the garnish trims. If the material is
damaged, replace the headliner and/or the garnish trim. Failure to do so could result in personal injury.
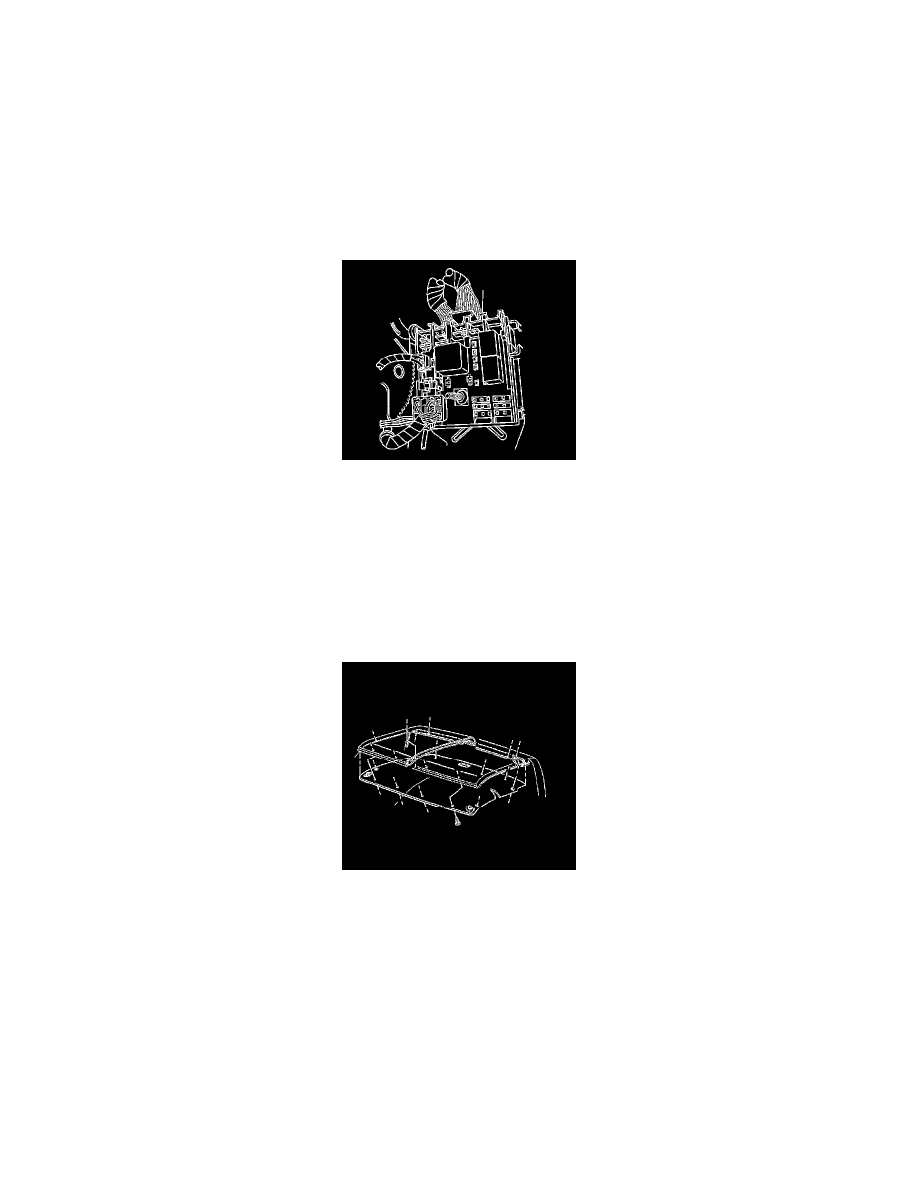
Removal Procedure
1. Remove the I/P top trim panel. Refer to Instrument Panel Upper Trim Panel Replacement .
2. Remove the hinge pillar trim. Refer to Body Hinge Pillar Trim Panel Replacement .
3. Remove the windshield pillar garnish molding. Refer to Windshield Pillar Garnish Molding Replacement .
4. Disconnect the headliner wire connectors from the junction block located next to the clutch or brake pedal.
5. Remove the wire harness retainers along the windshield pillar and I/P assembly.
6. Remove the rear quarter trim panels, if necessary. Refer to Rear Quarter Trim Panel Replacement (Crew Cab) Rear Quarter Trim Panel
Replacement (Extended Cab) Rear Quarter Trim Panel Replacement (Regular Cab) .
7. Remove the overhead console, if equipped. Refer to Roof Console Replacement .
8. Remove the DVD player, if equipped. Refer to Video Disc Player Replacement (2nd Row) .
9. Remove both front sunshades. Refer to Sunshade Replacement .
10. Remove the rear coat hook, if equipped. Refer to Coat Hook Replacement .
11. Remove the interior dome lamp. Refer to Dome Lamp Replacement .
12. Remove the assist handles, if equipped. Refer to Front Assist Handle Replacement .
13. Disengaging the front of the headliner from the roof.
14. If replacing the crew cab headliner, remove the rear window from the vehicle. Refer to Rear Window Replacement .
15. Remove the headliner from the vehicle by grasping the headliner on the left and the right sides near the front of the cab.
Installation Procedure