
Sierra Classic 1500 4WD V8-5.3L (2007)
Brake Rotor/Disc: Testing and Inspection
Brake Rotor Assembled Lateral Runout Correction
Brake Rotor Assembled Lateral Runout Correction
Important:
^
Brake rotor thickness variation MUST be checked BEFORE checking for assembled lateral runout (LRO). Thickness variation exceeding the
maximum acceptable level can cause brake pulsation. Refer to Brake Rotor Thickness Variation Measurement. See: Brake Rotor Thickness
Variation Measurement
^
Brake rotor assembled lateral runout (LRO) exceeding the maximum allowable specification can cause thickness variation to develop in the brake
rotor over time, usually between 4,800 - 11,300 km (3,000 - 7,000 mi). Refer to Brake Rotor Assembled Lateral Runout Measurement. See:
Brake Rotor Assembled Lateral Runout Measurement
Review the following acceptable methods for bringing the brake rotor assembled LRO to within specifications. Determine which method to use for
the specific vehicle being repaired.
^
Brake Rotor Assembled Lateral Runout Correction - Indexing The indexing method of correcting assembled LRO is most effective when the LRO
specification is only exceeded by a relatively small amount: 0.025 - 0.127 mm (0.001 - 0.005 inch). Indexing is used to achieve the best possible
match of high spots to low spots between related components.
^
Brake Rotor Assembled Lateral Runout Correction - On Vehicle Lathe The on-vehicle brake lathe method is used to bring the LRO to within
specifications through compensating for LRO while refinishing the brake rotor.
If the assembled LRO cannot be corrected using these methods, then other components must be suspected as causing and/or contributing to the LRO
concern.
Brake Rotor Assembled Lateral Runout Correction - Indexing
Brake Rotor Assembled Lateral Runout Correction - Indexing
Tools Required
^
J 39544-KIT Torque-Limiting Socket Set, or equivalent
^
J 45101-100 Conical Brake Rotor Washers
Caution: Refer to Brake Dust Caution.
Important:
^
Brake rotor thickness variation MUST be checked BEFORE checking for assembled lateral runout (LRO). Thickness variation exceeding the
maximum acceptable level can cause brake pulsation. Refer to Brake Rotor Thickness Variation Measurement. See: Brake Rotor Thickness
Variation Measurement
^
Brake rotor assembled LRO exceeding the maximum allowable specification can cause thickness variation to develop in the brake rotor over time,
usually between 4,800 - 11,300 km (3,000 - 7,000 mi). Refer to Brake Rotor Assembled Lateral Runout Measurement. See: Brake Rotor
Assembled Lateral Runout Measurement
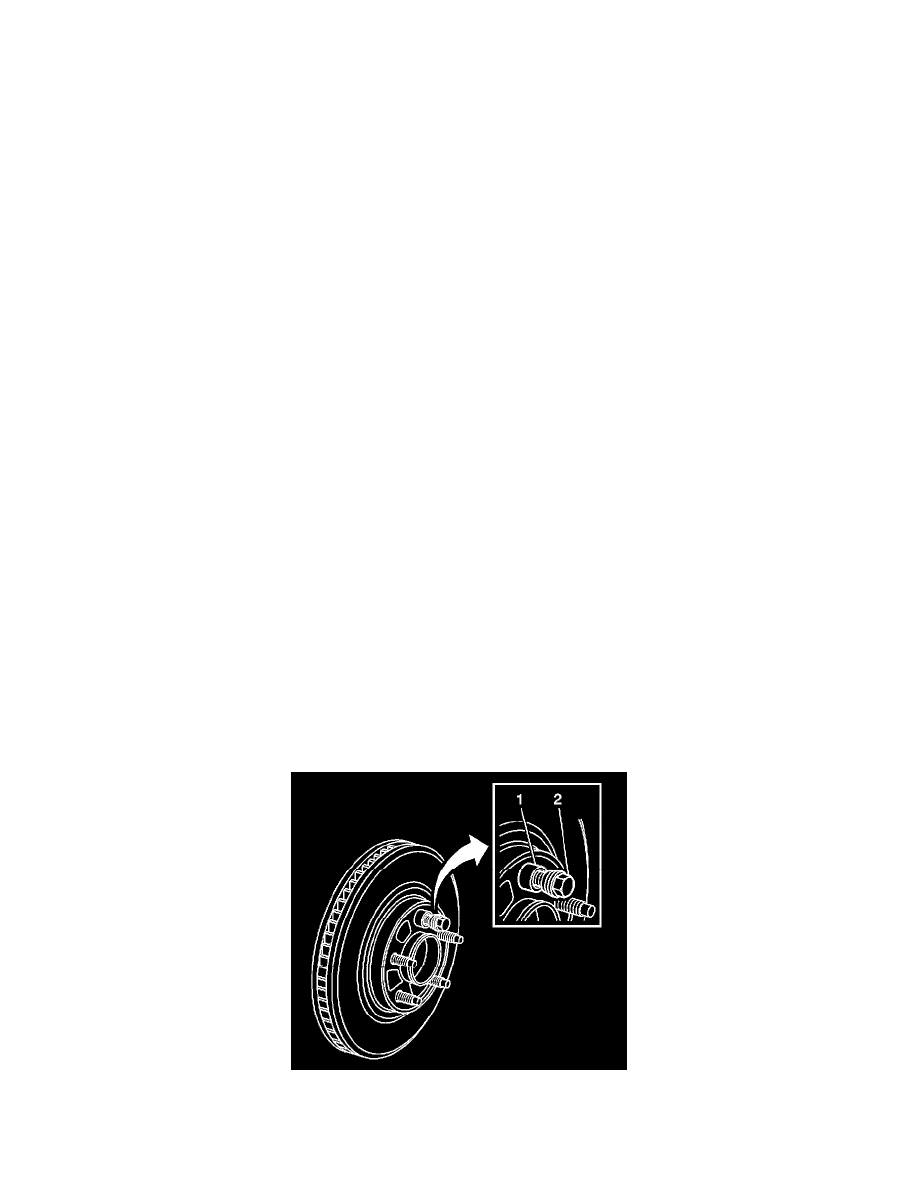
1. Remove the J 45101-100 and the lug nuts that were installed during the assembled LRO measurement procedure.
2. Inspect the mating surface of the hub/axle flange and the brake rotor to ensure that there are no foreign particles or debris remaining.
3. Index the brake rotor in a different orientation to the hub/axle flange.