
Sierra Classic 1500 4WD V8-5.3L (2007)
1. Relieve the fuel system pressure. Refer to Fuel Pressure Relief (With CH 48027) Fuel Pressure Relief (Without CH 48027).
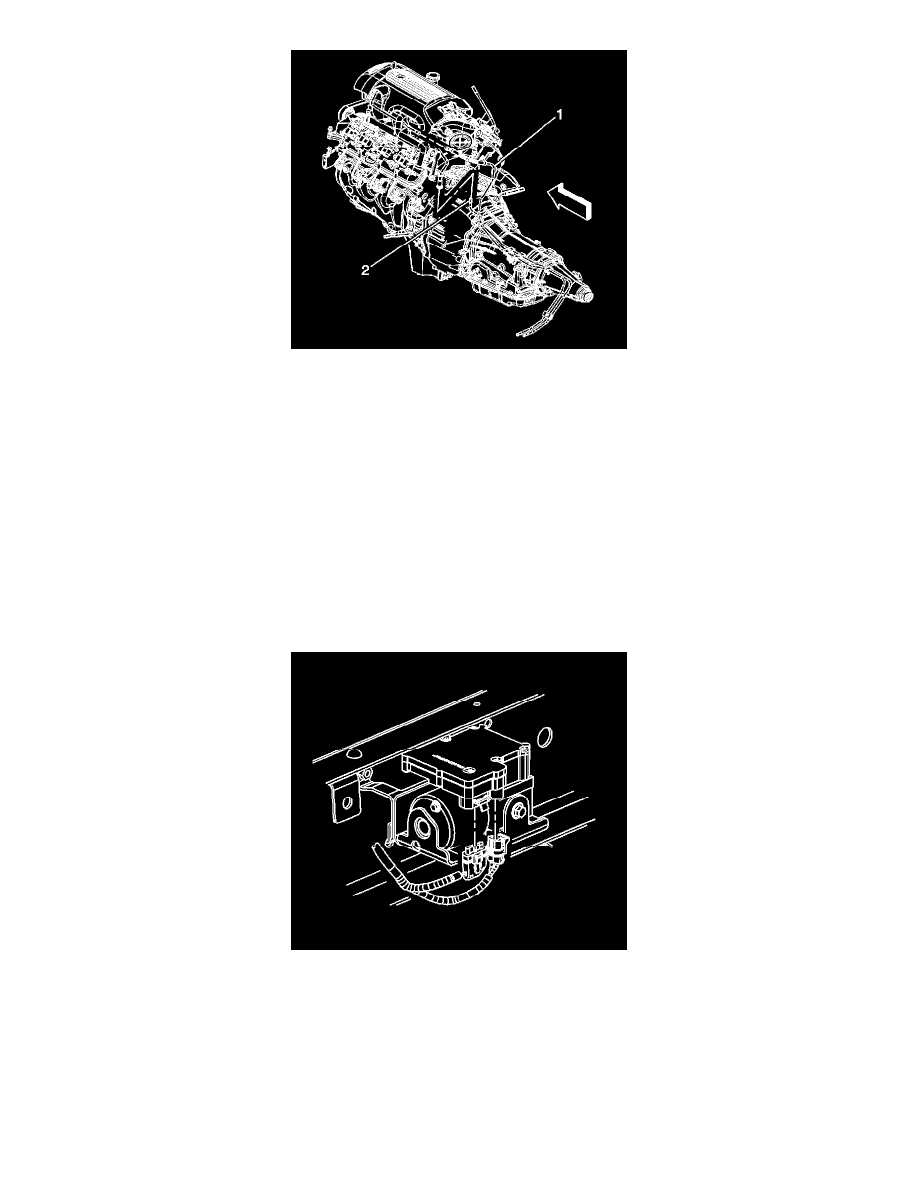
2. Disconnect the fuel feed line (1) at the engine.
3. Disconnect the EVAP canister purge tube line (2).
4. Cap the fuel rail and EVAP lines in order to avoid possible system contamination.
5. If equipped with a manual transmission, raise and suitably support the vehicle. Refer to Vehicle Lifting.
6. If equipped with an automatic transmission, remove the transmission.
7. Remove the fuel pipe bracket nut.
8. Remove the fuel pipe bracket from the bellhousing stud.
9. Remove the heated oxygen sensor (HO2S) sensor connector from the bracket.
10. Remove the fuel line clip from the bracket on the transmission.
11. If equipped with 4-wheel drive (4WD), remove the fuel line clip from the bracket on the transfer case.
12. Remove the clip from the bracket on the frame.
13. Remove the transfer case harness from the clip bracket.
IMPORTANT: The area around the electro-hydraulic control unit (EHCU) MUST be free from loose dirt to prevent contamination of
disassembled antilock brake (ABS) components.
14. Thoroughly wash all contaminants from around the EHCU.
15. Disconnect the chassis electrical harness connectors from the electronic brake control module (EBCM).
IMPORTANT: Make sure the brake lines are tagged and kept in order for proper reassembly.