
Sierra Classic 2500 2WD V8-6.6L DSL Turbo (2007)
Valve Cover: Service and Repair
Valve Rocker Arm Cover Replacement - Upper Left Side
Valve Rocker Arm Cover Replacement - Upper Left Side
Removal Procedure
1. Remove the intake manifold cover.
2. Drain the cooling system. Refer to Draining and Filling Cooling System (Static Fill) Draining and Filling Cooling System (w/RPO HP2) Draining
and Filling Cooling System (Vac-N-Fill).
3. Disconnect the negative battery cable.
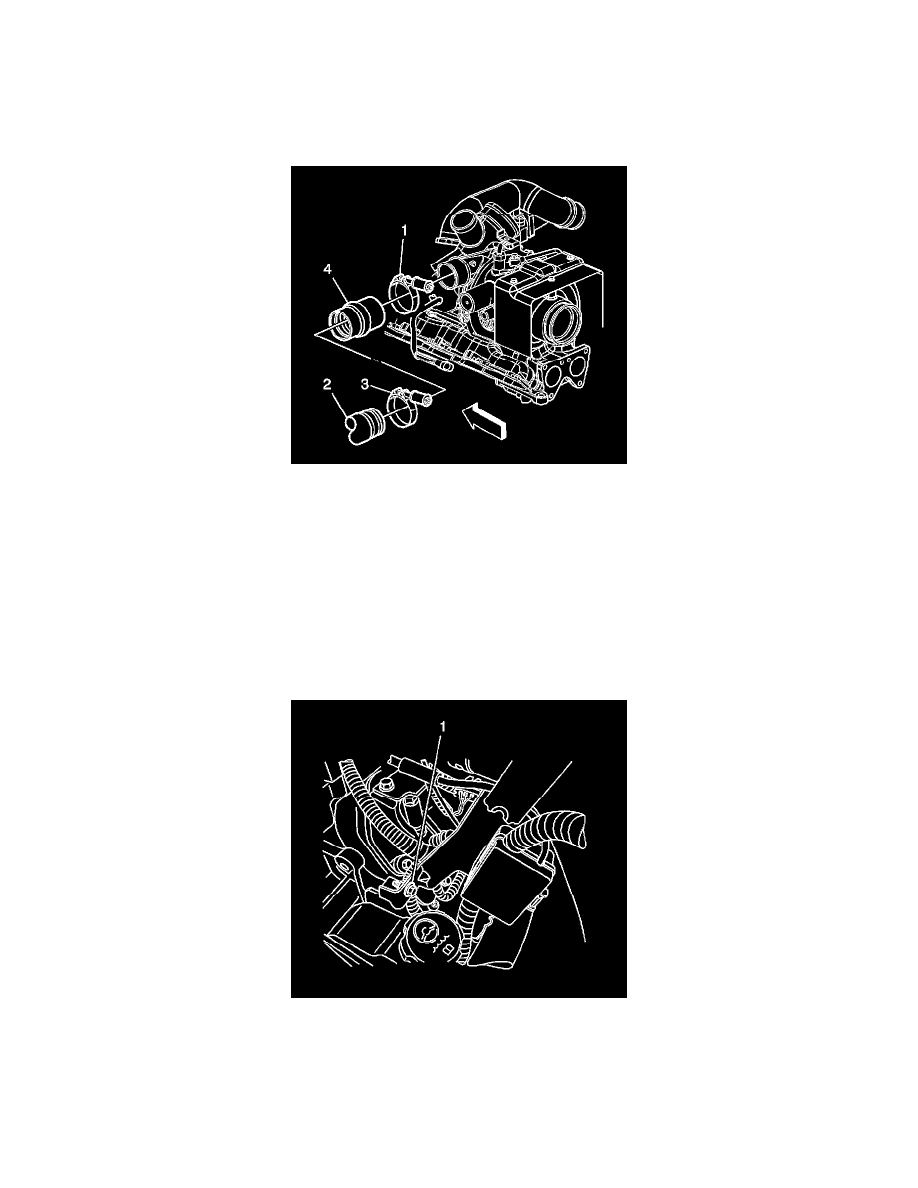
4. Important: After removing the charged air cooler duct, cover the turbocharger opening with tape in order to prevent entry of objects.
Loosen the charged air cooler inlet duct connector to turbocharger clamp (1).
5. Important: Do not use a screwdriver or other tool to pry the hose loose. The hose can be torn or damaged. Loosen the hose by twisting.
Remove the charged air cooler inlet duct connector (4) from the turbocharger.
6. Remove the battery cable to generator nut.
7. If equipped, remove the battery cable to the auxiliary generator.
8. Remove the battery cable harness clip from the bracket.
9. Remove the battery cable junction block bolt (1) from the power steering pump.
10. Move and secure the battery cables out of the way.