
Sierra Classic 2500 2WD V8-6.6L DSL Turbo (2007)
1. Install the auxiliary battery cable.
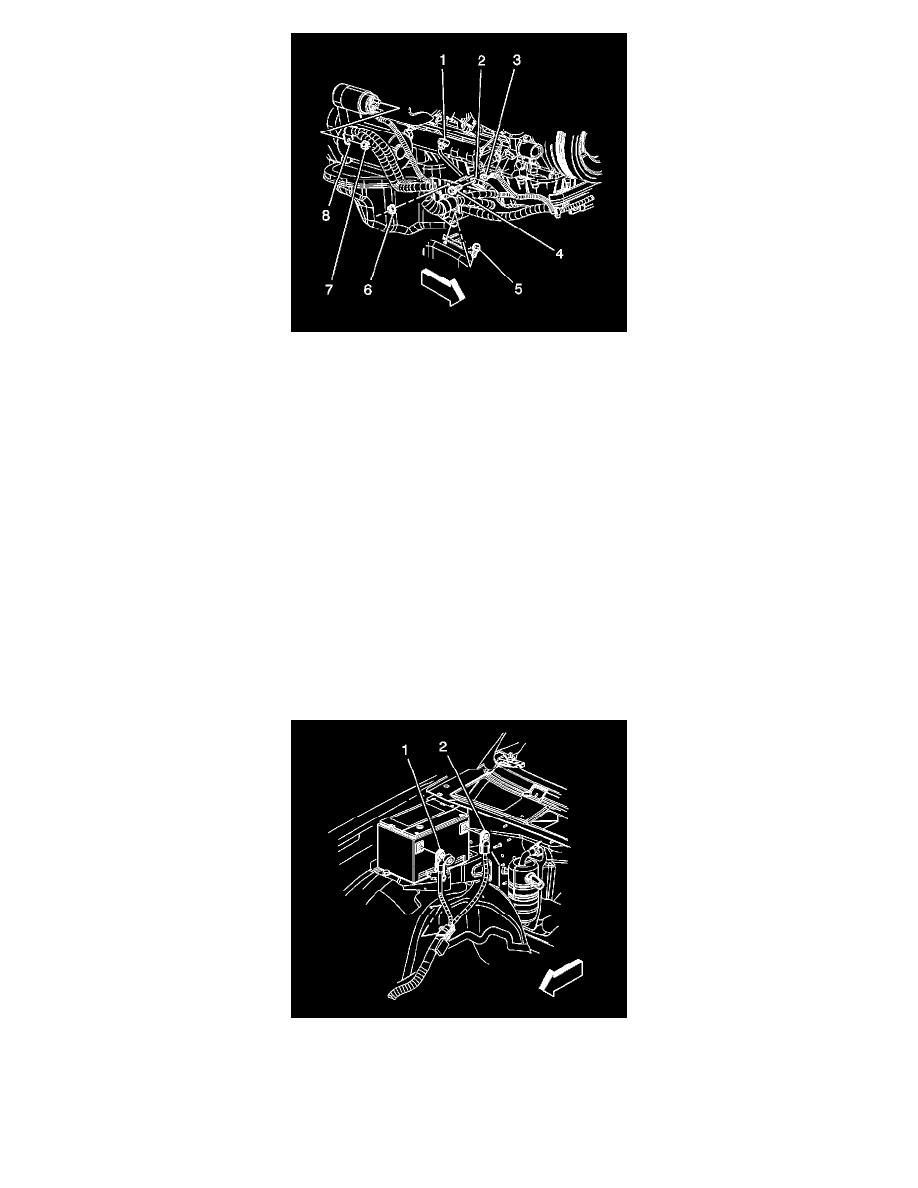
2. Install the positive battery cable lead (8) to the starter.
Notice: Refer to Fastener Notice.
3. Install the positive battery cable nut (7).
Tighten the nut to 9 N.m (80 lb in).
4. Install the battery positive cable to the retainer.
5. Install the battery cable retainer nut (6) and the retainer.
Tighten the nut to 12 N.m (106 lb in).
6. Install the auxiliary battery negative cable bolt (4).
Tighten the bolt to 34 N.m (25 lb ft).
7. Install the cable clip bolt (5) to the frame.
Tighten the bolt to 21 N.m (16 lb ft).
8. Lower the vehicle.
9. Install the auxiliary battery cable clip to the fender wheelhouse inner panel.
10. Connect the positive battery cable (1).
Tighten the bolt to 17 N.m (13 lb ft).