
Sierra Classic 2500 4WD V8-6.0L (2007)
12. Install the nut to the lower seat belt anchor.
Tighten the nut to 53 N.m (39 lb ft).
13. Install the seat trim panel. Refer to Front Seat Trim Panel Replacement .
14. Install the head restraints. Refer to Head Restraint Replacement .
15. Push on the seat cover. Ensure that the cover is retained by the velcro in the seat cushion.
16. Connect the J-strip at the bottom of the seat.
Front Seat Back Frame Replacement
Front Seat Back Frame Replacement
Removal Procedure
1. Remove the seat from the vehicle. Refer to Front Seat Replacement - Bucket .
2. Remove the head restraint and guides. Refer to Head Restraint Replacement .
3. Remove the seat trim panel. Refer to Front Seat Trim Panel Replacement .
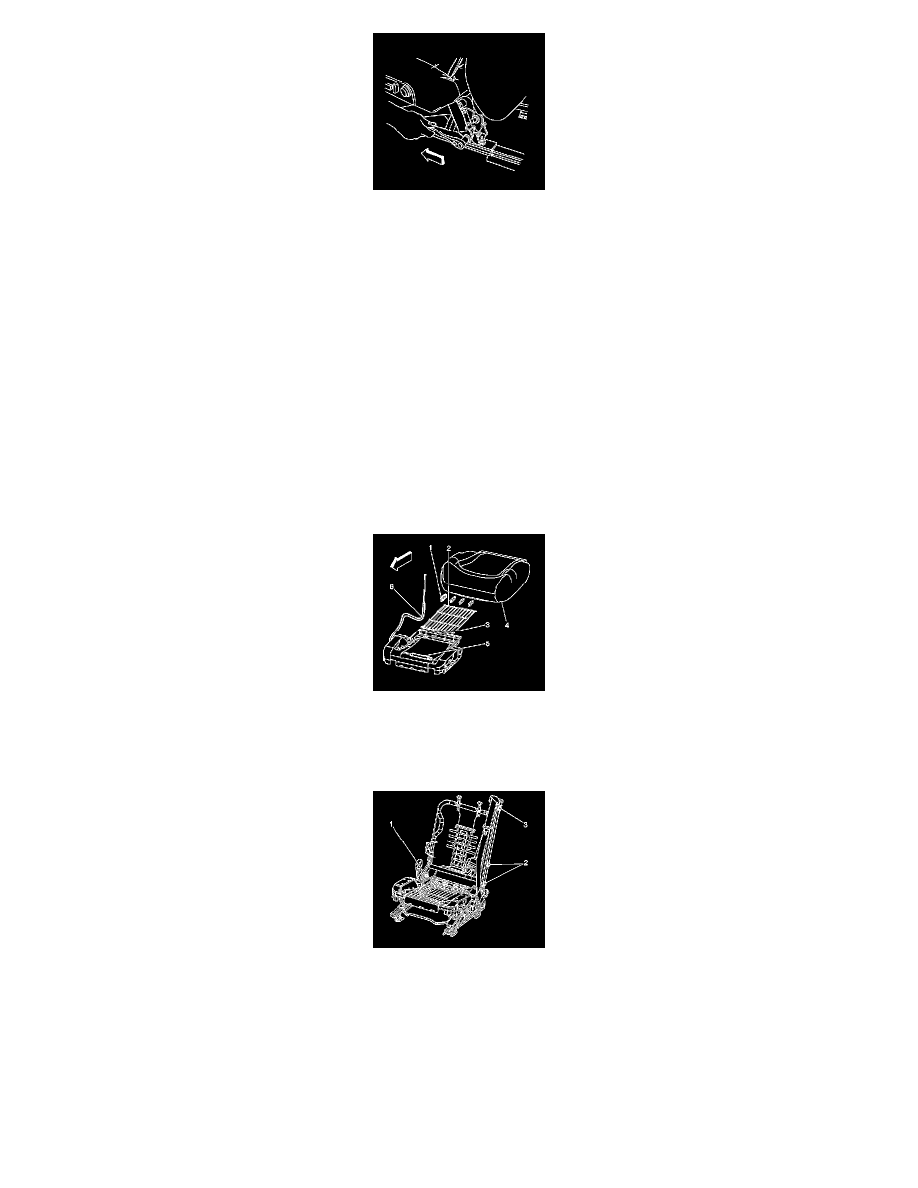
4. Disconnect the lumbar cable (6) underneath the seat cushion (disconnect the lumbar wire harness if equipped with power lumbar).
5. Remove the seat back trim cover and pad. Refer to Front Seat Back Cushion Cover and Cushion Pad Replacement .
6. Remove the lumbar assembly (or power lumbar/bolster assembly if equipped). Refer to Front Seat Lumbar Support Replacement .
7. Remove the seat belt retractor. Refer to Seat Belt Retractor Replacement - Left Front or Seat Belt Retractor Replacement - Right Front .
8. Remove the inboard pivot bolt (1).
9. Remove the recliner arm attachment bolts (2).
10. Remove the frame from the vehicle.
11. Transfer all necessary components to the new seat back frame.
Installation Procedure
1. Position the seat back frame on the seat.