
Sierra Classic 2500 4WD V8-6.0L (2007)
8. Inspect the caliper bracket guide surfaces for corrosion and wear. Remove and replace the caliper bracket if necessary.
9. Clean all of the residue from the brake pad guiding surfaces on the caliper and the caliper bracket.
10. Clean all of the parts not included in the repair kit with denatured alcohol.
11. Dry all of the parts with filtered unlubricated compressed air.
12. Blow out all passages in the caliper and the caliper bleeder valve.
Assembly Procedure
1. Notice: Refer to Fastener Notice in Service Precautions.
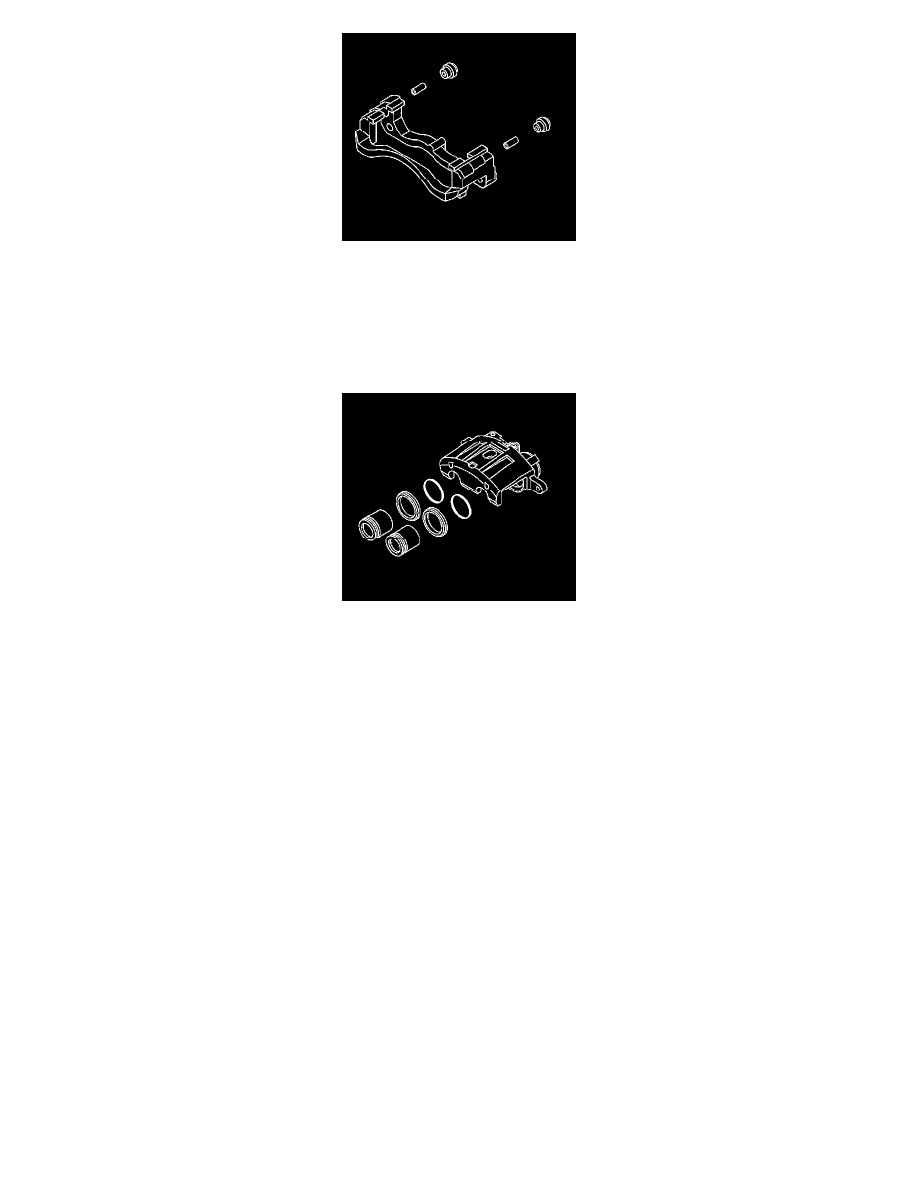
Install the brake caliper bleed screw.
Tighten the screw to 12 Nm (106 inch lbs.).
2. Install the bleed screw cap.
3. Lubricate the new piston seals and the caliper bore seal grooves with brake fluid.
4. Install new seals into the caliper bore seal grooves.
5. Ensure that the seals are not twisted.
6. Lubricate the caliper bores and the pistons with brake fluid.
7. Install the boot and piston.
1. Install the boot over the end of the piston so that the fold will face toward the brake caliper housing piston bore opening.
2. Seat the boot into the brake caliper bore groove. Slide the piston into the brake caliper bore.
3. Push down the piston to the bottom of the caliper bore.
4. Ensure the boot seats properly into the piston groove and into the groove in the caliper bore.
5. Repeat steps 5 and 6 for the remaining piston.
8. Install the brake caliper.
Rear
Rear Brake Caliper Overhaul
Caution: Refer to Brake Dust Caution.
Caution: Refer to Brake Fluid Irritant Caution.
Disassembly Procedure
Important:
^
Replace all the components included in the repair kits used to service this brake caliper.
^
Lubricate the rubber parts with clean brake fluid to make assembly easier.
^
The torque values specified are for dry, non lubricated fasteners.
^
Perform the service operations on a clean bench free from all mineral oil materials.