
Sierra Classic 2500 4WD V8-6.0L (2007)
Removal Procedure
Notice: In order to avoid actuator damage, DO NOT apply power to the actuator when it is not installed in the HVAC module.
1. Remove the I/P carrier.
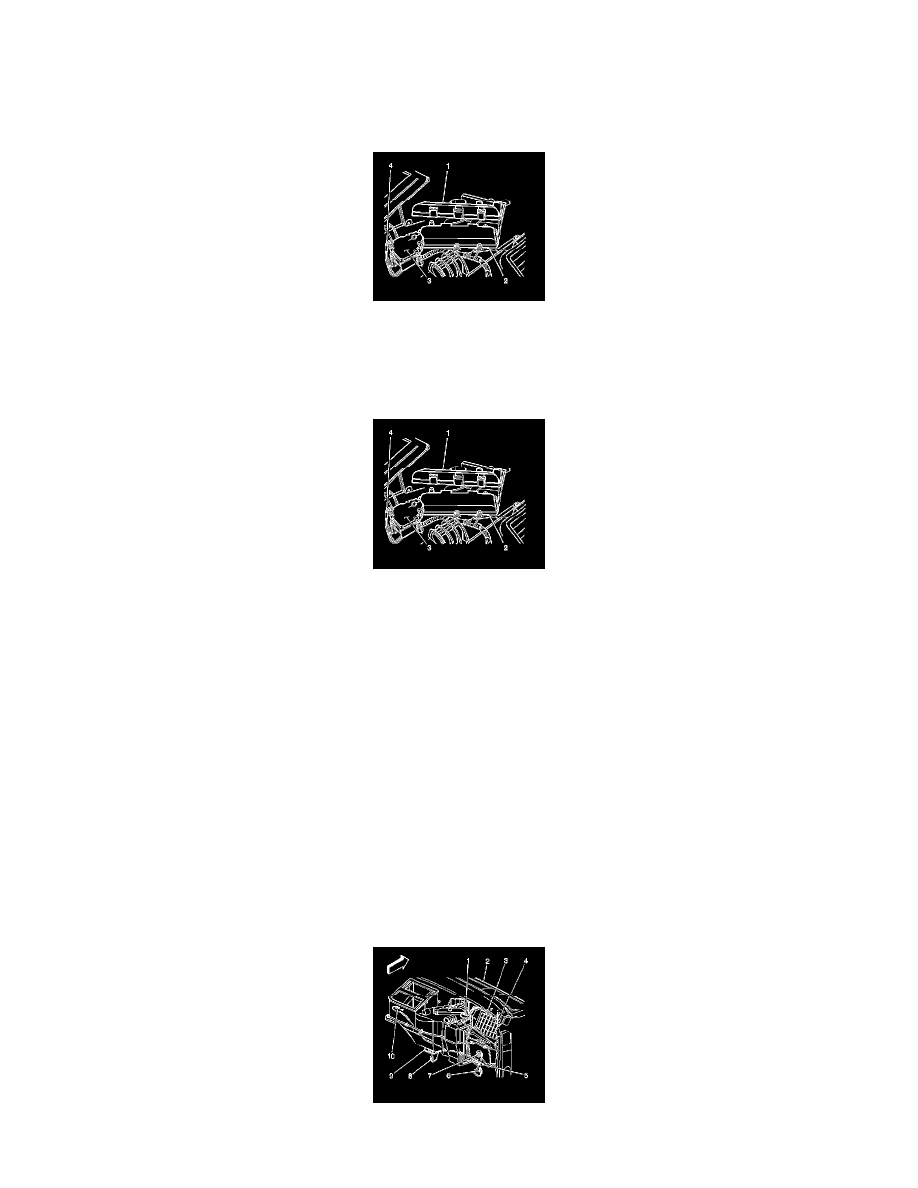
2. Disconnect the electrical connector (4) from the right air temperature actuator (3).
3. Remove the screws from the right air temperature actuator (3).
4. Remove the right air temperature actuator (3) from the HVAC module assembly (2).
Installation Procedure
1. Install the right air temperature actuator (3) from the HVAC module assembly (2).
Notice: Refer to Fastener Notice.
2. Install the screws to the right air temperature actuator (3).
Tighten the screws to 2 N.m (18 lb in).
3. Connect the electrical connector to the right air temperature actuator.
4. Install the I/P carrier.
5. Reprogram the air temperature actuator. Refer to Actuator Recalibration. See: Testing and Inspection/Programming and Relearning
Recirculation Actuator Replacement
Recirculation Actuator Replacement
Removal Procedure
Notice: In order to avoid actuator damage, DO NOT apply power to the actuator when it is not installed in the HVAC module.
1. Remove the air distribution duct.
2. Disconnect the electrical connection from the recirculation actuator (1).