Sierra Classic 2500 4WD V8-6.0L (2007)

Be sure the new seal has blue sealant coating the OD (4). This identifies the seal for use in the 1000 Series transmissions. The blue sealant
identification is important because the 1000 Series transmissions have an overdrive ratio in fifth range and there is a potential for high output shaft
speeds and resultant high seal temperature.
Align the seal so the seal lip (2) is outward and the face of the steel case (1) will be against the driving face (3) of the tool. Install the new seal onto
J 43782.
2. Slide J 43782 over the output shaft until the seal enters the seal bore. Strike J 43782 with a mallet (1) to drive the seal into the seal bore. The seal
is installed correctly when the shoulder of J 43782 squarely contacts the outer surface of the rear cover.
3. Install the yoke assembly onto the transmission. Refer to Output Flange/Yoke Replacement.
Torque Converter Fluid Seal Replacement
Torque Converter Fluid Seal Replacement
Tools Required
^
J 24171-A Seal and Dust Shield Remover
^
J 43772 Torque Converter Seal Installer
Removal Procedure
1. Remove the torque converter from the transmission. Refer to Torque Converter Replacement.
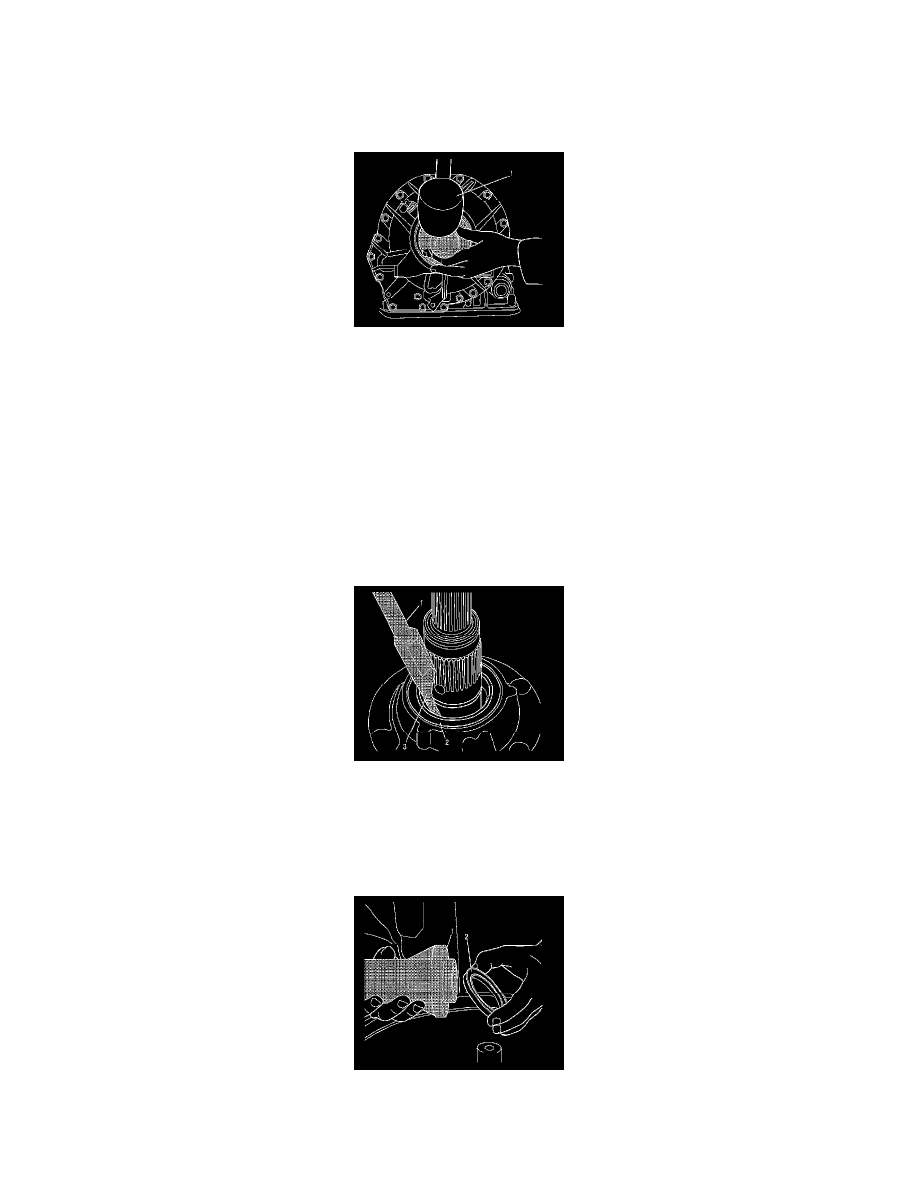
2. Obtain J 24171-A and install the tip (3) with a 90° hook onto the end of the slide-hammer (1).
3. Position the 90 degree hook behind the rear face of the seal outer case (2). Remove the torque converter seal using the slide-hammer.
4. Inspect the seal bore for scratches. Remove any scratches in the seal bore using crocus cloth.
Installation Procedure
1. Install the new seal (2) onto the J 43772. Position the seal so the seal lip is outward and the face of the steel case is against the driving face (1) on
the tool.
