
Sierra Classic 3500 4WD V8-8.1L (2007)
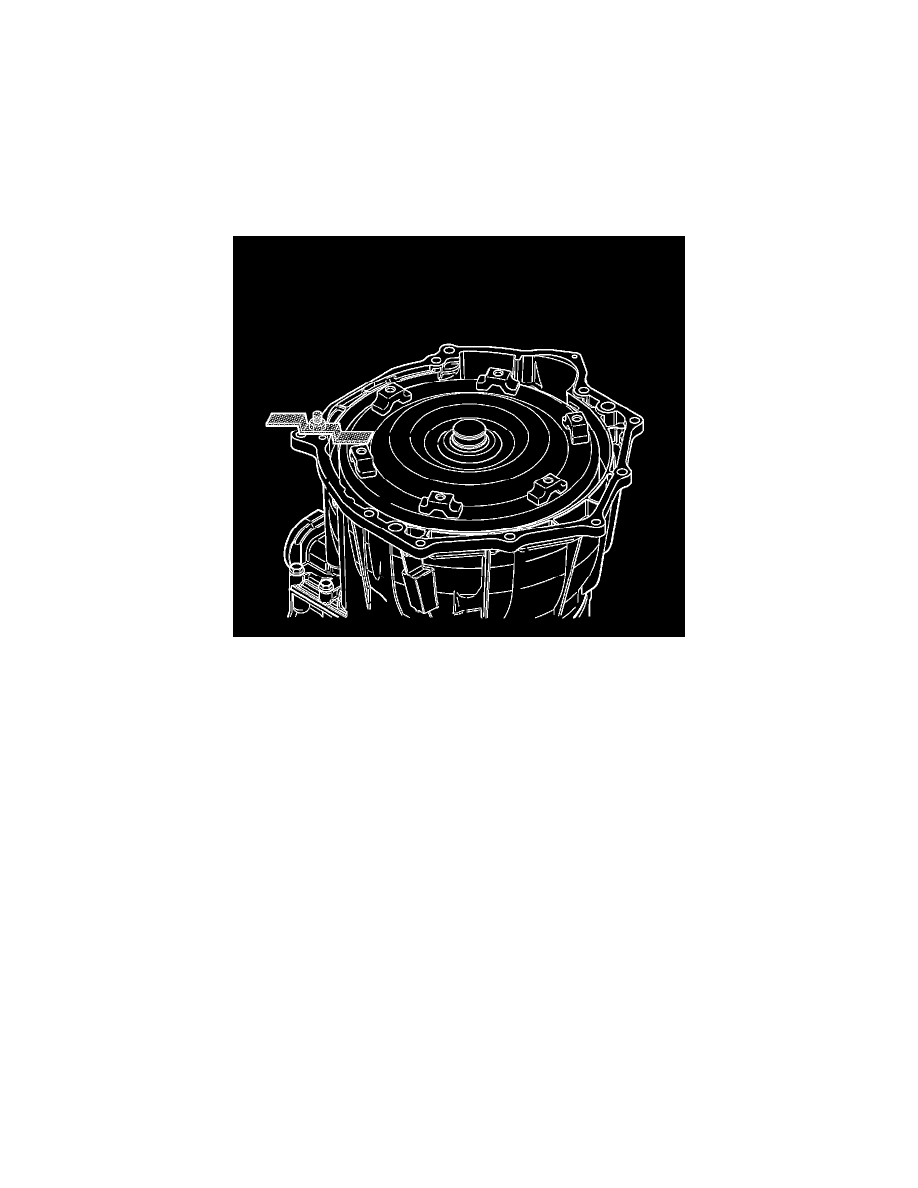
2. Install J 46409 180 degrees apart into 2 lugs on the front of the torque converter.
3. Caution:
Avoid personal injury or property damage when removing or installing the torque converter by seeking an assistant to help lift the torque
converter.
Lift the torque converter into the transmission.
4. Spin the torque converter to engage the turbine shaft splines in the torque converter hub, the stator shaft splines in the stator race and to engage the
drive flats on the converter pump hub with the oil pump drive gear.
5. The torque converter is correctly installed when the distance from the lugs to the mounting face is the same as when measured before removing the
torque converter.
6. Install J 21366.
7. Reinstall the transmission into the vehicle. Refer to Transmission Replacement.
8. Important:
The FastLearn (adapt) procedure must be performed. This can be done in one step using a scan tool. If this procedure is not done, the TCM's
adaptive values will be at the settings that it learned for the old components. and will be in slow adaptive mode. Under these conditions, it would
take an unacceptably long time for the adaptive values to converge to levels suitable for the new transmission.
Perform the FastLearn procedure. Refer to FastLearn Procedure.