
Sierra Denali RWD V8-6.2L (2009)
Brake Rotor/Disc: Service and Repair
Rear Brake Rotor Replacement (JH7)
Rear Brake Rotor Replacement (JH7)
Removal Procedure
Warning: Refer to Brake Dust Warning (See: Service Precautions/Technician Safety Information/Brake Dust Warning) .
Caution: Any new rotor must have the protective coating removed from the friction surfaces before being placed in service. Remove the
protective coating using denatured alcohol or an equivalent brake cleaner, and wipe the surface clean with clean cloths. Do not use gasoline,
kerosene, or other oil base solvents which may leave an oily residue. This residue is damaging to the brake lining and is flammable.
1. Release the park brake.
2. Raise and support the vehicle. Refer to Lifting and Jacking the Vehicle (See: Maintenance/Vehicle Lifting/Service and Repair) .
3. Remove the tire and wheel assembly. Refer to Tire and Wheel Removal and Installation (See: Maintenance/Wheels and Tires/Service and Repair
) .
4. Remove the hub and rotor assembly. Refer to Rear Axle Hub, Bearing, Cup, and/or Seal Replacement (See: Transmission and Drivetrain/Drive
Axles, Bearings and Joints/Axle Bearing/Service and Repair/Rear Axle Hub, Bearing, Cup, and/or Seal Replacement) .
5. Mark the relationship of the hub to the rotor.
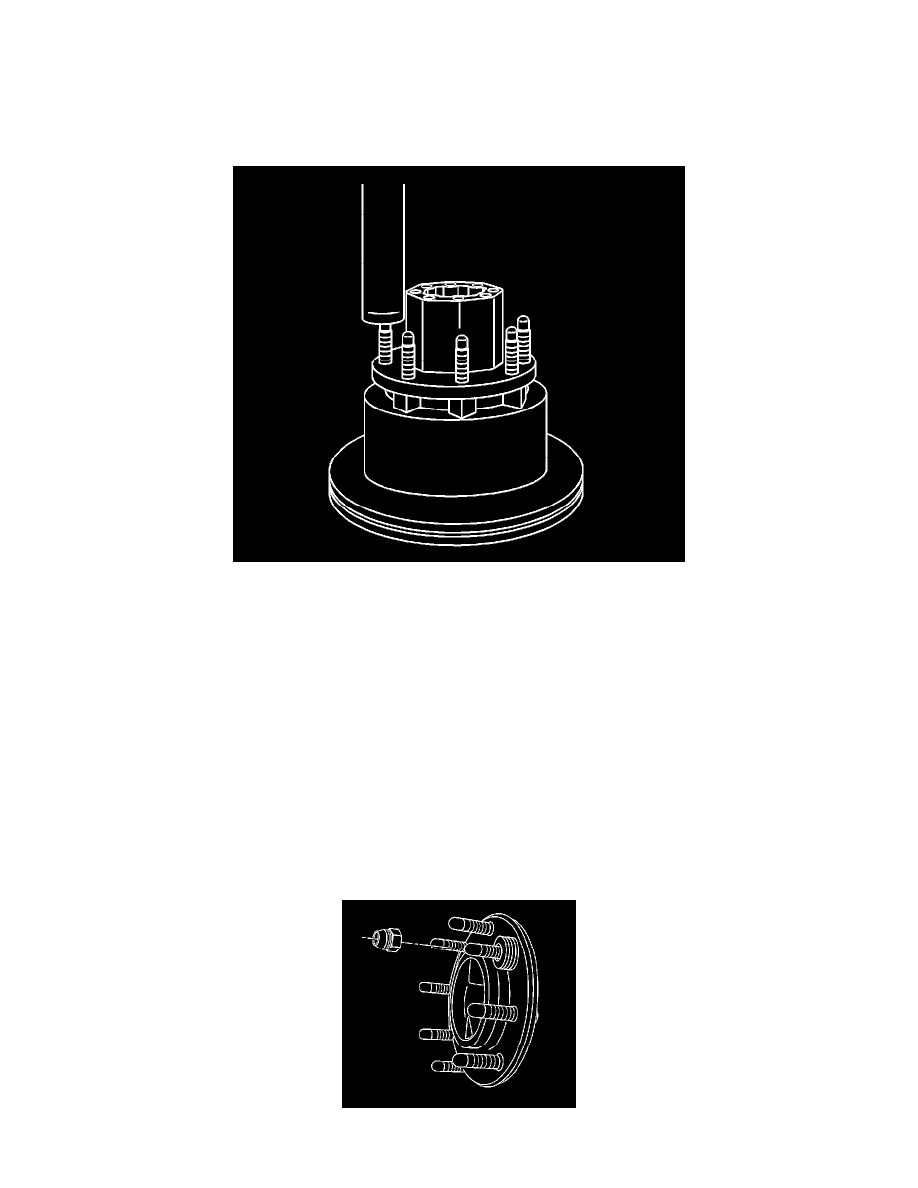
6. Place the hub and rotor assembly on a hydraulic press.
7. Press the wheel studs out of the hub and rotor assembly.
8. Separate the hub from the rotor.
Installation Procedure
1. Align the hub and the rotor.