
Sierra Denali RWD V8-6.2L (2009)
8. Install the retainer securing the cable to the steering column.
9. Position the carpet and insulation around the driver's area.
10. Install the drivers seat. Refer to Front Seat Replacement - Bucket (See: Body and Frame/Seats/Service and Repair/Removal and
Replacement/Front Seat Replacement - Bucket) .
11. Install the instrument panel knee bolster. Refer to Knee Bolster Replacement (With RPO SLT) (See: Body and Frame/Interior Moulding /
Trim/Dashboard / Instrument Panel/Service and Repair)Knee Bolster Replacement (Without RPO SLT) (See: Body and Frame/Interior Moulding
/ Trim/Dashboard / Instrument Panel/Service and Repair) .
12. Raise and support the vehicle. Refer to Lifting and Jacking the Vehicle (See: Maintenance/Vehicle Lifting/Service and Repair) .
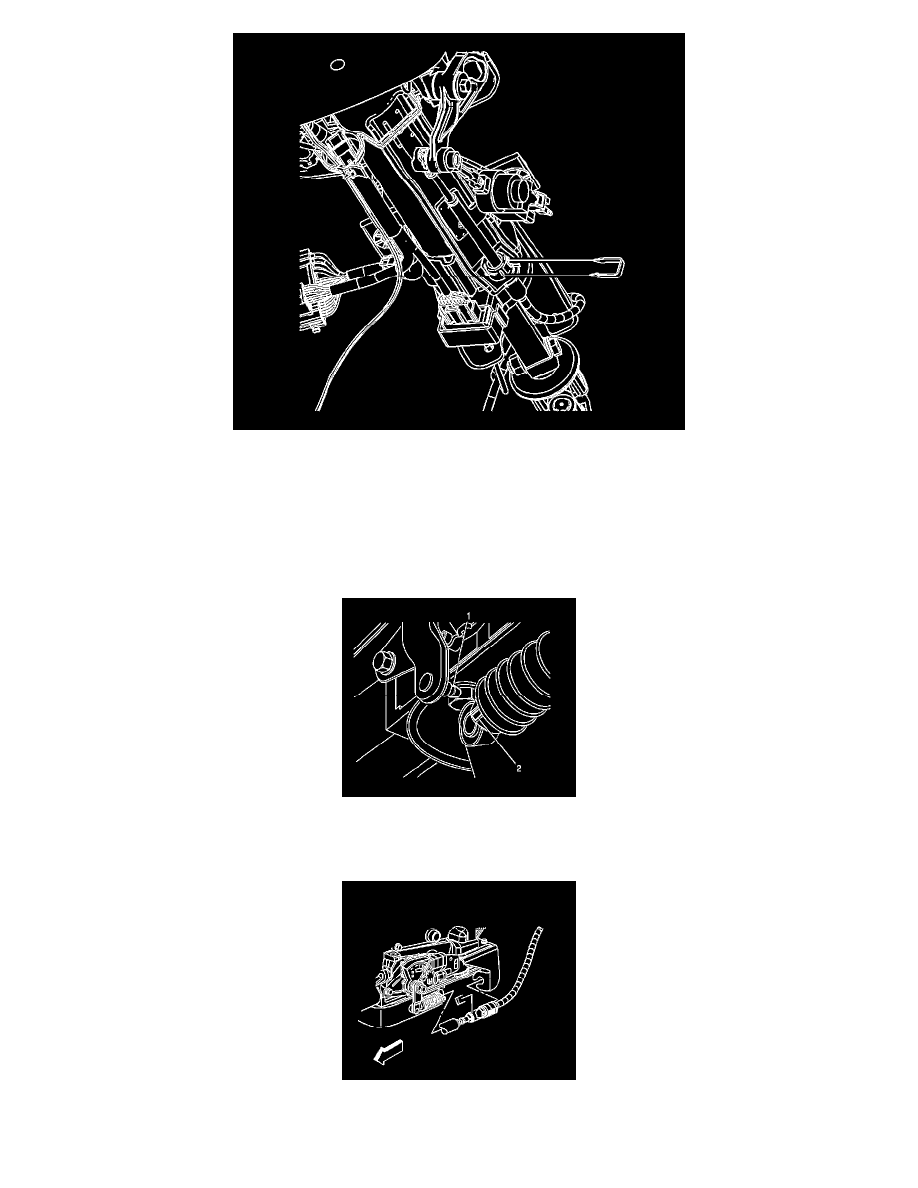
13. Align and install the cable to the bracket.
14. Install the range selector cable end (2) to the transmission range selector lever ball stud (1).
15. Install the cable clip on the transfer case, if equipped.
16. Install the retainer that secures the cable to the bracket.