
V 3500 P/U 4WD V8-379 6.2L DSL (1988)
Torsion Bar: Service and Repair
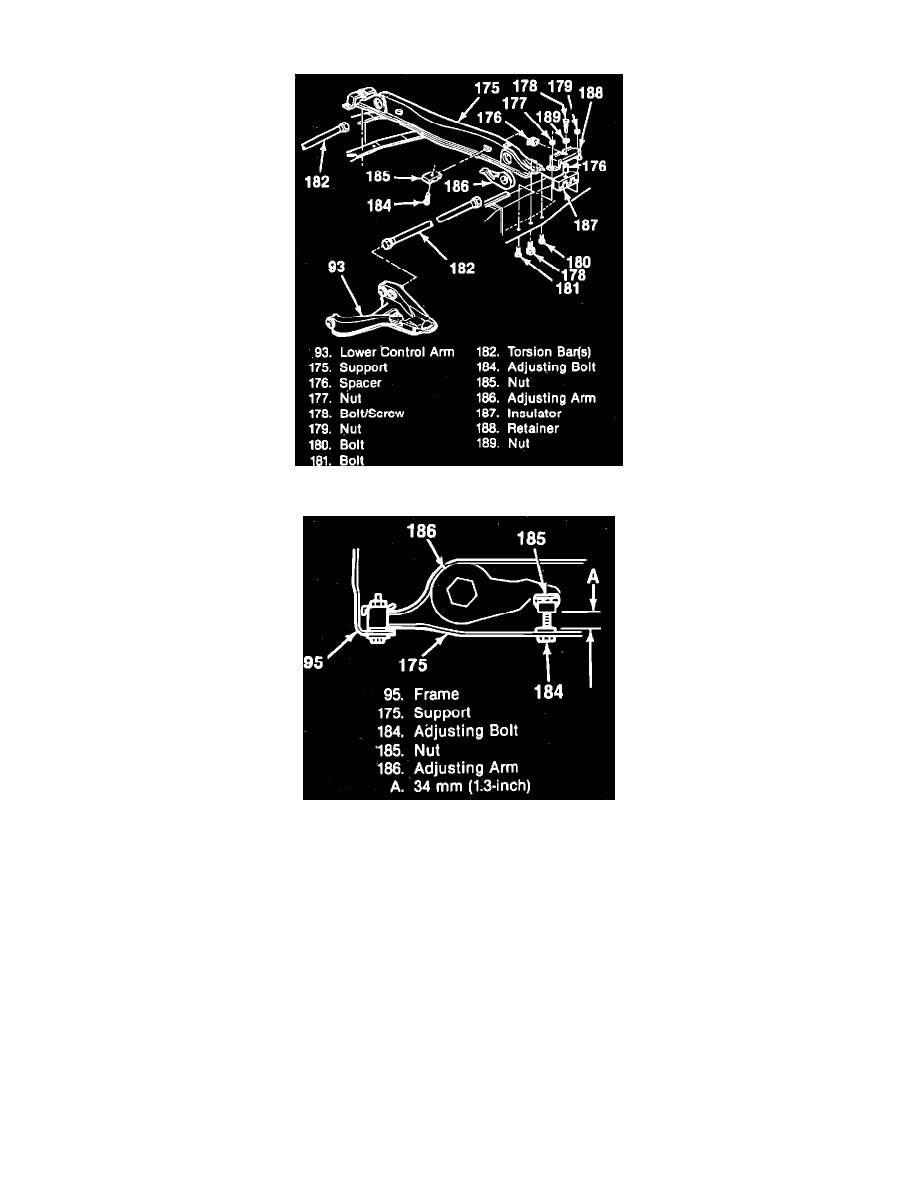
Fig. 6 Torsion bar & support assembly
Fig. 7 Torsion bar adjusting height
1.
Raise and support vehicle.
2.
Remove adjusting bolt, Fig. 6. Record the number of turn when removing the adjusting bolt.
3.
Remove bolt/screw, nuts, bolts, retainer, spacer, insulator and torsion bar(s).
4.
Remove support, adjusting arm, adjusting bolt and nut.
5.
To install, proceed as follows:
a. Lubricate top of adjusting arm, then install adjusting arm.
b. Install nut onto support.
c. Install adjusting screw onto nut loosely. Lubricate adjusting screw.
d. Install insulator onto support end.
e. Install support onto frame.
f.
Install nut onto retainer.
g. Install retainer and spacer.
h. Install bolts onto retainer.
i.
Install nuts onto bolts.
j.
Install bolt/screw into retainer.
k. Torque bolts (180, 181) to 35 ft. lbs. Torque bolt/screw (178) to 33 ft. lbs.
l.
Install torsion bar(s) (182) onto lower control arm. Slide torsion bar into lower control arm. Raise and slide torsion bar into the adjusting arm.