
Yukon/Denali 2WD V8-4.8L VIN V (2005)
Headliner: Service and Repair
Headliner Replacement
Headliner Replacement
Caution: Do not attempt to repair or alter the head impact energy-absorbing material glued to the headliner or to the garnish trims. If the
material is damaged, replace the headliner and/or the garnish trim. Failure to do so could result in personal injury.
Removal Procedure
1. Remove the IP top trim panel.
2. Remove the hinge pillar trim.
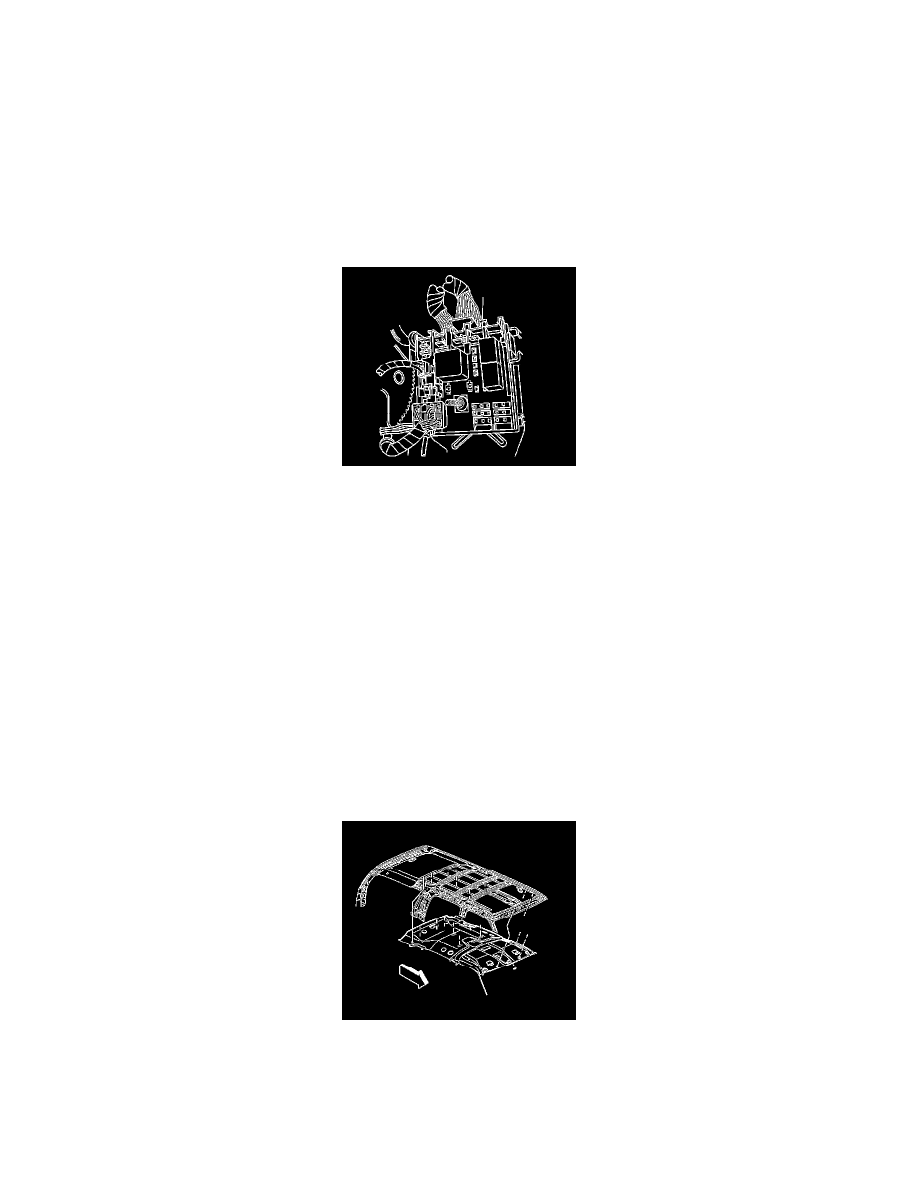
3. Disconnect the headliner wire connectors from the junction block located next to the brake pedal.
4. Remove the wire harness retainers along the windshield pillar and I/P assembly.
5. Remove the center trim pillar moldings.
6. Remove the third pillar trim pillar moldings.
7. Remove the rear corner trim pillar moldings.
8. Disconnect the electrical connector to the rear view mirror.
9. Remove the upper console.
10. Remove the DVD player, if equipped.
11. Remove the front sunshades.
12. Remove the sunshade holders.
13. Remove the rear coat hook, if equipped.
14. Remove the assist handles.
15. Remove auxiliary climate control console assembly.
16. Remove the roof mounted air outlet louver by turning counter clockwise in order to remove the retainer.
17. Remove the retainer.
18. Remove the sunroof finishing lace, if equipped.
19. Remove the rear headliner retainers, if needed.
20. Carefully separate the air duct at the right C-pillar from the headliner.
21. Carefully separate the headliner from the roof Velcro(R) retainers.
22. With the aid of an assistant carefully slide the headliner out through the rear of the vehicle.
23. Remove the interior dome lamp assembly in order to transfer to the new headliner.
Installation Procedure
1. Install the interior dome lamp assembly to the new headliner.