
Yukon/Denali 2WD V8-4.8L VIN V (2005)
Control Assembly: Service and Repair
HVAC System - Automatic
HVAC Control Assembly Replacement - Front Auxiliary
HVAC CONTROL ASSEMBLY REPLACEMENT - FRONT AUXILIARY
REMOVAL PROCEDURE
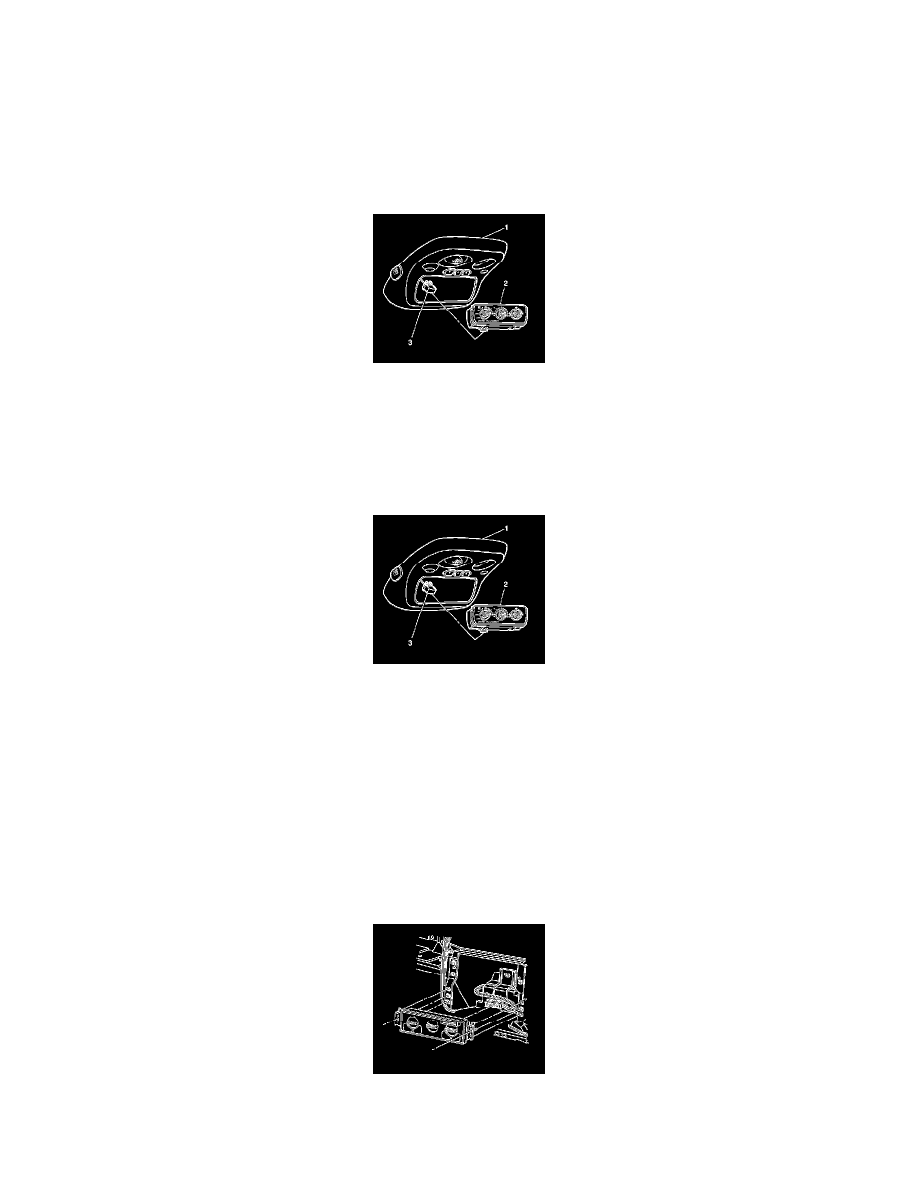
1. Remove the console roof screw.
2. Remove the console (1) from the headliner.
3. Disconnect the electrical connectors (3) from the console (1).
4. Remove the console (1) from the vehicle.
5. Remove the HVAC control assembly (2) from the console (1) by depressing the 4 tabs on the back of the HVAC control assembly (2).
INSTALLATION PROCEDURE
1. Install the HVAC control assembly (2) to the console (1).
2. Connect the electrical connectors (3) to the console (1).
3. Install the console (1) to the headliner.
4. Install the overhead console screw.
NOTE: Refer to Fastener Notice in Service Precautions.
Tighten the screw to 2 N.m (18 lb in).
HVAC Control Module Replacement
HVAC CONTROL MODULE REPLACEMENT
REMOVAL PROCEDURE
1. Remove the instrument panel accessory trim plate.
2. Remove the accessory switch from the instrument panel.
3. Remove the screws from the HVAC control module.