
Yukon/Denali 2WD V8-4.8L VIN V (2005)
Seat Belt Retractor: Service and Repair
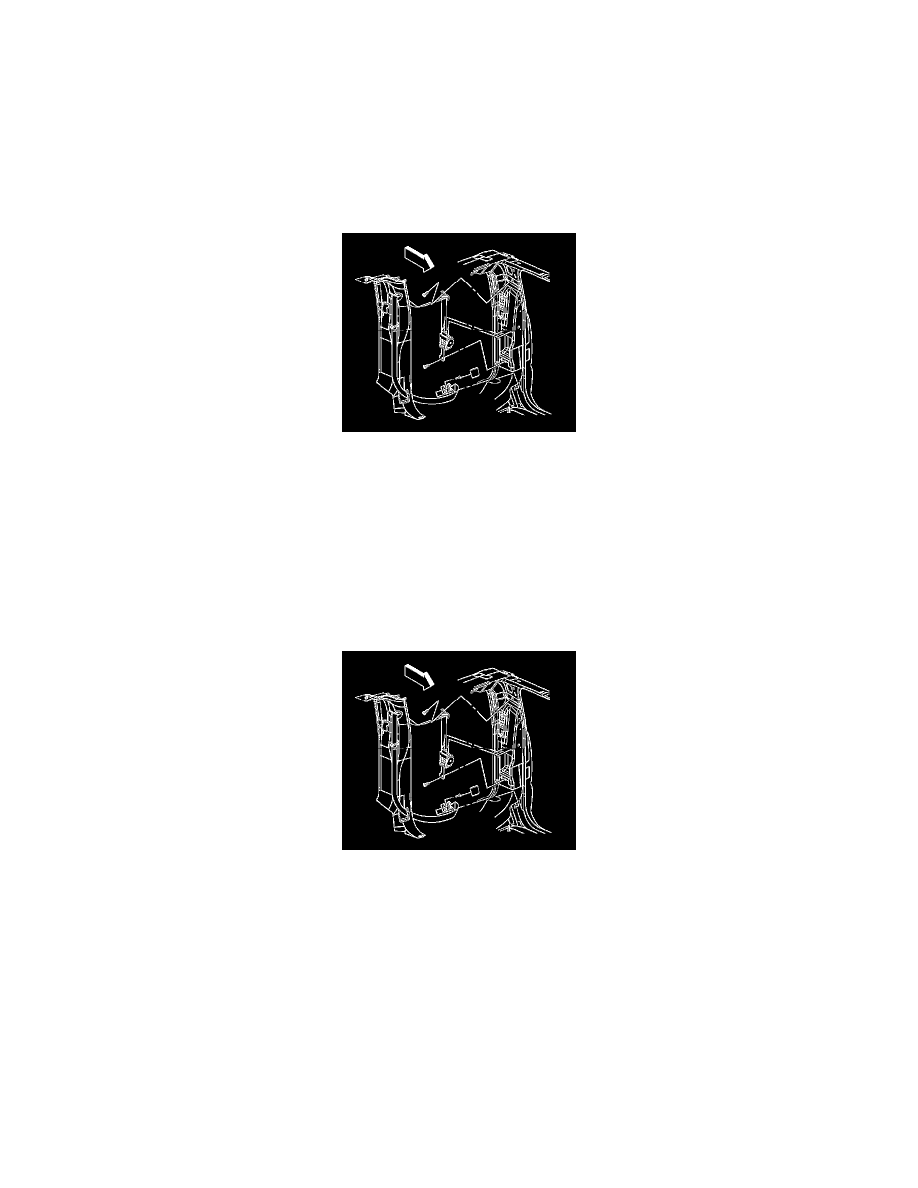
No. 1 Rear - 2
SEAT BELT RETRACTOR REPLACEMENT - NO. 1 REAR
CAUTION: To avoid personal injury to the occupants of the vehicle, observe the following precautions:
-
More than one supplier's seat belts are used, therefore, install ONLY the seat belt components specified in the GM parts catalog.
-
To verify that the correct seat belt components were installed, insert the seat belt latch in the seat belt buckle. The latch must be fully
seated and be retained in the buckle until purposely released.
Removal Procedure
1. Fold the rear seat down.
2. Remove the rear floor door sill.
3. Remove the rear removable glass panel.
4. Remove the seat belt anchor cover.
5. Remove the third pillar trim panel.
6. Remove the seat belt anchor retaining bolt.
7. Route the seat belt through the opening in the pillar trim panel.
8. Remove the seat belt retractor bolt.
9. Remove the rear seat belt assembly from the vehicle.
Installation Procedure
1. Install the seat belt retractor.
2. Install the retractor bolt.
NOTE: Refer to Fastener Notice in Service Precautions.
Tighten the retractor bolt to 53 N.m (39 lb ft).
3. Route the seat belt through the pillar trim panel.
4. Install the seat belt anchor bolt.
Tighten the seat belt anchor bolt to 53 N.m (39 lb ft).
5. Install the third pillar trim panel.
6. Install the seat belt anchor cover.
7. Install the rear removable glass panel.
8. Install the rear floor door sill.