
Yukon/Denali 4WD V8-4.8L VIN V (2005)
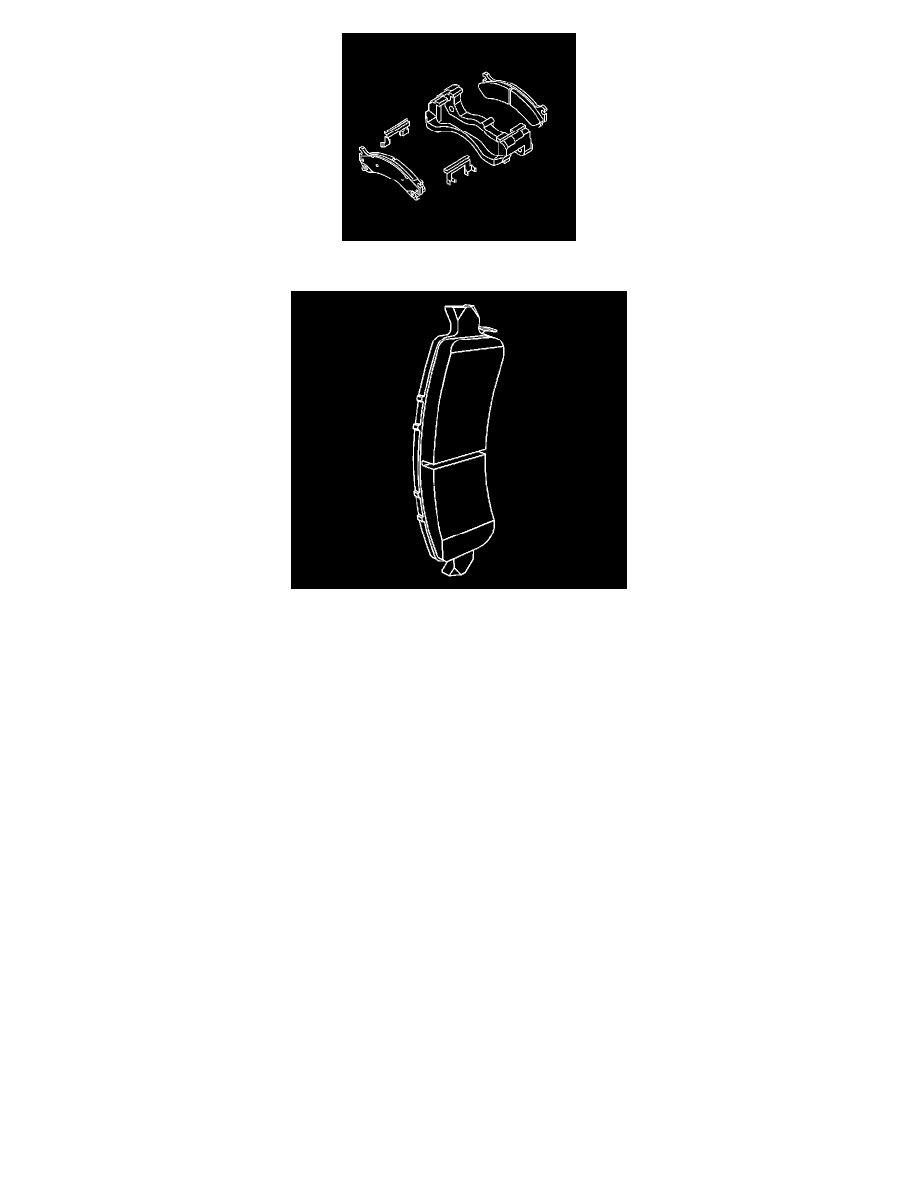
1. Install the anti-rattle clips to the brake caliper bracket.
2. If working on a 2WD 1500 series utility, install the inboard rear pad to the brake caliper bracket with the longer pad end chamfer facing down. For
all other utilities, install the brake pads to the brake caliper.
Important: Proper orientation of the brake pads is critical for proper pad wear.
3. Install the brake pads to the brake caliper bracket.
4. Install the brake caliper to the mounting bracket using NEW bolts. Refer to Brake Caliper Replacement - Rear (1500 Series) .
5. Install the tire and wheel assembly. Refer to Tire and Wheel Removal and Installation.
6. Lower the vehicle.
7. With the engine OFF, gradually apply the brake pedal to approximately 2/3 of its travel distance.
8. Slowly release the brake pedal.
9. Wait 15 seconds, then repeat steps 7 - 8 until a firm pedal is obtained. This will properly seat the brake caliper pistons and brake pads.
10. Fill the master cylinder reservoir to the proper level with clean brake fluid. Refer to Master Cylinder Reservoir Filling.
11. Burnish the brakes pads and rotors as necessary. Refer to Burnishing Pads and Rotors.