
Yukon V8-350 5.7L (1992)
Valve Clearance: Adjustments
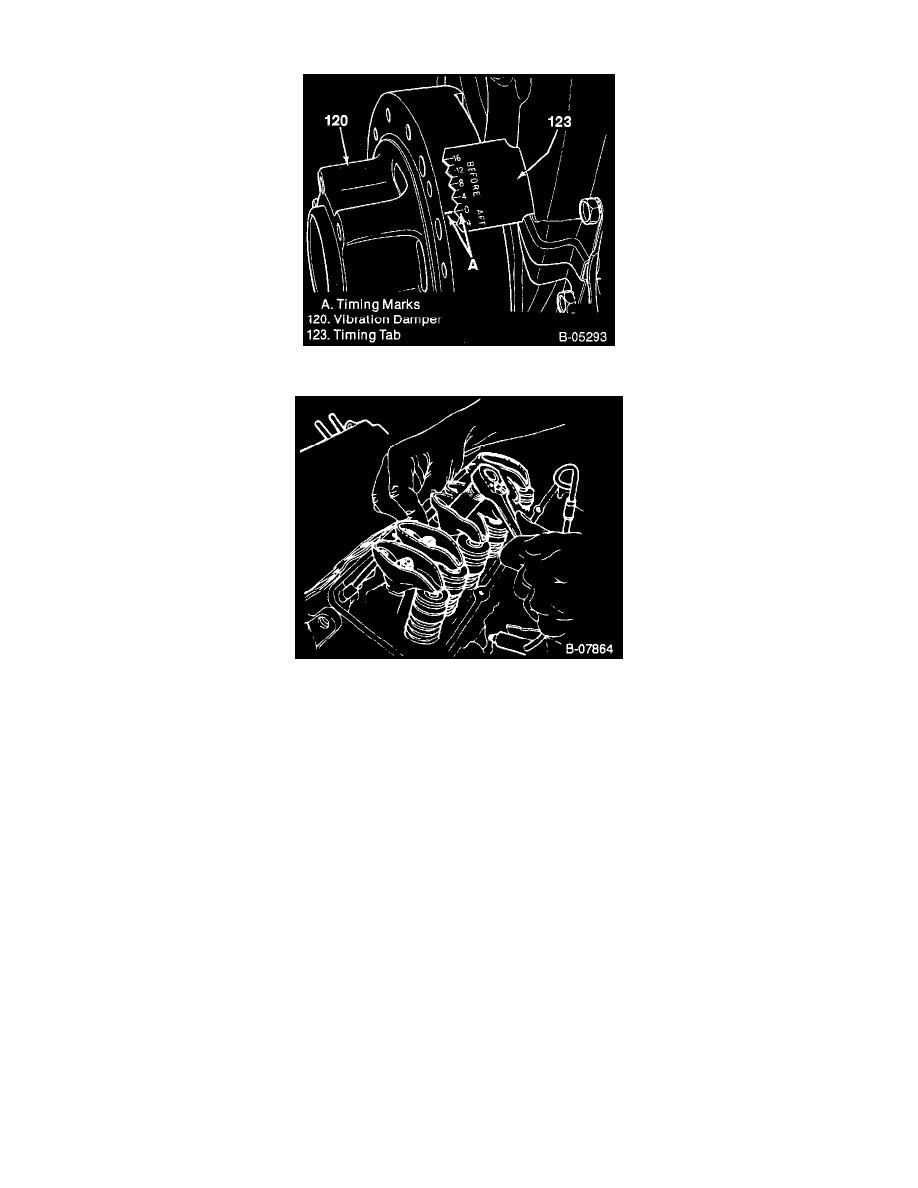
Timing Mark
Adjusting The Valves
1. Remove the rocker arm covers.
2. Crank the engine until the mark on the torsional damper lines up with the center or "O" mark on the timing tab. The engine must be in the number
one firing position. This may be determined by placing fingers on the number one cylinders valves as the mark on the damper comes near the "0"
mark on the crankcase front cover. If the valves are not moving. the engine is in the number one firing position. If the valves move as the mark
comes up to the timing tab. the engine is in the number six firing position and should be turned over one more time to reach the number one
position.
3. With the engine in the number one firing position as determined above, the following valves may be adjusted:
-
Exhaust - 1. 3, 4, 8
-
Intake - 1, 2, 5, 7
(Even numbered cylinders are in the right bank; odd numbered cylinders are in the left bank, when viewed from the rear of the engine.)
4. Back out the adjusting nut until lash is felt at the pushrod then turn in the adjusting nut until all lash is removed. This can be determined by rotating
the pushrod while turning the adjusting nut. When the play has been removed, turn the adjusting nut one full turn.
5. Crank the engine one revolution until the pointer "0" mark and torsional damper mark are again in alignment. This is the number six firing
position. With the engine in this position the following valves may be adjusted:
-
Exhaust - 2, 5, 6, 7
-
Intake - 3, 4, 6, 8