
Yukon V8-350 5.7L (1992)
3.
Insert the fill tube into container of replacement catalyst so the catalyst is slowly drawn up the fill tube and into the converter, see figure (7).
NOTICE:
Do not try to draw all the beads into the converter at once. The beads must be added a small amount at a time. Forcing all the beads at once
may cause improper packing and not allow the proper amount beads to be installed.
4.
Proceed to draw up the beads while using an air chisel equipped with tool J-29132-4 held against side of converter under the pinch weld flange.
Vibrate the converter along the flange areas while slowly drawing the replacement beads into the converter.
5.
Repeat Steps 3 and 4 several times until the converter is full, and will not accept any more beads. It is IMPORTANT to vibrate the converter
when it appears that no more beads can be drawn into the converter.
NOTICE:
Replacement bead containers are shipped with about 10% more beads than required for a full bead exchange.
6.
Remove the fill tube from the converter.
7.
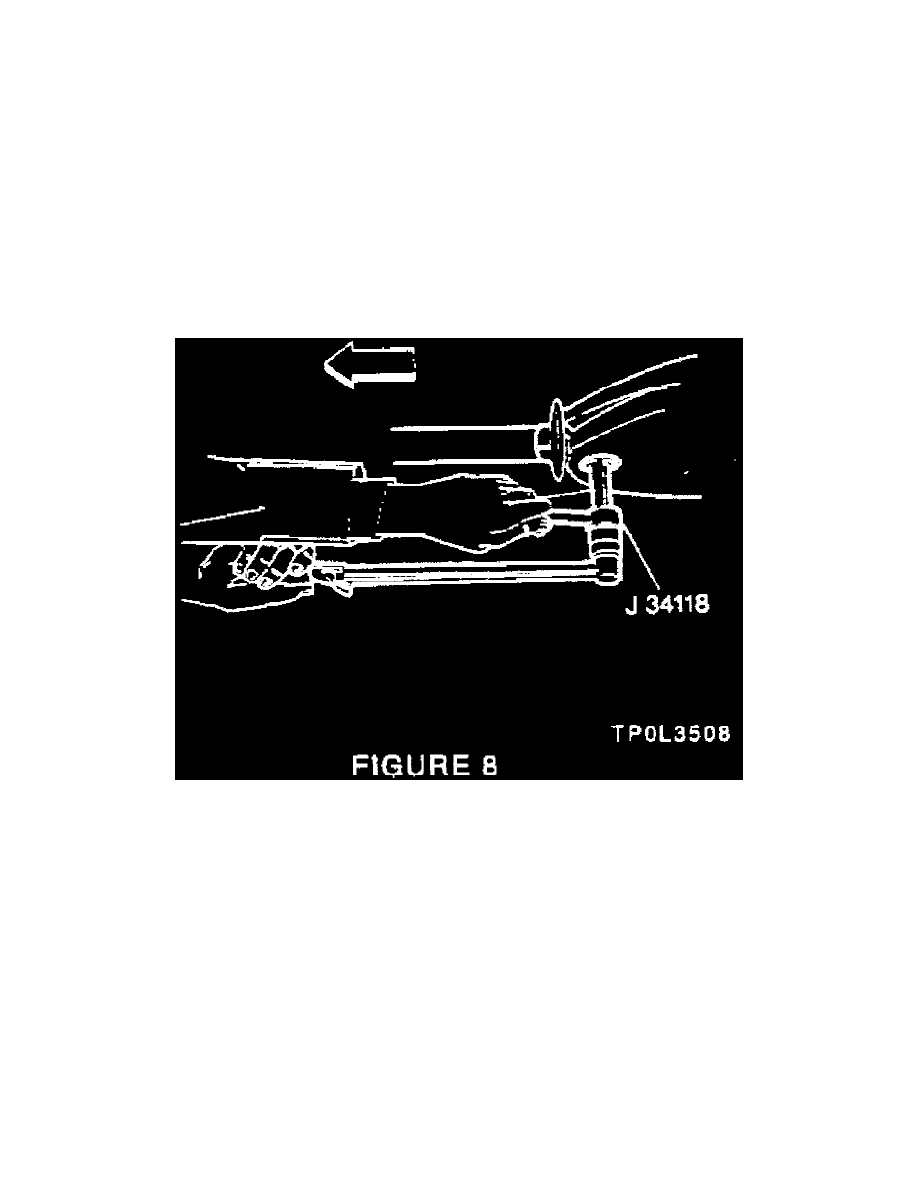
Pressed plugs are replaced with a service fill plug provided in the kit, which is expanded once in place. Lightly lubricate (with light engine oil) the
head of tool J-34118, and place the replacement fill plug on the end, see figure (8).
8.
Insert the fill plug, with the tool, into the bead fill hole using tool J-34118. The plug outer rim must be flat and tight against converter shell.
Tighten the tool with a wrench to 35 lb. ft./48 nm torque.