
Yukon 2WD V8-5.3L VIN T (2006)
1. Position the trim panel to the liftgate.
2. Slide the trim panel downward to engage mounting hooks.
3. Install the upper trim panel.
Trim Panel Replacement - Side Rear Door
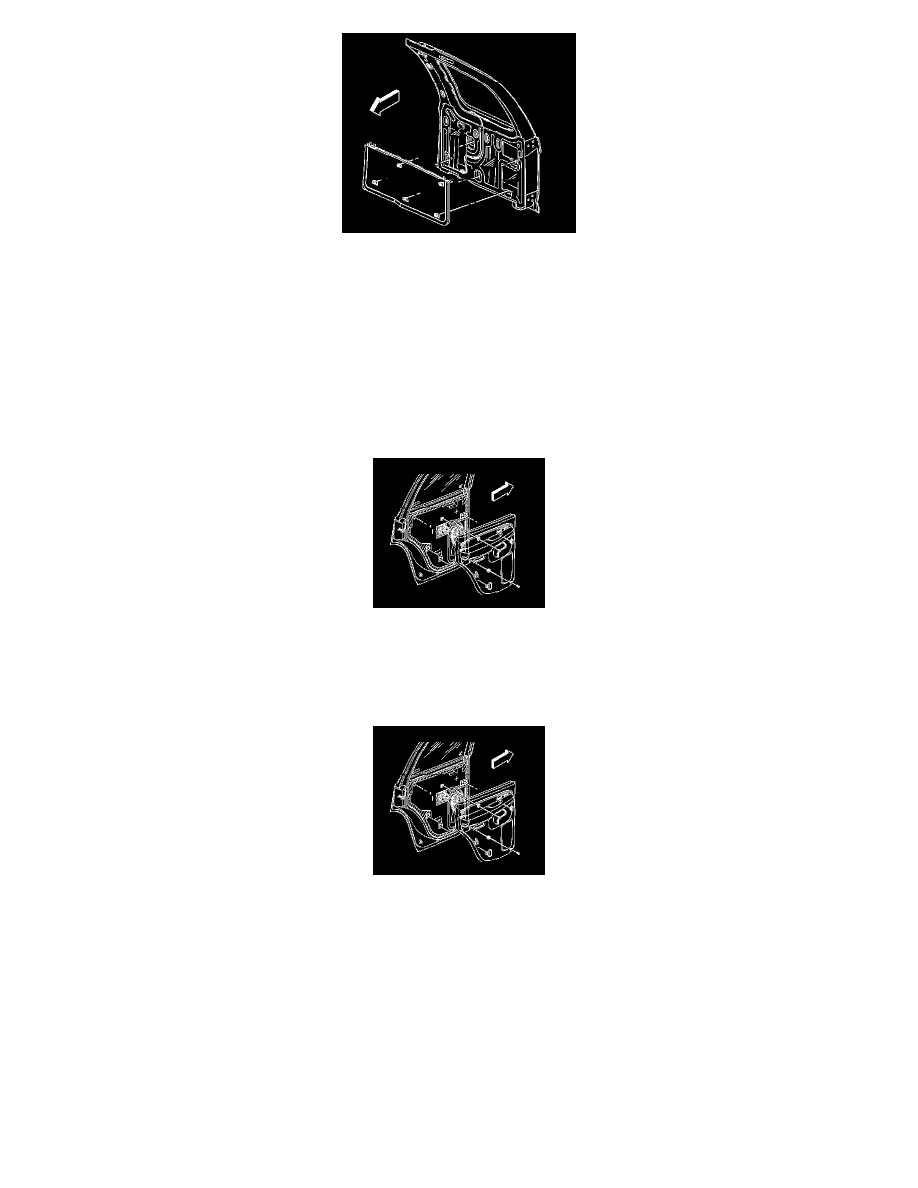
TRIM PANEL REPLACEMENT - SIDE REAR DOOR
REMOVAL PROCEDURE
1. Remove the door handle bezel.
2. Remove the window-regulator handle, if equipped.
3. Remove the manual lock lever from the trim panel using a flat-bladed tool.
4. Remove the trim panel screws.
5. In order to remove the trim panel, slide the trim panel upward and outward in order to release the trim panel tab retainers.
6. Disconnect the electrical connectors, if necessary.
INSTALLATION PROCEDURE
1. Connect the electrical connectors, if necessary.Ensure that the electrical connectors are routed through the openings.
2. Align the tab retainers with the holes in the door.
3. Install the trim panel to the door by lowering the trim panel into the tab retainer holes in order to seat the retainers.
4. Install the 2 trim panel screws.
NOTE: Refer to Fastener Notice in Service Precautions.
Tighten the 2 trim panel screws to 2 N.m (18 lb in).
5. Install the manual lock lever to the trim panel by pressing the lever until the lever is completely seated.
6. Install the window-regulator handle, as necessary.
7. Install the door handle bezel.
Trim Panel Replacement - Side Rear Door (Tahoe/Yukon/Escalade)