
Yukon 4WD V8-6.5L DSL Turbo VIN S (1997)
Push Rod: Service and Repair
Replacement, Engine Overhaul
REMOVAL
1. Remove the bolts from the valve rocker arm shaft assemblies.
NOTE: Mark the valve rocker arm assemblies, in order to return each assembly to the original location.
2. Remove the valve rocker arm shaft assemblies.
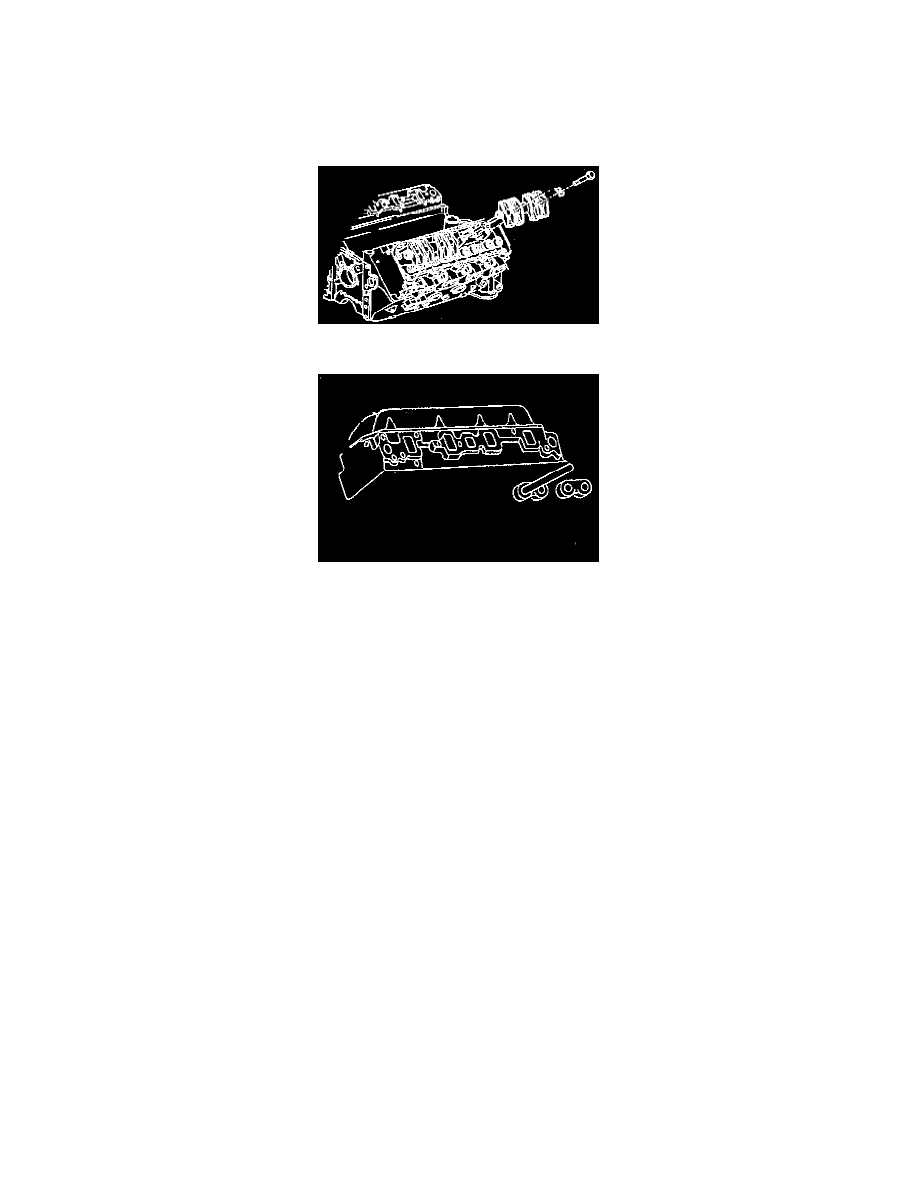
NOTE: Install the valve pushrods in the original position and in the same direction at assembly. Each end of the valve pushrods have a different
degree of hardness. The upper end of the valve pushrod is copper colored. A paint stripe also identifies the upper end of the valve pushrod.
3. Remove the valve pushrods.
INSTALLATION
CAUTION: Install the valve pushrods with the copper-colored, painted, or marked end up in order to avoid damage or premature wear.
NOTE: Ensure that the ball ends of the valve pushrods seat in the valve rocker arms.
1. Install the valve pushrods with the copper-colored, painted or marked end upwards.
2. Install the valve rocker arm shaft assembly.
CAUTION: Improper Installation of the valve rocker arm shaft bolts may cause valve rocker arm shaft breakage and piston to valve contact.
3. Install the bolts.
a. Rotate the crankshaft, until the mark on the crankshaft balancer is at the 2 o'clock position.
b. Rotate the crankshaft counterclockwise 88 mm (3 1/2 inch), aligning the crankshaft balancer mark with the first lower water pump bolt, at
approximately the 12:30 position.
c. This procedure will position the engine so that no valves are close to a piston crown.
d. Finger-tighten the bolts.
-
Alternately tighten the bolts to 55 Nm (40 ft. lbs.).
4. Rotate the crankshaft in order to make sure that there is free-movement of the valve train.