
Yukon 4WD V8-6.5L DSL Turbo VIN S (1997)
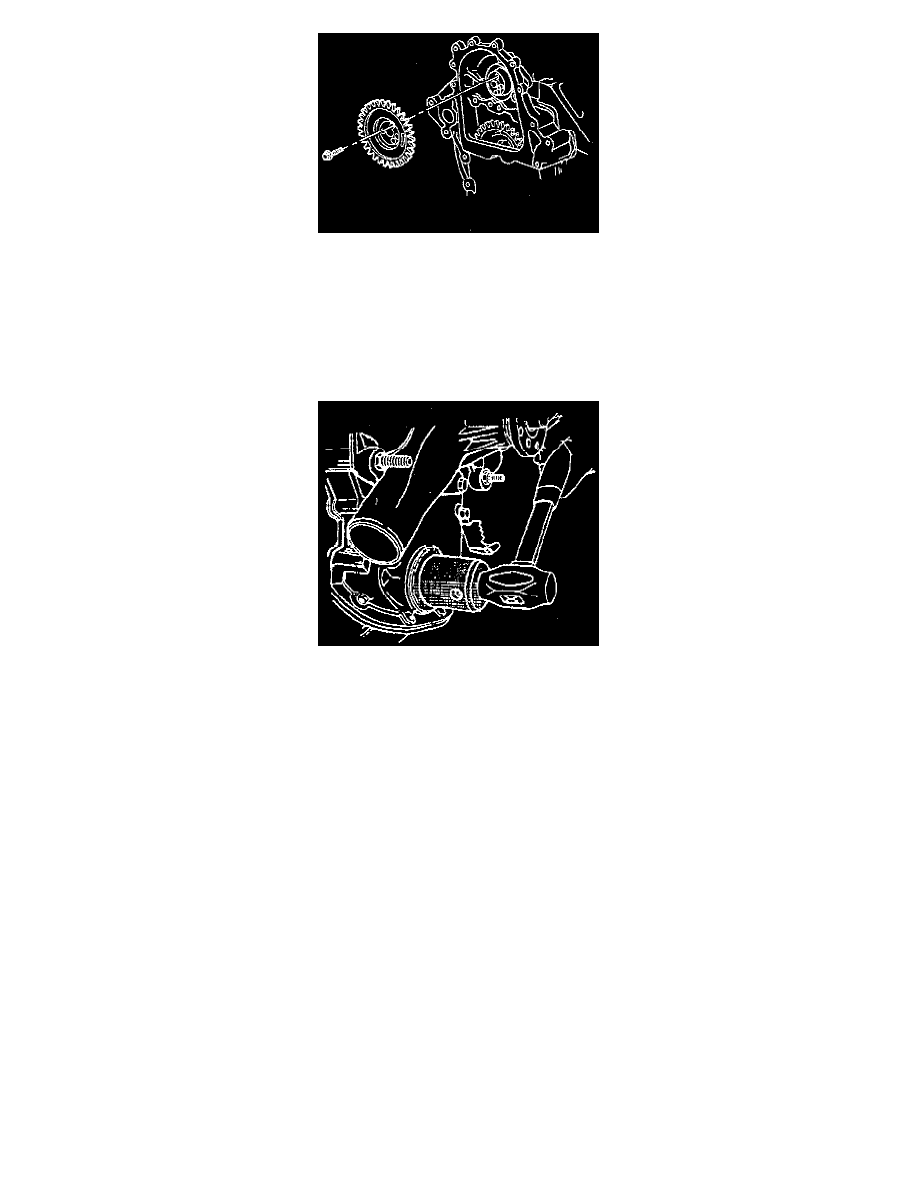
9. Remove the fuel injection pump gear.
10. Remove the fuel injection pump retaining nuts.
11. Remove the engine front cover and bolts.
12. Remove the engine front cover oil seal. Pry the oil seal out with a screwdriver.
13. Clean the RTV from the oil pan sealing surface and the sealing surfaces on the engine front cover.
14. Inspect the engine front cover for cracks or damage to the sealing surfaces.
INSTALLATION
1. Install the new engine front cover oil seal to the engine front cover. Use the J22702.
-
Apply a 2 mm (3/32 inch) bead of anaerobic sealant GM P/N 1052357 or equivalent to the engine front cover.
-
Apply a 5 mm (3/16 inch) bead of RTV sealant to the engine front cover sealing the surface that mates against the oil pan.
2. Install the engine front cover to the engine.
3. Install the attaching bolts and the fuel injection pump studs.
-
Tighten the nuts 40 Nm (30 lb ft).
4. Install the fuel injection pump gear.
5. Install the fuel injection pump gear bolts and align the timing marks.
-
Tighten the bolts to 25 Nm (20 lb ft).
6. Install the front cover fuel injection drive gear.
NOTE: Check the marks on the fuel line clips made during removal. Ensure that the fuel line clips are re-installed on the proper studs.
7. Install the fuel return line clip.
8. Install the crankshaft position sensor.
9. Install the engine front cover.
10. Install the crankshaft balancer.
11. Fill the cooling system with the proper quantity and grade of coolant.
12. Reset the fuel injection pump timing.