
Yukon 4WD V8-6.5L DSL Turbo VIN S (1997)
Removal Procedure
1. Remove fuel tank filler cap.
2. Remove upper intake cover.
3. Open air bleed valve on top of the fuel manager/filter to release any pressure in the fuel supply system.
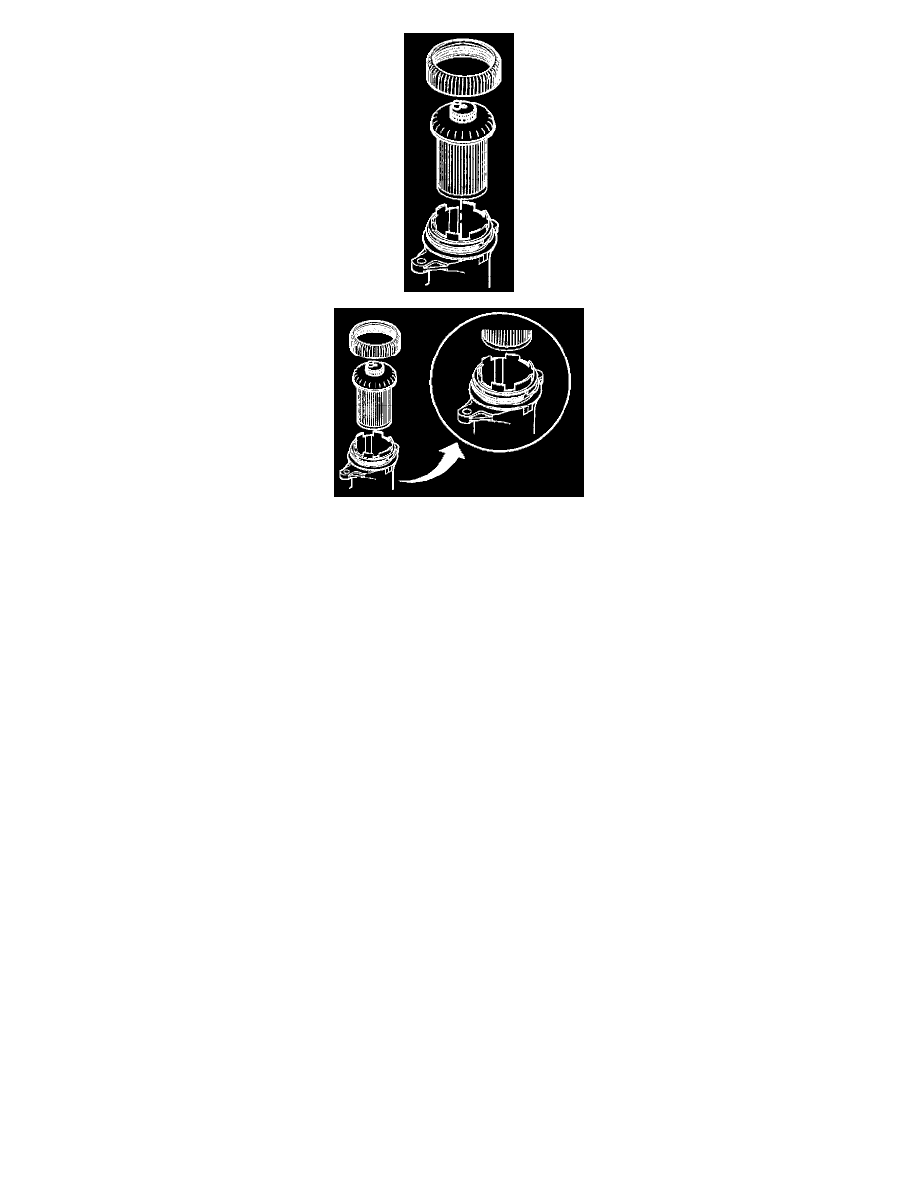
4. Remove element nut by turning it in a counterclockwise direction. If unable to turn by hand, a strap wrench (oil filter type) may be used to break
loose the element nut.
5. Remove the filter by lifting it straight up and out of the filter assembly. It is not necessary to drain fuel from the filter assembly to change the filter
element since the fuel will remain in the filter assembly's cavity.
Installation Procedure
Important: Make sure the mating surface between the element assembly and the filter assembly is clean before installation.
1. Install the new filter by aligning the widest key slot located under the element assembly cap with the widest key in the header assembly.
2. Push the element, in a downwards direction until the mating surfaces make contact.
3. Install the element nut.
Tighten
-
Tighten the element nut securely by hand.
4. Bleed air from fuel manager/filter. Refer to Bleeding Air from Fuel Supply System. See: Powertrain Management/Fuel Delivery and Air
Induction/Service and Repair
5. Install the upper intake manifold cover.
6. Install fuel tank filler cap.