
Yukon Denali 2WD V8-6.0L Hybrid (2010)
Caution: Refer to Fastener Caution (See: Service Precautions/Vehicle Damage Warnings/Fastener Caution).
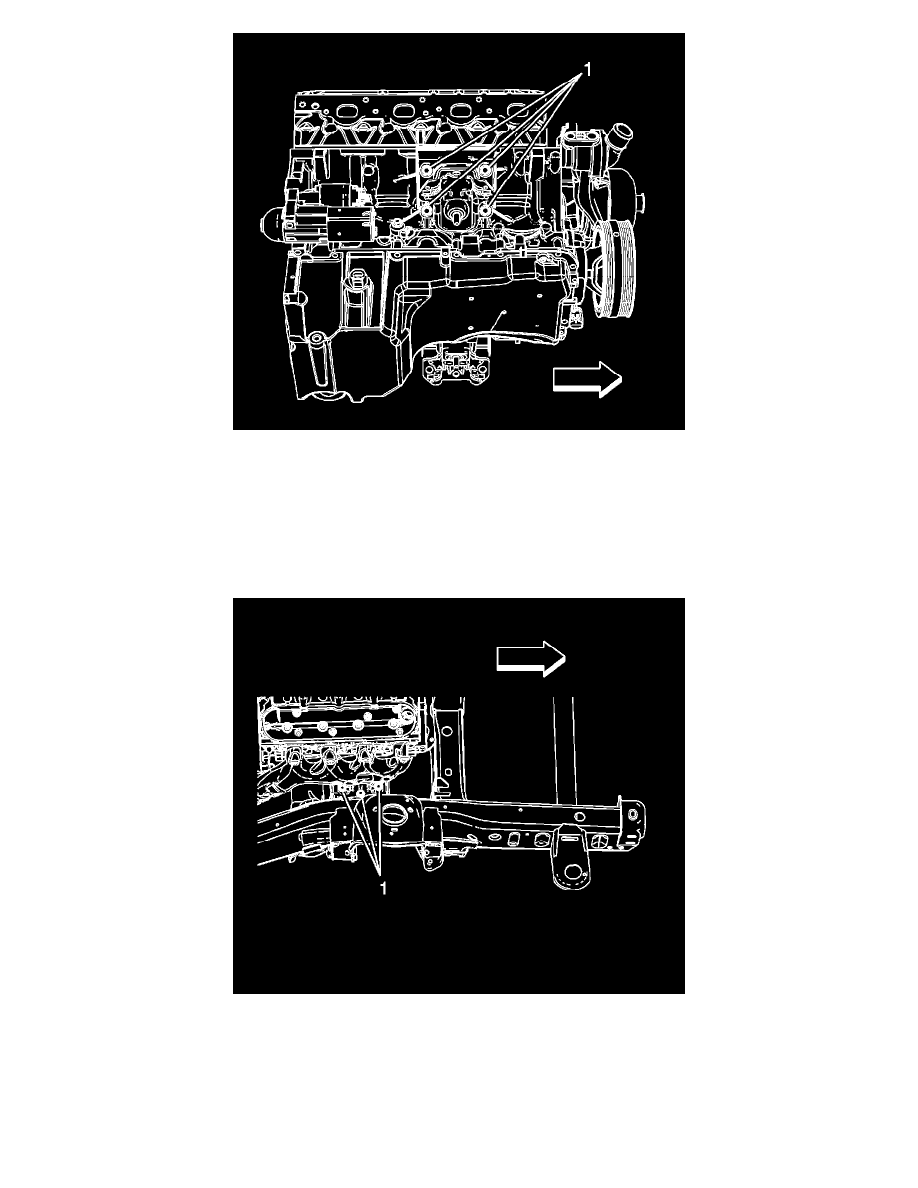
2. Working through the wheelhouse opening, install the engine mount to engine bolts (1).
Tighten the bolts to 50 Nm (37 lb ft).
3. Using the adjustable jack, lower the engine until the engine mount is sitting flush on the frame.
4. Remove the adjustable jack from the engine block.
5. Install the engine mount to frame bolts (1).
Tighten the bolts to 65 Nm (48 lb ft) starting with the middle bolt then either side bolt.
6. Install the A/C compressor bracket. Refer to Air Conditioning Compressor Bracket Replacement (HP2) (See: Heating and Air
Conditioning/Compressor HVAC/Service and Repair/Removal and Replacement/Air Conditioning Compressor Bracket Replacement)Air
Conditioning Compressor Bracket Replacement (Non-HP2) (See: Heating and Air Conditioning/Compressor HVAC/Service and
Repair/Removal and Replacement/Air Conditioning Compressor Bracket Replacement).