
Yukon Denali 2WD V8-6.0L Hybrid (2010)
3. Apply a 5 mm (0.2 in) wide band of threadlock GM P/N 12345493 (Canadian P/N 10953488), or equivalent to the threads of the exhaust manifold
bolts.
4. Install a NEW catalytic converter seal to the exhaust manifold.
5. Position the NEW exhaust manifold gasket and exhaust manifold to the cylinder head.
6. Ensure that the catalytic converter seal is seated to the catalytic converter.
7. Install the exhaust manifold bolts.
1. Tighten the bolts a first pass to 15 Nm (11 lb ft). Tighten the exhaust manifold bolts beginning with the center 2 bolts. Alternate from
side-to-side, and work toward the outside bolts.
2. Tighten the bolts a final pass to 20 Nm (15 lb ft). Tighten the exhaust manifold bolts beginning with the center 2 bolts. Alternate from
side-to-side, and work toward the outside bolts.
8. Using a flat punch, bend the gasket tab at the rear of the gasket around the cylinder head edge.
9. Install the oil level indicator tube to the engine block. Refer to Oil Level Indicator Tube Replacement (See: Engine/Engine Lubrication/Engine
Oil Dip Stick - Dip Stick Tube/Service and Repair).
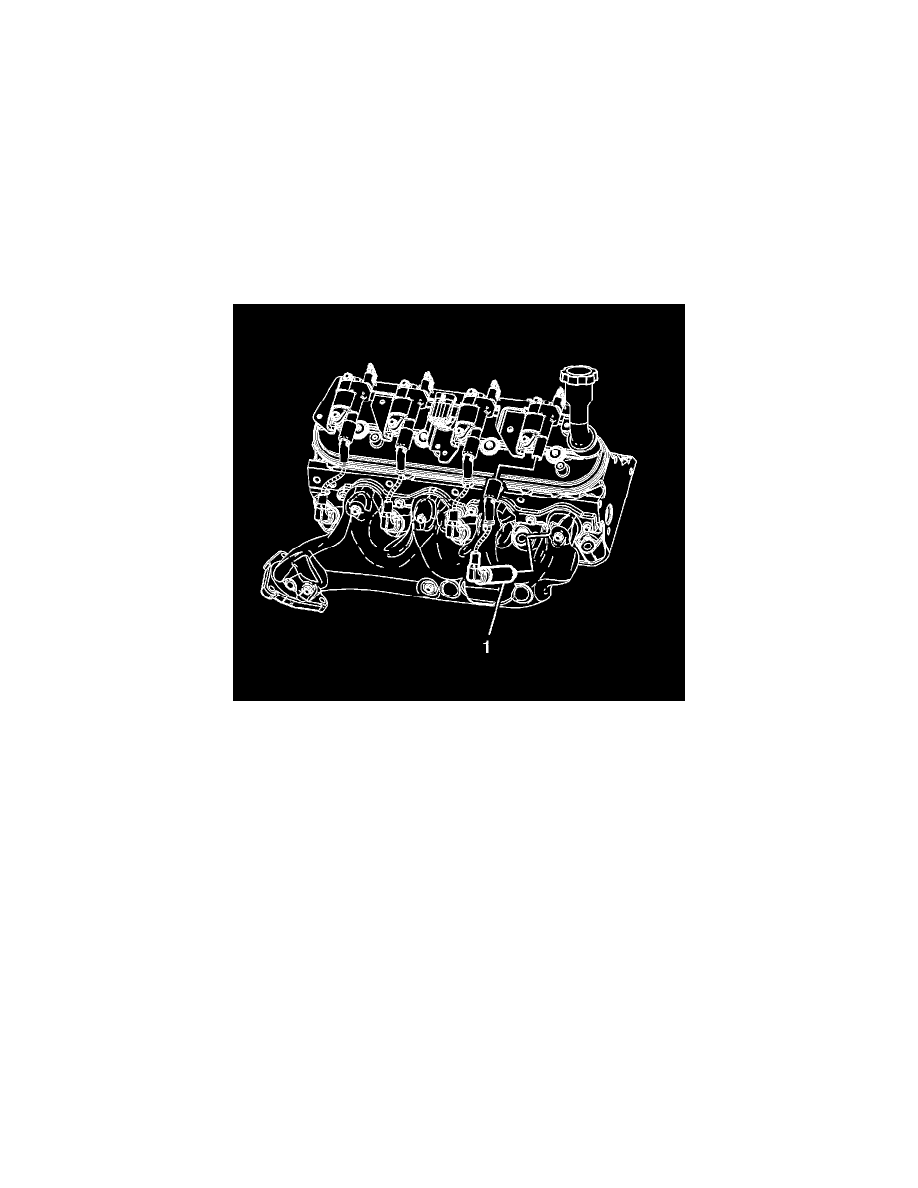
10. Install the spark plug wires (1) to the spark plugs.
11. Install the spark plug wires to the ignition coils.
12. Inspect the spark plug wires for proper installation.
1. Push sideways on each boot in order to inspect the seating.
2. Reinstall any loose boot.
13. Fully raise and support the vehicle.