
Yukon Denali 2WD V8-6.0L Hybrid (2010)
3. Install the midspacer and gently push down to first O-ring (3).
4. Install the second O-ring and gently push down to the top of midspacer (2).
5. Install the retainer clip by lining up the retainer legs with windows on the fitting housing (1).
Push the retainer clip down until the retainer clip legs are engaged into the windows.
6. Clean and inspect the pipe end for any nicks, scratches or cracks.
7. Install the fitting to the vehicle by pushing the fitting onto the tube until an audible click is heard. Pull back to verify the connection is secure.
8. Fill the cooling system. Refer to Cooling System Draining and Filling (Static Fill) (See: Engine, Cooling and Exhaust/Cooling System/Service
and Repair/Cooling System Draining and Filling (Static Fill)).
Auxiliary Heater Pipe Replacement
Auxiliary Heater Pipe Replacement
Removal Procedure
1. Drain the cooling system. Refer to Cooling System Draining and Filling (Static Fill) (See: Engine, Cooling and Exhaust/Cooling System/Service
and Repair/Cooling System Draining and Filling (Static Fill)).
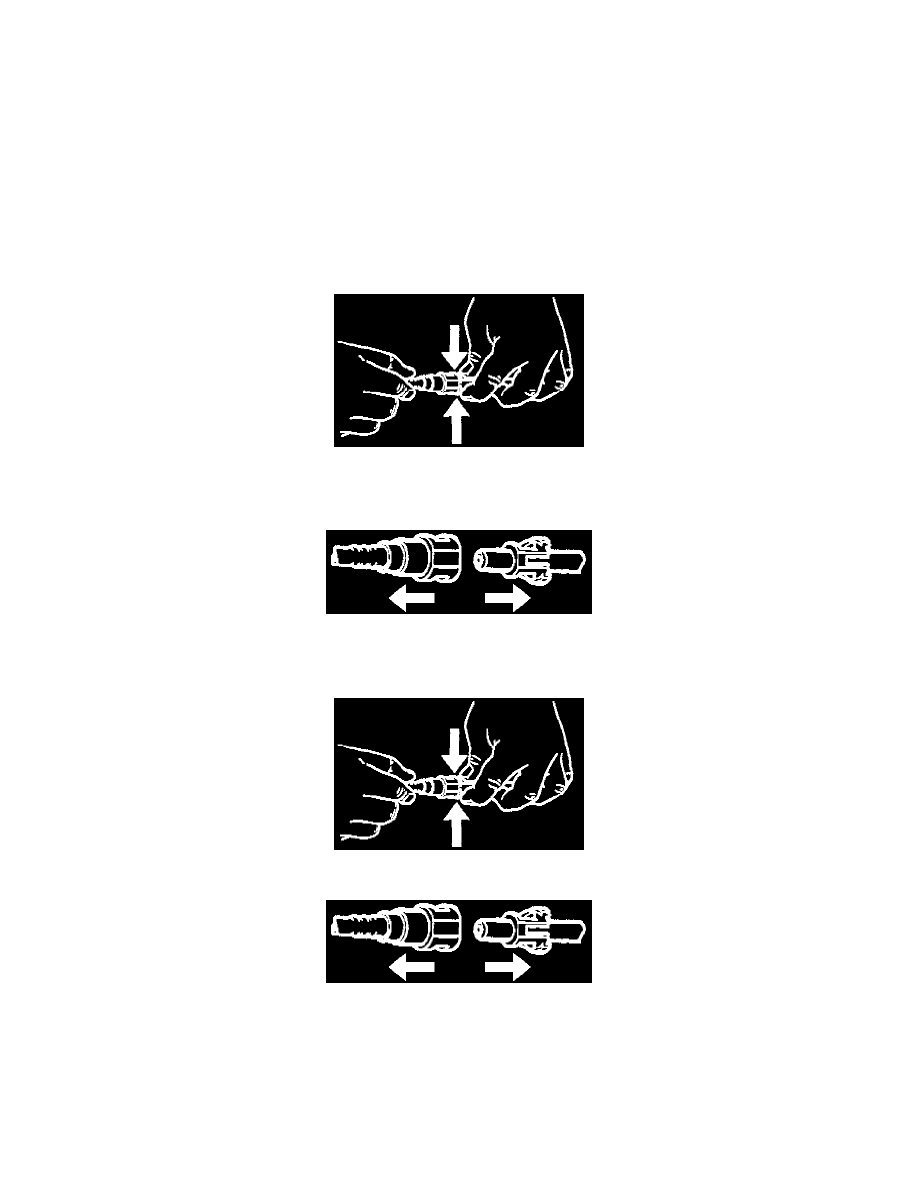
2. Squeeze the plastic retainer tabs on the inlet hose.
Quick Connect Fittings
3. Pull the connection apart.
4. Squeeze the plastic retainer tabs on the outlet hose.
Quick Connect Fittings
5. Pull the connection apart.