
Yukon Denali AWD V8-6.2L (2007)
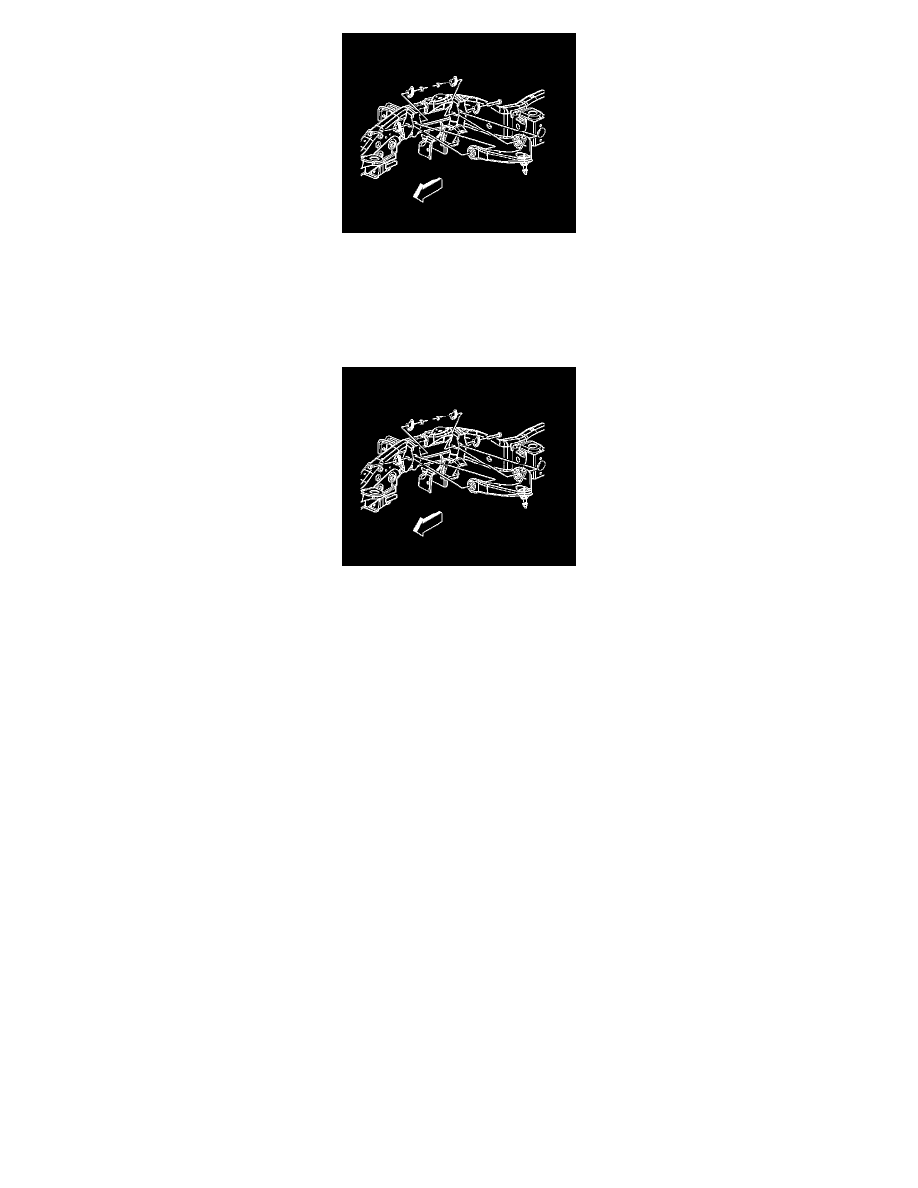
6. Remove the upper control arm nuts and the adjustment cams.
7. Remove the upper control arm.
Installation Procedure
1. Install the upper control arm.
Notice: Refer to Fastener Notice.
2. Install the upper control arm bolts.
Tighten the nuts to 190 N.m (140 lb ft).
3. Connect the upper control arm to the steering knuckle.
4. Install the new nut to the upper ball joint stud.
Tighten the nut to 50 N.m (39 lb ft).
5. Install the retaining bolts for the brake hose and wheel speed sensor brackets.
Tighten the bolts to 9 N.m (80 lb in).
6. Install the tire and wheel.
7. Lower the vehicle.
8. Verify the wheel alignment. Refer to Wheel Alignment Specifications.
Lower Control Arm Replacement (1500 Series)
Lower Control Arm Replacement (1500 Series)
Tools Required
^
J 43631 Ball Joint Separator
^
J 45851 Ball Joint Separator Protector Adapters
Removal Procedure
Important: The lower ball joint and control arm are serviced as an assembly and are not serviced separately.
1. Raise and support the vehicle. Refer to Lifting and Jacking the Vehicle.