
Yukon XL 4WD V8-5.3L (2011)
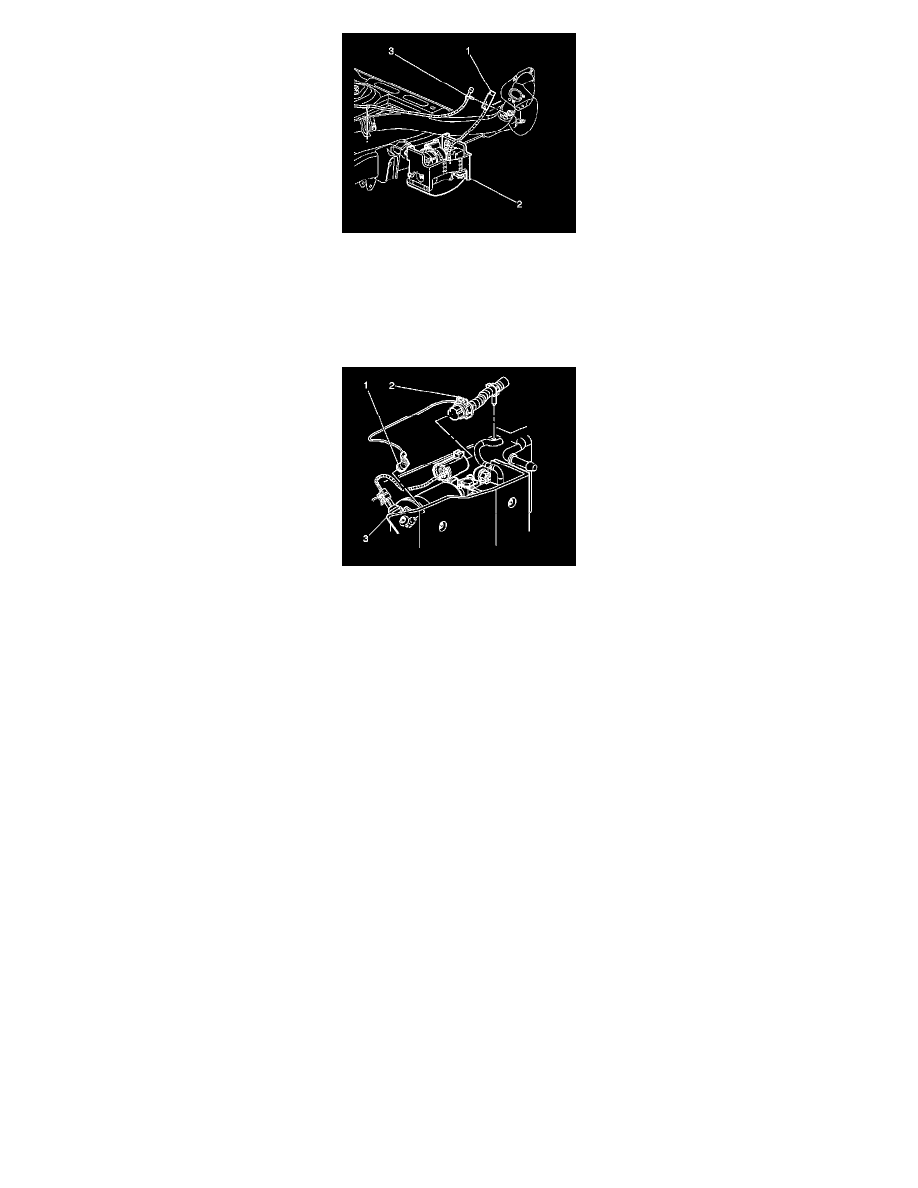
1. Install the air compressor (2) to the vehicle.
Caution: Refer to Fastener Caution See: Service Precautions/Vehicle Damage Warnings/Fastener Caution.
2. Slide the air compressor forward to secure the fasteners into the frame slots and install the mounting nuts. Tighten the bolts to 15 Nm (11 lb ft)
3. Install the air inlet hose (1) to the fuel filler neck bracket.
4. Connect the air tube (1) to the air dryer.
5. Connect the electrical connection (2).
6. Lower the vehicle.
7. perform the following procedure after the air compressor has been replaced.
*
Turn the ignition ON, with the engine OFF.
*
Install a scan tool
*
With the scan tool, operate the air compressor for 30 seconds or until the rear of the vehicle begins to rise.
*
Remove the scan tool.
*
Cycle the ignition OFF, then back ON, with the engine ON to allow the air suspension system to regain the desired rear suspension position.