
Accord L4-1751cc 1800 EK1 (1982)
Timing Marks
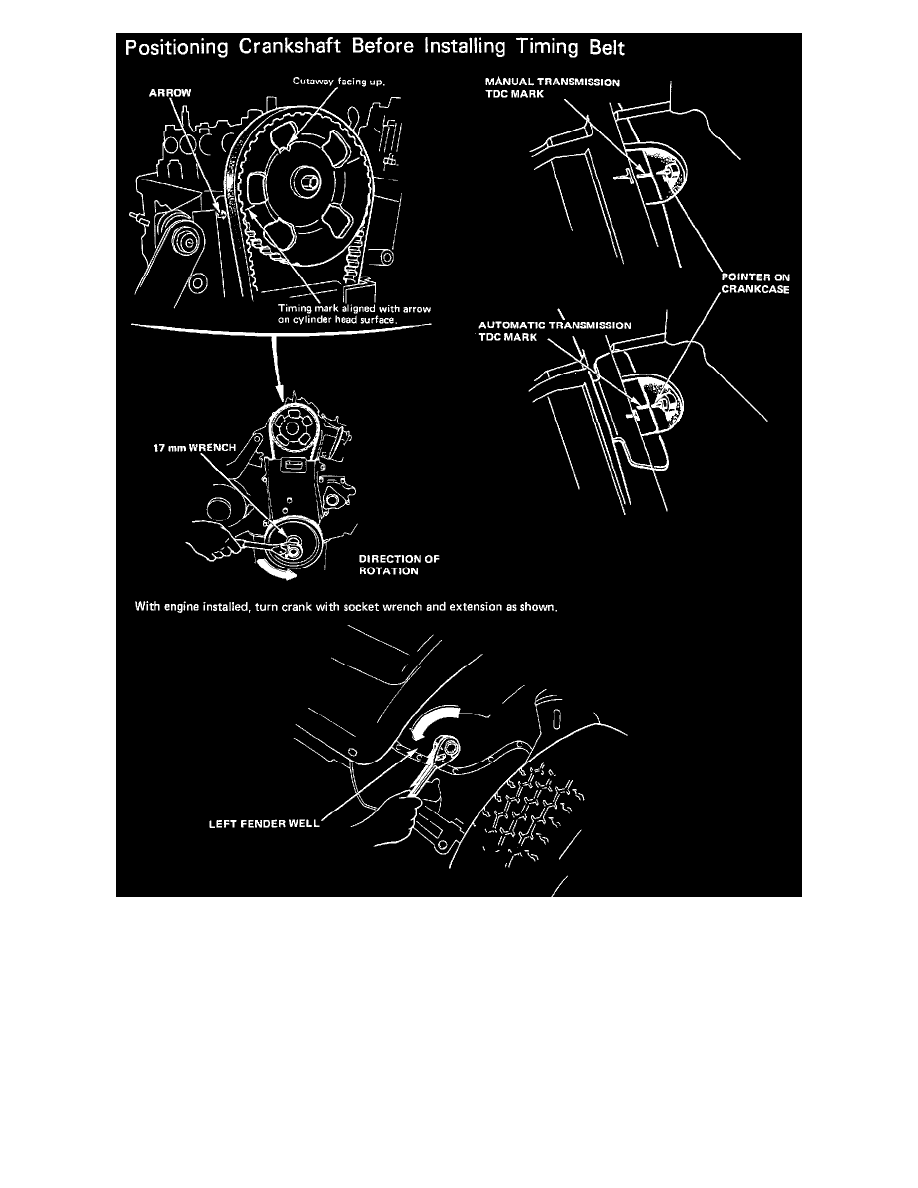
6.
Rotate crankshaft until No. 1 cylinder is at TDC compression stroke and camshaft sprocket timing marks align with edge of cylinder head. "UP"
cast on sprocket will be at top when sprocket is in correct position. Crankshaft may be rotated using a socket wrench inserted through access hole
in left fender well (engine rotates counterclockwise).
7.
Unbolt and remove crank pulley. Remove rubber seal washers from belt tensioner pivot and adjustment bolts protruding through lower belt cover.
Remove belt cover retaining bolts and remove cover from below.
8.
Remove concave belt retainer from end of crankshaft. If timing belt is to be reused, mark direction of rotation before removing.
9.
Loosen belt tensioner pivot and adjustment bolts. Push tensioner away from belt and retighten adjustment bolt to hold tensioner in this position.
Remove belt.
10.
Insert a suitable tool through cam sprocket and brace against cylinder head. Remove bolt and pull sprocket from camshaft.
11.
Without dislodging key, install new sprocket on camshaft. Torque bolt to 22 ftlb (30 Nm).
12.
Install new timing belt by starting at crank gear and working it over cam sprocket in clockwise direction. Ensure that timing marks are properly
aligned.