
Accord L4-1751cc 1800 EK1 (1982)
^
If all attachment points are in good condition, continue with this procedure.
3.
Remove the liquid-vapor separator from the fuel filler pipe.
4.
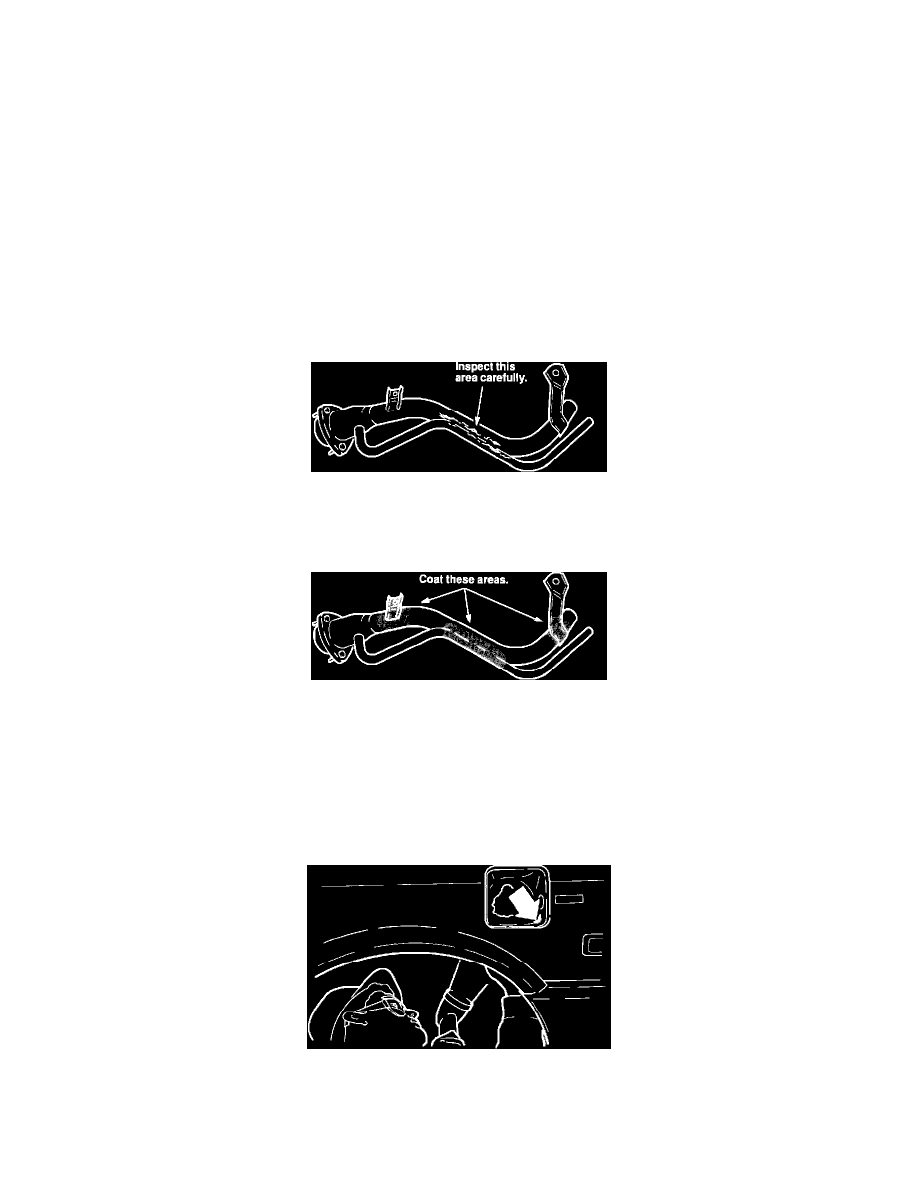
Coat the shaded areas of the liquid-vapor separator with 3M Rust Fighter-I (P/N 08892).
NOTE:
Replace the liquid-vapor separator if it is severely corroded or perforated.
5.
Install the liquid-vapor separator on the new fuel filler pipe.
6.
Go to COMPLETION PROCEDURE.
Corrective Action B
Vehicles Normally Driven Outside Areas of Heavy Salt Use
1.
Remove the fuel filler pipe from the car.
2.
Inspect the pipe's protective coating for cracking or peeling. Pay particular attention to the area where the filler pipe and breather pipe contact each
other.
^
If the coating has cracked or peeled, replace the fuel filler pipe.
^
If the coating is in good condition, spray the shaded areas with 3M Rust Fighter-I wax.
3.
Go to COMPLETION PROCEDURE.
Adapter Plate Installation
1.
Pull back the trunk/cargo area liner, push out the fuel filler door striker.
2.
Remove the fuel filler door.
3.
From underneath the car, check the rear edge of the filler pipe mounting surface where it joins with the wheelwell for signs of rust-through into the
trunk/cargo area. Any holes will have to be sealed later in this procedure to prevent water leaking into the trunk/cargo area.
4.
Use a wire brush to clean the rust out of the mounting cup.