
Accord L4-1955cc 2.0L SOHC FI (1987)
Vacuum Advance Control Solenoid: Testing and Inspection
Test I:
1. Start the engine and warm up the engine to normal operating temperature (the cooling fan comes on).
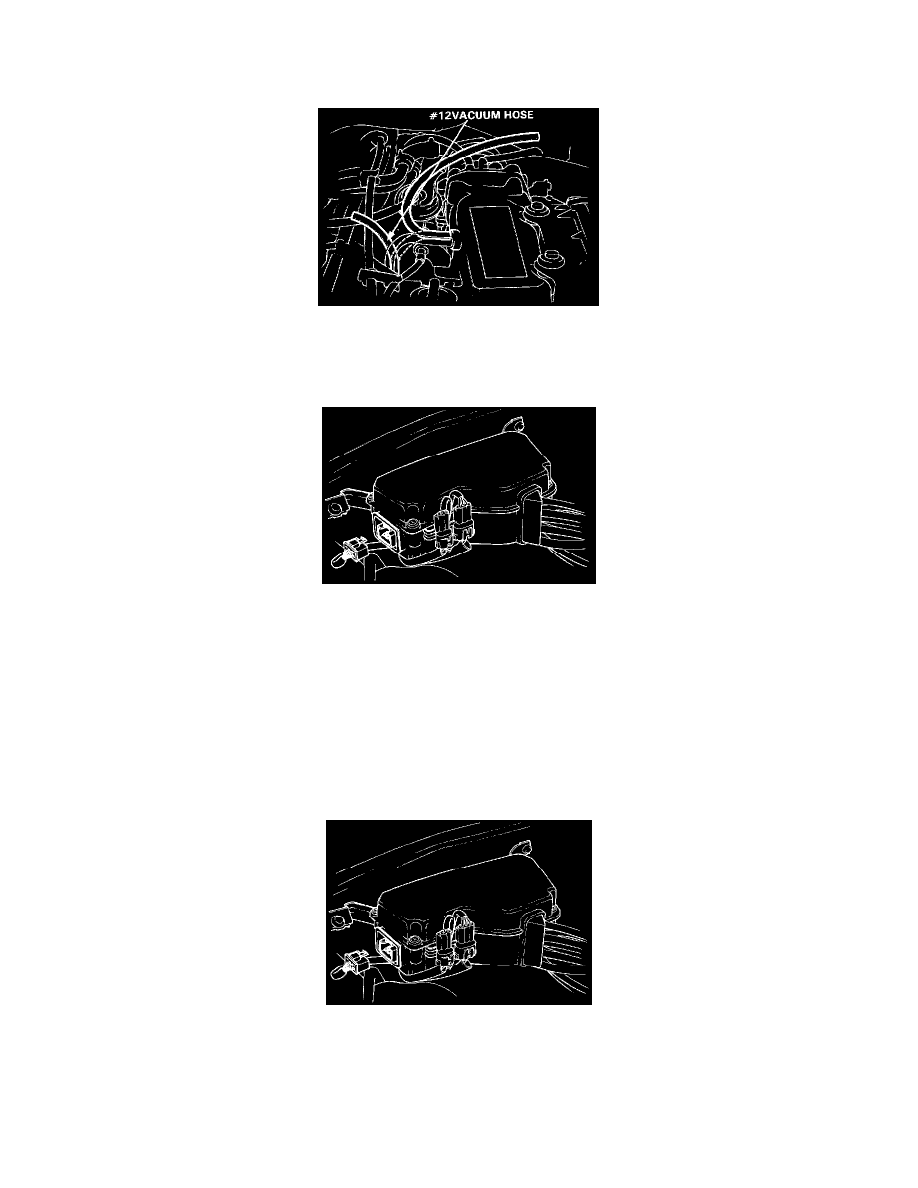
2. Disconnect the # 12 vacuum hose from the intake manifold and check the vacuum.
-
If there is no vacuum, check the vacuum port.
-
If there is vacuum, check the vacuum line for proper connection, cracks, blockage or disconnected hose.
If the vacuum line is OK, re-connect the # 12 vacuum hose.
3. Disconnect the 6-P connector.
4. Attach the positive probe of the voltmeter to Bl/Y terminal of the connector, an the negative probe to W terminal. Raise the engine speed to above
1,500 rpm and check for voltage.
-
If there is voltage, replace the solenoid valve and re-test.
-
If there is no voltage, attach the positive probe of the voltmeter to BI/Y terminal of the connector, and negative probe to body ground. Raise
the engine speed to above 1,500 rpm and check the voltage.
-
If there is no voltage, repair open or short in Bl/Y wire between the solenoid valve and NO. 4 fuse (10A).
-
If there is voltage, inspect for an open in the W wire between the solenoid valve and ECU.
If the wire is OK, see ECU troubleshooting.
Test II:
1. Start the engine and warm up the engine to normal operating temperature (the cooling fan comes on).
2. Disconnect the 6-P connector.
3. Attach the positive probe of the voltmeter to BI/Y terminal of the connector, and the negative probe to W terminal. Check for voltage at idle.
-
If there is no voltage, replace the solenoid valve and re-test.
-
If there is voltage, inspect for a short in the W wire between the solenoid valve and ECU. If the wire is OK, see ECU troubleshooting.