
Accord L4-2.2L SOHC VTEC (1994)
Brake Pad: Service and Repair
WARNING:
^
Never use an air hose or dry brush to clean brake assemblies.
^
Use an OSHA-approved vacuum cleaner, to avoid breathing brake dust.
1. Block the front wheels, loosen the rear wheel lug. nuts slightly, support the rear of car on safety stands, then remove the rear wheels. Release the
parking brake.
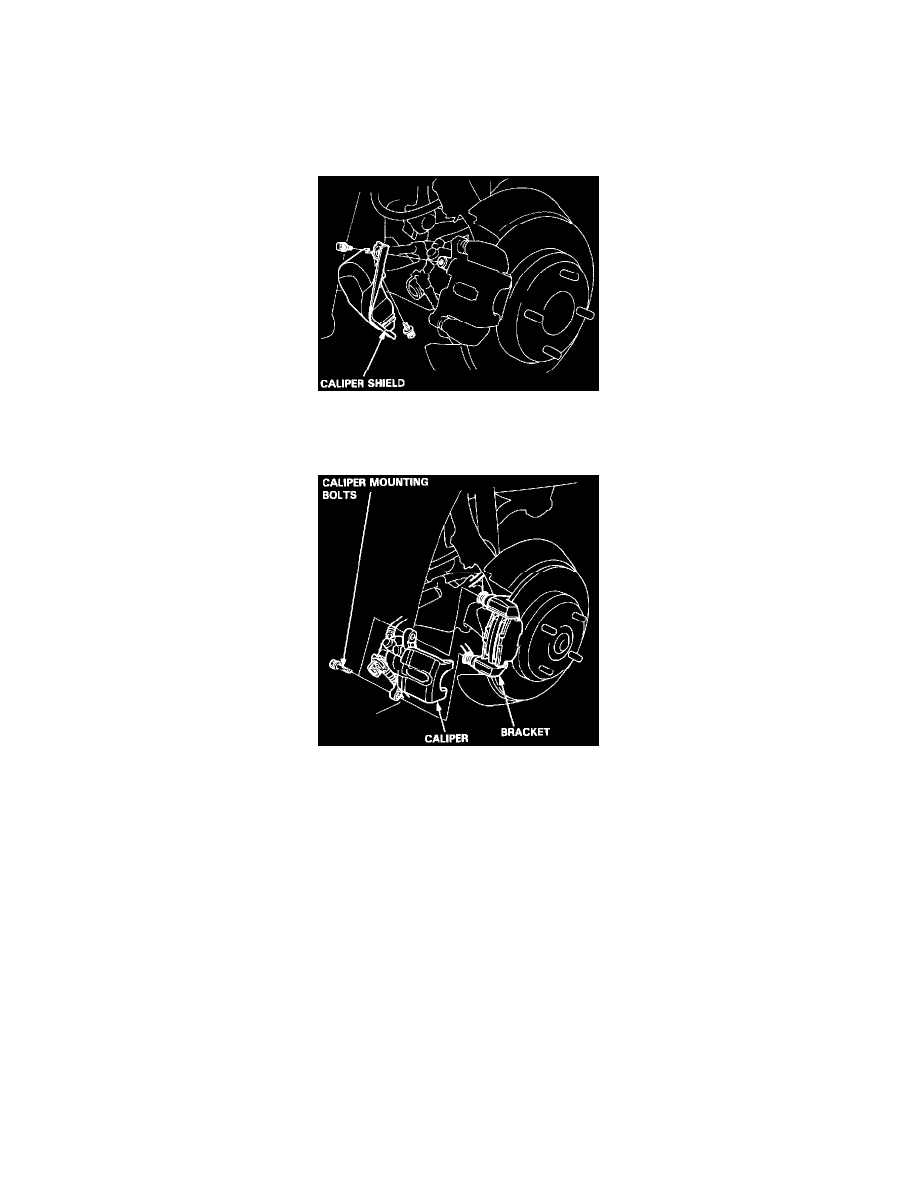
Caliper Shield Removal
2. Remove the caliper shield.
Caliper Removal
3. Remove the two caliper mounting bolts and the caliper from the bracket.
CAUTION:
^
Thoroughly clean the outside of the caliper to prevent dust and dirt from entering inside.
^
Support the caliper with a piece of wire so that it does not hang from the brake hose.
4. Remove the pad shims, pads and pad retainers.
5. Using vernier calipers, measure the thickness of each brake pad lining. If lining thickness is less than service limit, replace the rear pads as a set.
NOTE: Measurement does not include pad backing plate thickness.
Brake Pad Thickness: Accord/Prelude
Standard: 0.35 in (9.0 mm)
Service Limit: 0.06 in (1.6 mm)
Brake Pad Thickness: Civic/Del Sol
Standard: 0.30 in (7.5 mm)
Service Limit: 0.06 in (1.6 mm)
6. Clean the caliper thoroughly; remove any rust, and check for grooves or cracks.