
Accord L4-2156cc 2.2L SOHC (1991)
7.
Reinstall the antenna nut, and tighten it to 2.3 N-m (0.23 kg-m, 20 lb.in.).
8.
Tighten the lower mounting nut.
Antenna Mast Kit Replacement
The Antenna Mast Kit includes an improved antenna nut (O-ring type) and an insulator.
1.
Turn the ignition switch ON; then, turn the radio on to extend the antenna mast.
2.
Pull the antenna mast out of the antenna tube; then, discard the antenna mast.
3.
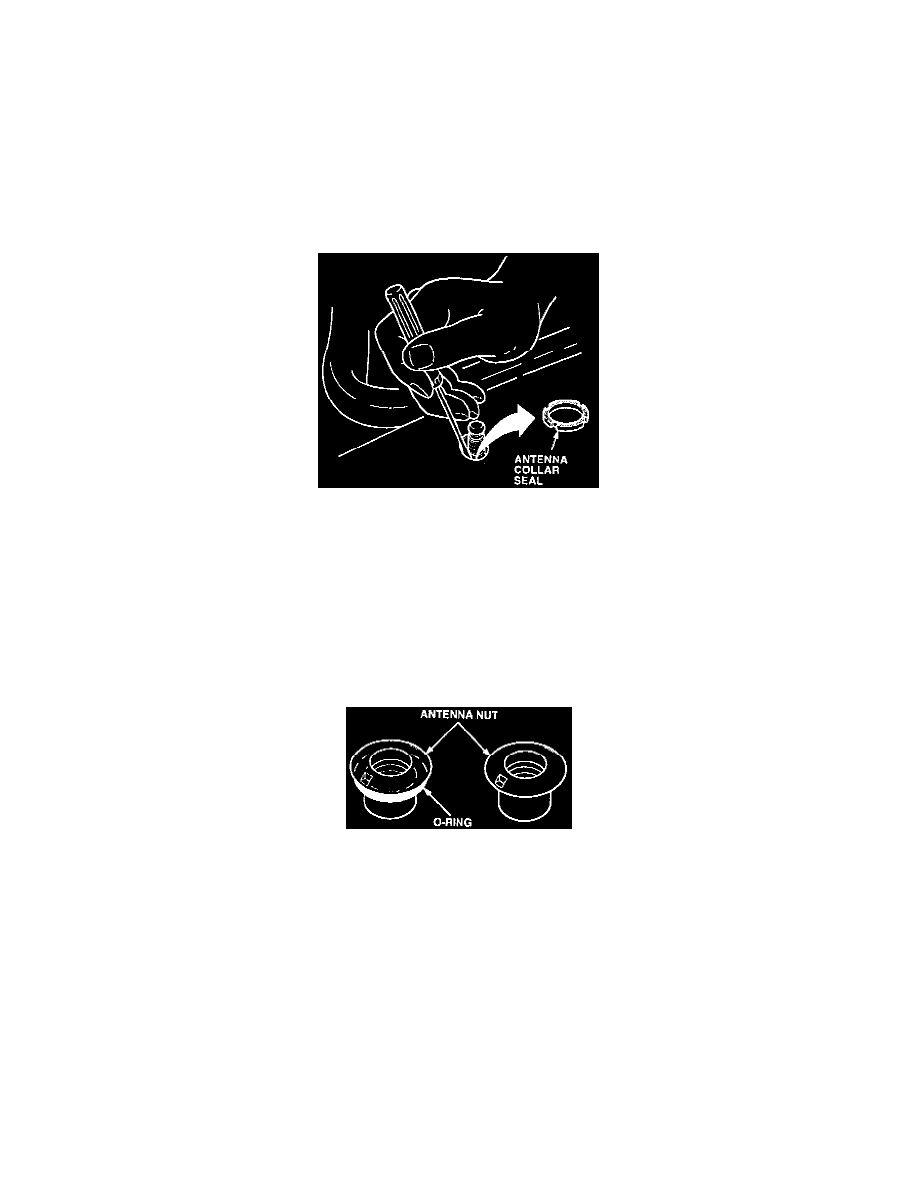
Remove the antenna collar seal, and discard it.
4.
Insert the new antenna mast into the antenna tube; then, turn the radio off to retract the antenna mast.
5.
Loosen the lower mounting nut for the antenna assembly.
6.
Install the new insulator and antenna nut provided with the kit. Tighten the antenna nut to 2.3 N-m (0.23 kg-m, 20 lb.in.).
7.
Tighten the lower mounting nut.
Antenna Tube Replacement (Disassembly)
1.
Inspect the antenna nut.
^
If the antenna nut has an O-ring, do not install a collar seal in the replacement collar.
^
If the antenna nut does not have an O-ring, you must install a collar seal in the replacement collar.
2.
Turn the ignition switch ON; then, turn the radio on to extend the antenna mast.
3.
Remove the antenna mast from the antenna tube. Retain the mast.