
Accord L4-2156cc 2.2L SOHC (1991)
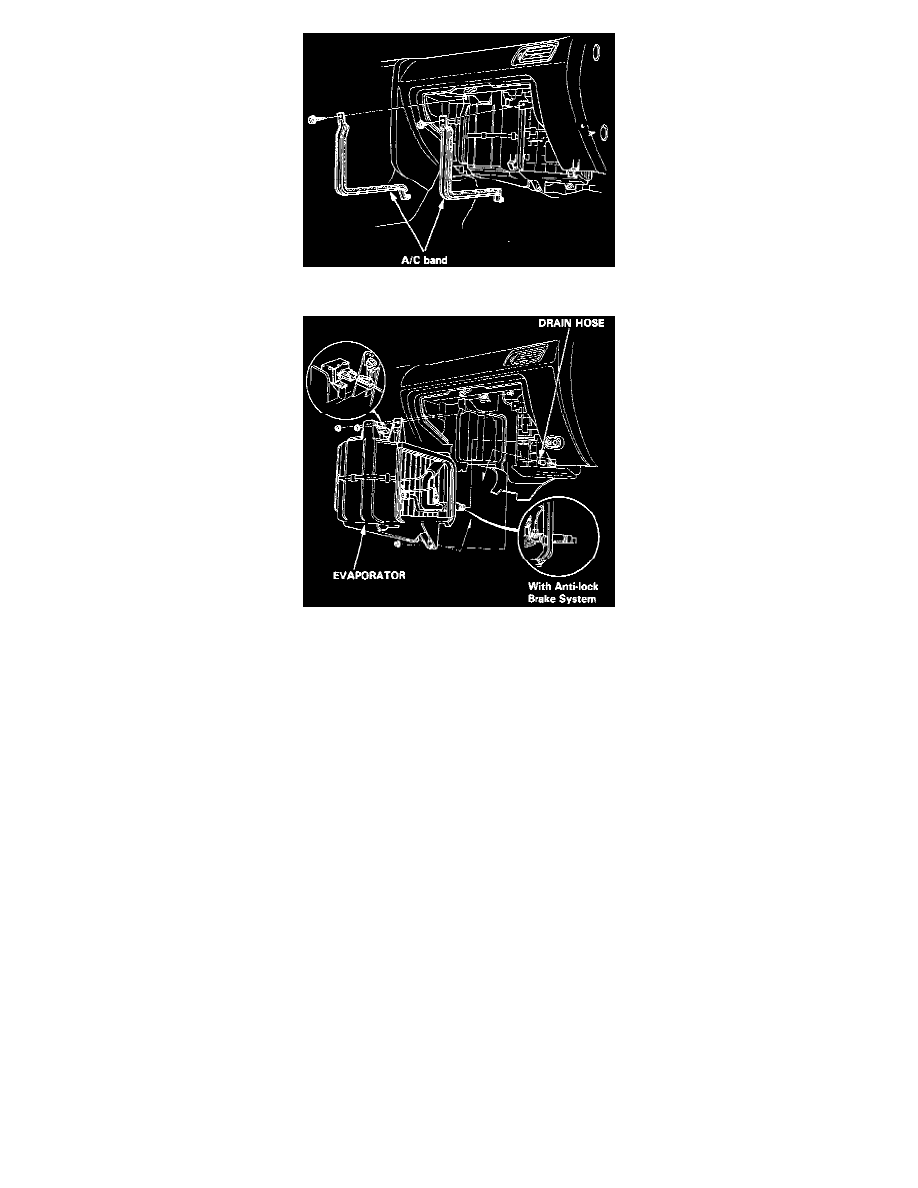
5. Remove the two self-tapping screws and A/C bands.
6. Disconnect the connector from the A/C thermostat.
7. Remove the nuts and drain hose, then remove the evaporator.
8. Install in the reverse order of removal, and:
-
Add refrigerant oil.
-
Replace 0-rings with new ones at the pipe joints, and apply a thin coat of refrigerant oil before installing them.
-
Apply a sealant to the grommets.
-
Make sure that there is no air leakage.
-
Charge the system and test the performance.