
Accord L4-2156cc 2.2L SOHC (1991)
7.
Check the distributor cap for cracks, wear and damages. If necessary, clean or replace it.
REASSEMBLY
Rotor Position
8.
Install the rotor, then turn it so that it faces in the direction shown (toward the No. 1 cylinder).
9.
Set the thrust washer and coupling on the shaft.
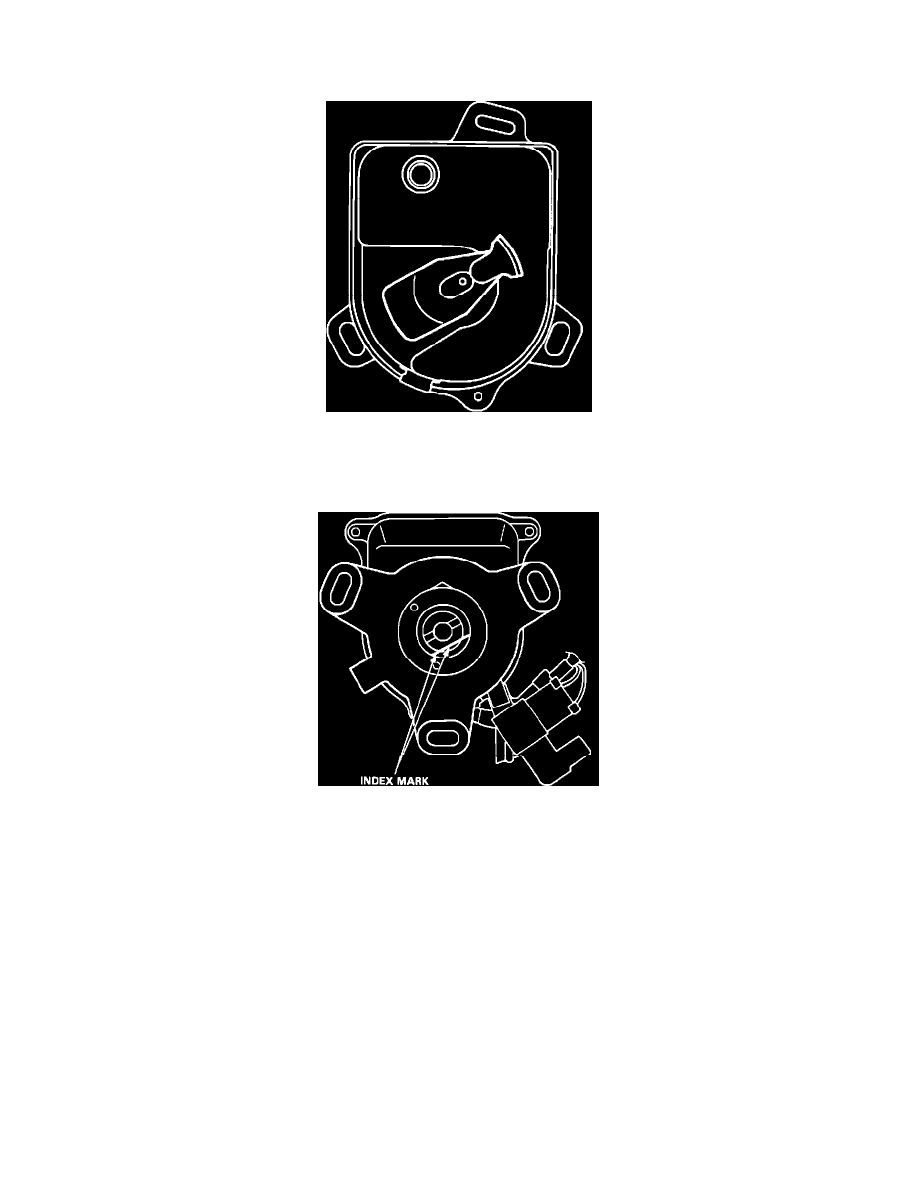
Distributor Index
10.
Check that the rotor is still pointing toward the No. 1 cylinder, then align the index mark on the housing with the index mark on the coupling.
11.
Drive in the pin and secure it with the pin retainer.
INSTALLATION
12.
Coat a new 0-ring with engine oil then install it.
13.
Slip the distributor into position.
NOTE: The lugs on the end of the distributor and its mating grooves in the camshaft end are both offset to eliminate the possibility of installing
the distributor 180° out of time.