
Accord L4-2156cc 2.2L SOHC (1991)
Reassemble the distributor in the reverse order of disassembly.
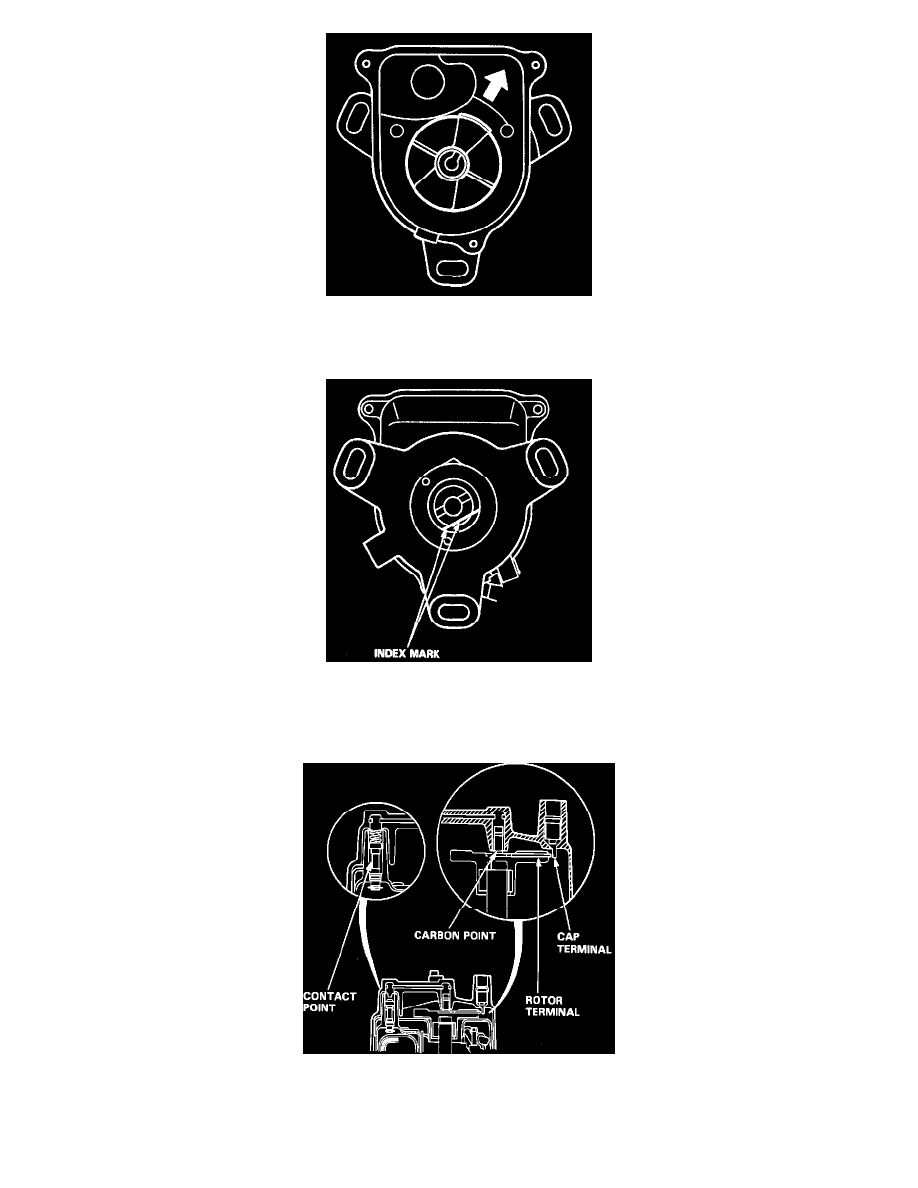
1. Install the rotor, then turn it so that it faces in the direction shown (toward the No.1 cylinder).
2. Set the thrust washer and coupling on the shaft.
3. Check that the rotor is still pointing toward the No.1 cylinder, then align the index mark on the housing with the index mark on the coupling.
4. Drive in the pin and secure it with the pin retainer.
INSPECTION
Cross Section Of Distributor
5.
Check for rough or pitted rotor and cap terminals.
6.
Scrape or file off the carbon deposits. Smooth the rotor terminal with an oil stone or #600 sandpaper if rough.