
Accord L4-2156cc 2.2L SOHC (1991)
Voltage Regulator: Testing and Inspection
Prior to performing test, check for proper alternator belt tension and proper electrical connections at alternator. Also check battery condition and for
blown fuses at fuse panel and engine compartment relay panel.
1.
Disconnect electrical connector from alternator.
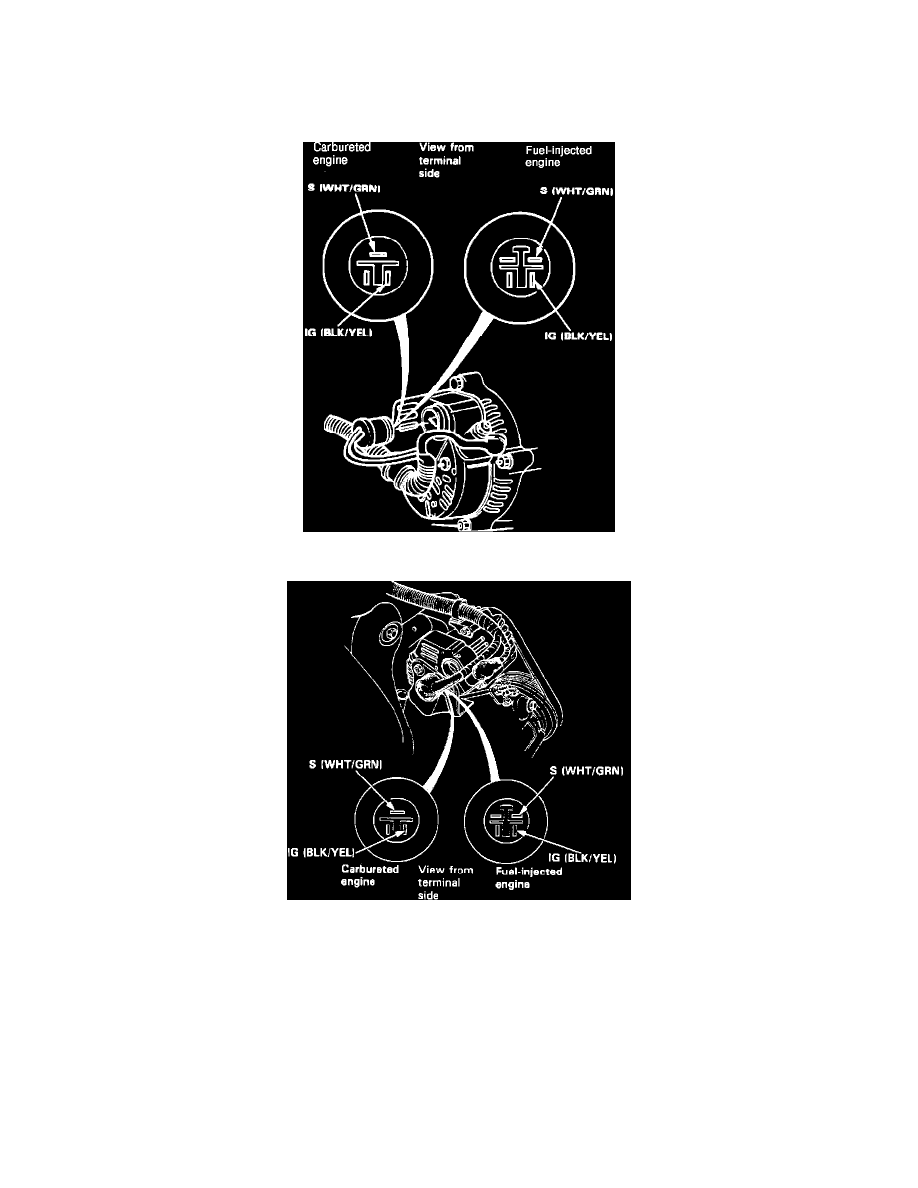
Fig. 3 Alternator Electrical Connector Pin Identification. 1989-91 Accord
Fig. 4 Alternator Electrical Connector Pin Identification. 1989-91 Prelude
2.
With ignition switch On, check for battery voltage at alternator connector terminals IG and S On 1989 models or IG and on 1990-91 models, Figs.
3 and 4. If battery voltage is indicated at both terminals, proceed to step 3. If no voltage is indicated, check for the following:
a. On 1989 models, check for open circuits in black/yellow wire between fuse panel and voltage regulator, and white/green wire between engine
compartment relay panel and voltage regulator.
b. On 1990-91 models, check for open circuit in white/green wire between engine compartment relay panel and voltage regulator.
c. On all models, check for blown fuse in fuse panel.