
Accord V6-3.0L (2003)
^
To replace a PCB, you need the ESD/anti-static mat from the PCB tool kit (P/N 07AAZ-SDAA170) and a clean work surface.
^
Before you open the audio unit or handle the replacement PCB, attach the wrist strap (included in the PCB tool kit) around one of your wrists,
and attach the alligator clip to the ESD mat.
^
Replacement PCBs come with a new serial number label, an anti-theft code card, and two labels with the new serial number and anti-theft code.
Apply the serial number label to the anti-theft card, and give the card to the customer. Make sure the customer knows the importance of keeping
the anti-theft code card in a safe place. Advise them to discard the original anti-theft code card.
^
Check that the AM/FM radio, CD, and HVAC all work before doing this repair, as this repair is for illumination problems only. Other problems
and repairs are not covered by this bulletin.
1. Press the eject button, and remove all of the CDs from the audio unit.
2. Remove the audio unit from the dashboard:
^ Refer to page 22-372 of the 2003-2007 Accord Service Manual, or
^ Online, enter keywords AUDIO PANEL, and select Audio-HVAC Display Panel Removal/Installation from the list.
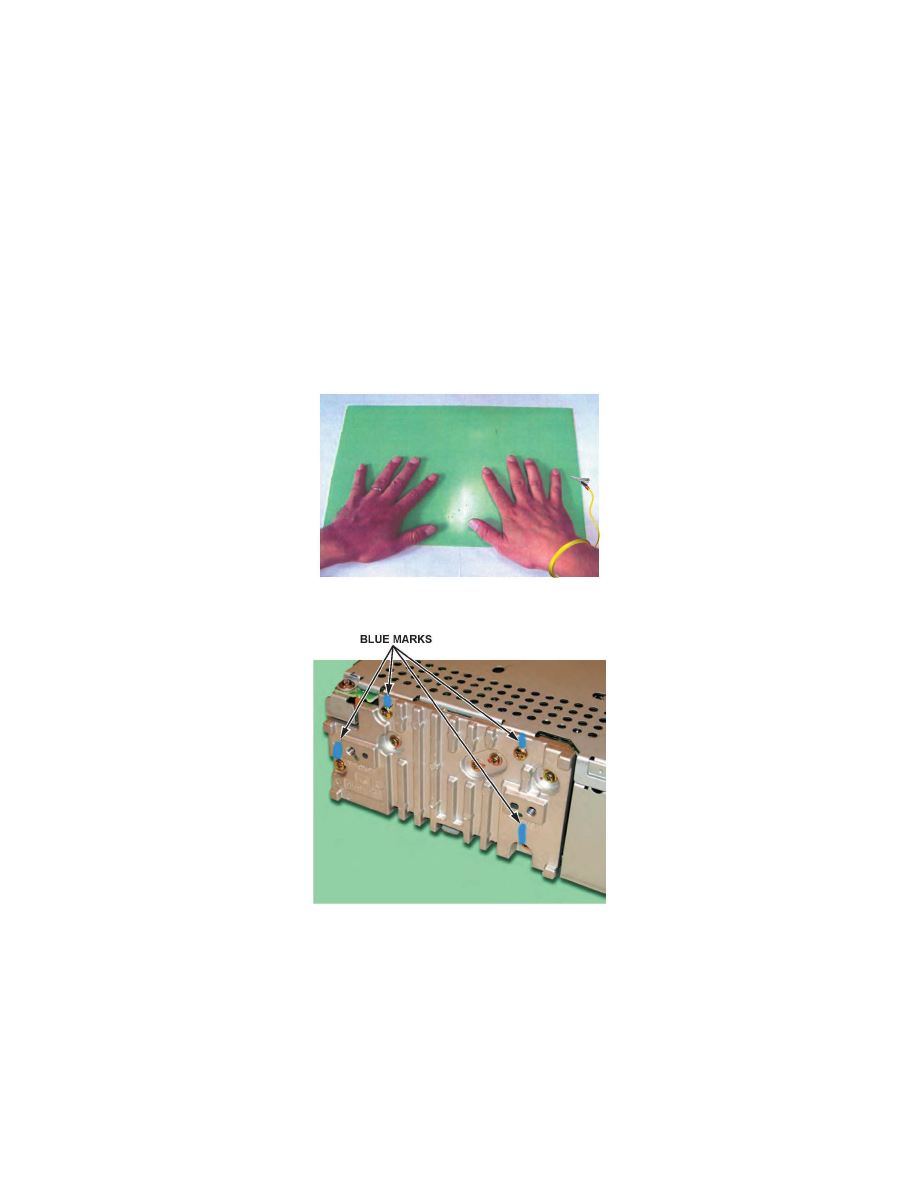
3. Place the audio unit on the ESD/anti-static mat. Then attach the wrist strap around one of your wrists, and attach the alligator clip to the ESD mat.
4. Using the blue marker, mark the four 3 x 8 mm screws on the audio unit's heat sink as shown. Then remove the four screws, and place them in the
section of the screw container marked with the blue dot.