
Accord V6-3.0L Hybrid (2005)
Brake Master Cylinder: Service and Repair
Master Cylinder Replacement
NOTE: Do not spill brake fluid on the vehicle; it may damage the paint; if brake fluid does contact the paint, wash it off immediately with water.
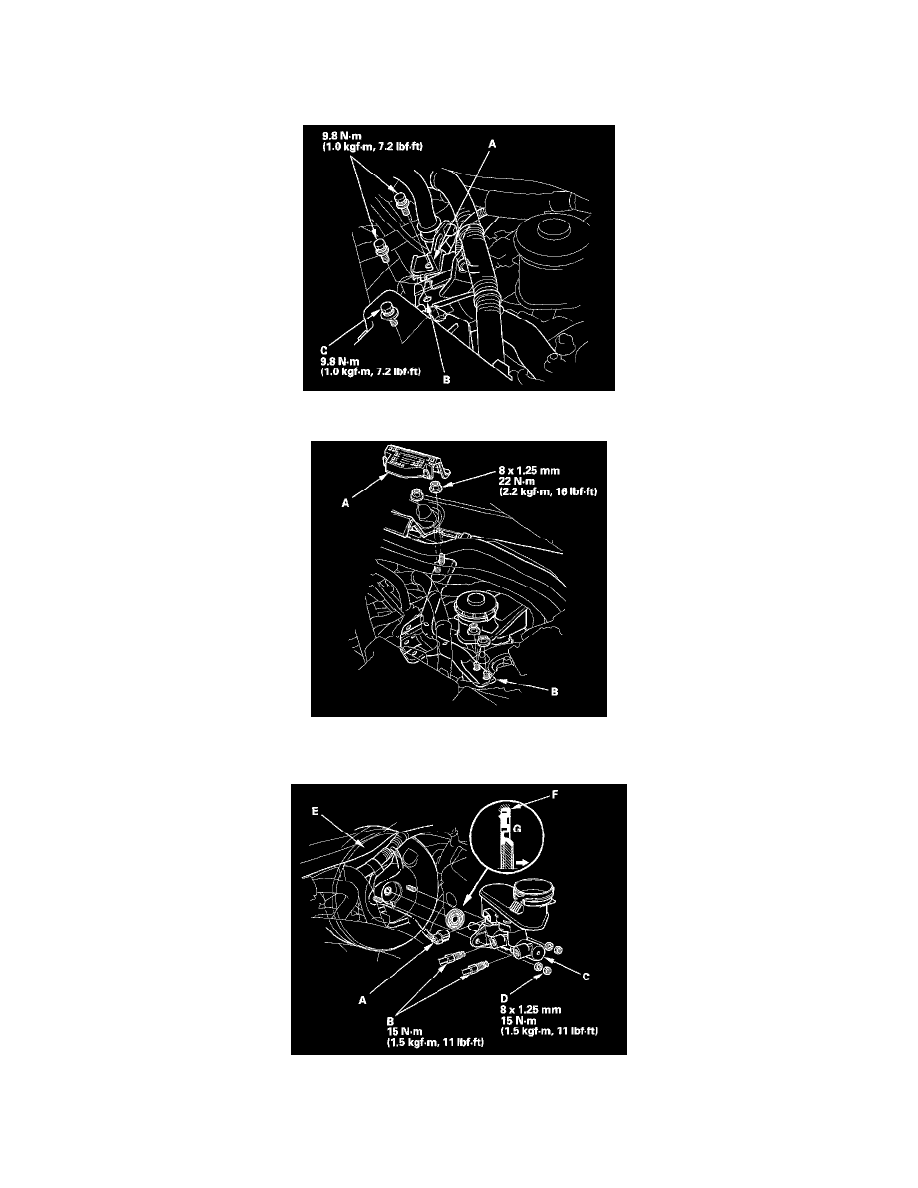
1. Remove the vacuum hose clamp (A), harness clamp (B), and the under-hood fuse/relay box mounting bolt (C) from the driver's side strut brace.
2. Remove the access panel (A), then remove the driver's side strut brace (B).
3. Remove the reservoir cap and brake fluid from the master cylinder reservoir.
4. Disconnect the brake fluid level switch connector (A).
5. Disconnect the brake lines (B) from the master cylinder (C). To prevent spills, cover the hose joints with rags or shop towels.
6. Remove the master cylinder mounting nuts (D) and washers.
7. Remove the master cylinder from the brake booster (E). Be careful not to bend or damage the brake lines when removing the master cylinder.