
Accord V6-3.0L Hybrid (2005)
Oil Pan: Service and Repair
Oil Pan Removal
Oil Pan Removal
1. If the engine is out of the vehicle, go to step 29.
2. Drain the engine oil.
3. Remove the front grille cover.
4. Remove the intake manifold cover.
5. Disconnect the connectors from the steering gearbox.
6. Remove the steering joint cover. Lock the steering wheel. Make a reference mark across the steering joint and steering gearbox pinion shaft.
Remove the steering joint bolt, and disconnect the steering joint from the steering gearbox pinion shaft. To prevent damage to the cable reel, do
not turn the steering wheel once the steering joint has been removed.
7. Raise the vehicle on the hoist to full height.
8. Remove the front wheels.
9. Remove the splash shield.
10. Disconnect the stabilizer links.
11. Remove the damper fork.
12. Separate the tie-rod end ball joints from the knuckles.
13. Separate the knuckles from the lower arms.
14. Remove exhaust pipe A.
15. Remove the bolt securing the transmission lower mount.
16. Lower the vehicle on the hoist.
17. Remove the connector bracket from the front cylinder head; use the bracket bolt hole to attach engine balancer bar front arm.
18. Remove the harness clamp bracket from the rear cylinder head; use the bracket bolt hole to attach engine balancer bar rear arm.
19. Lift and support the engine with engine hanger and engine balancer bar. Attach the front arm to the front cylinder head with a spacer and the
connector bracket bolt (10 x 1.25 mm). Attach the rear arm to the rear cylinder head with the harness clamp bracket bolt (8 x 1.25 mm).
20. Remove the harness clamp, then disconnect the front active control engine mount actuator connector. Remove the front mount stop, then remove
the front mount bolt.
21. Disconnect the rear active control engine mount actuator connector. Remove the rear mount stop, then remove the rear mount bolt.
22. Remove the harness clamp, then remove the shift cable bracket.
23. Raise the vehicle on the hoist to full height.
24. Remove both mid-mounts.
25. Make the appropriate reference lines at both ends of the subframe that line up with the edge of the stiffeners.
26. Attach the special tool to the subframe by hanging the belt over the front of the subframe, then secure the belt with its stop.
27. Raise the jack and line up the slots in the special tool arms with the bolt holes on the jack base, then securely attach them with four bolts.
28. Remove the subframe.
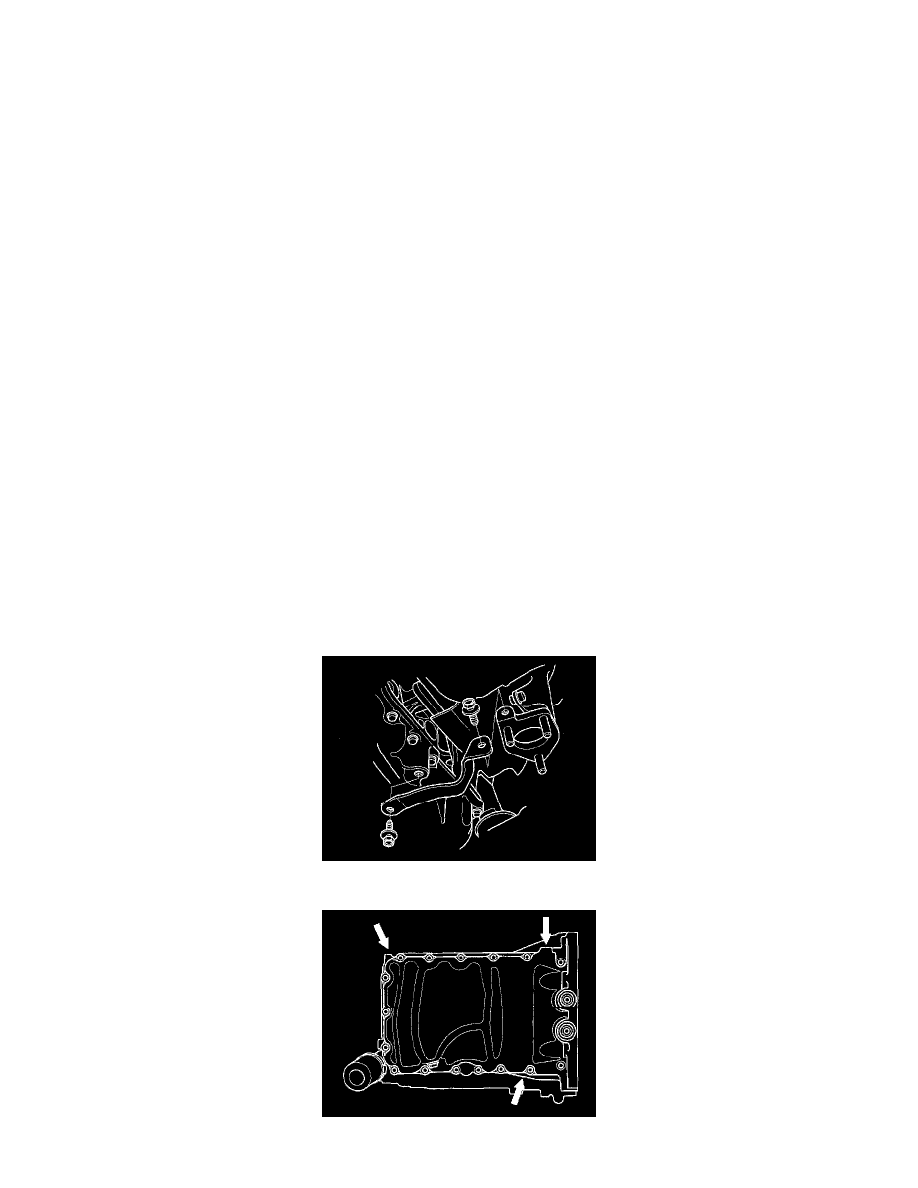
29. Remove the rear warm up three way catalytic converter (rear WU-TWC) bracket.
30. Remove the sealing bolts (A) and the four bolts (B) securing the transmission.