
Accord V6-3.0L Hybrid (2005)
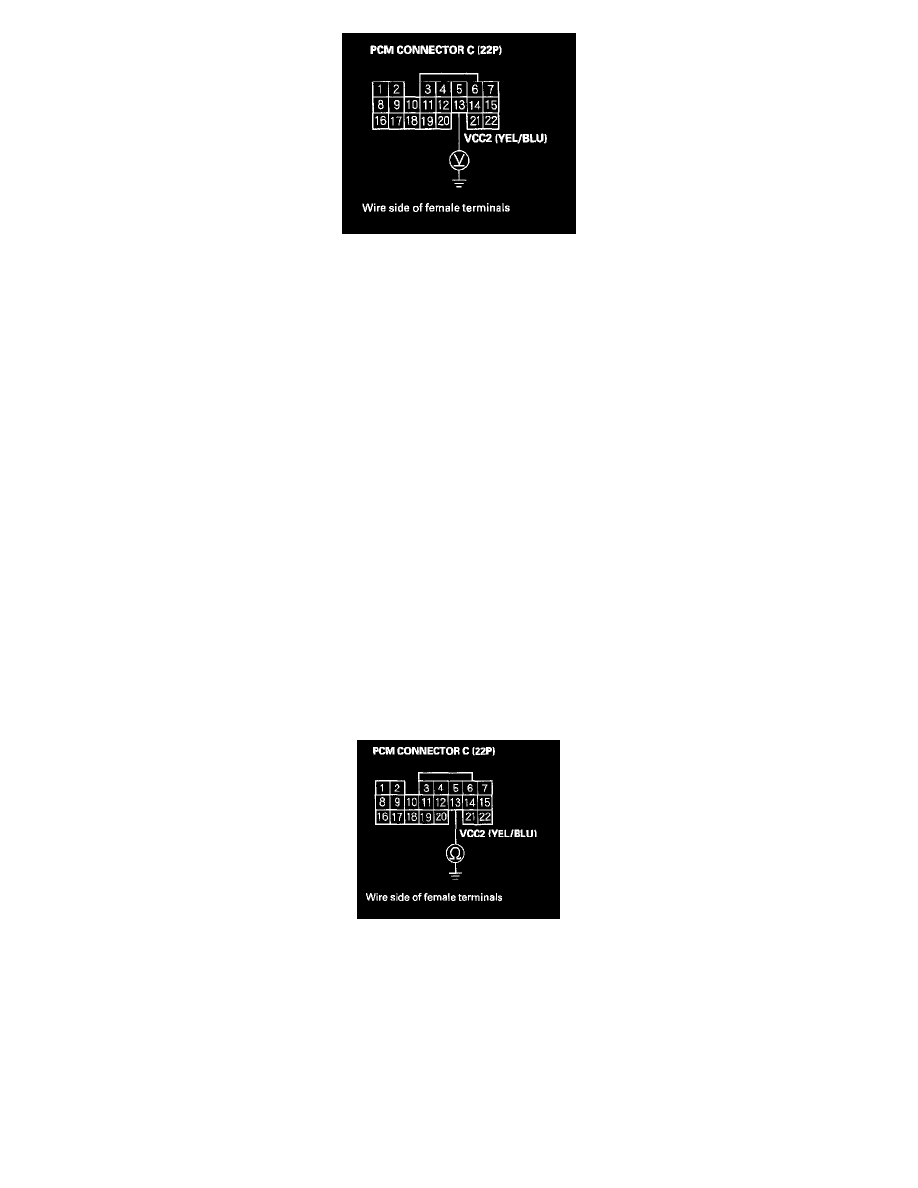
61. Disconnect the connector from each of the following sensors, one at a time, and measure voltage between body ground and PCM connector
terminal C13 with the ignition switch ON (II).
-
Accelerator pedal position (APP) sensor
-
Intake manifold tuning (IMT) actuator
-
Exhaust gas recirculation (EGR) valve
-
Engine oil pressure (EOP) sensor
-
Fuel tank pressure (FTP) sensor
-
Input shaft (mainshaft) speed sensor
Is there about 5 V?
YES - Replace the part that restored 5 V when disconnected.
NO - Go to step 62.
62. Turn the ignition switch OFF.
63. Jump the SCS line with the HDS.
64. Disconnect the connectors from these sensors:
-
Accelerator pedal position (APP) sensor
-
Intake manifold tuning (IMT) actuator
-
Exhaust gas recirculation (EGR) valve
-
Engine oil pressure (EOP) sensor
-
Fuel tank pressure (FTP) sensor
-
Input shaft (mainshaft) speed sensor
65. Disconnect PCM connector C (22P).
66. Check for continuity between PCM connector terminal C13 and body ground.
Is there continuity?
YES - Repair short in the wire between the PCM (C13) and the APP sensor, the EOP sensor, the IMT actuator, the EGR valve, the FTP sensor, or
the input shaft (mainshaft) speed sensor.
NO - Update the PCM if it does not have the latest software, or substitute a known-good PCM, then recheck. If the symptom/indication goes away
with a known-good PCM, replace the original PCM.