Accord V6-3.0L Hybrid (2005)

Relay Box: Service and Repair
Under-Dash Fuse/Relay Box
Removal and Installation
SRS components are located in this area. Review the SRS component locations and the precautions and procedures before performing repairs or service.
Removal
1. Make sure you have the anti-theft codes for the radio and the navigation system, then write down the customer's audio presets.
2. Connect the HDS to the data link connector (DLC), and ground the SCS.
3. Disconnect the battery negative cable, then disconnect the positive cable, and wait at least 3 minutes.
4. Remove the left front door sill trim and left kick panel.
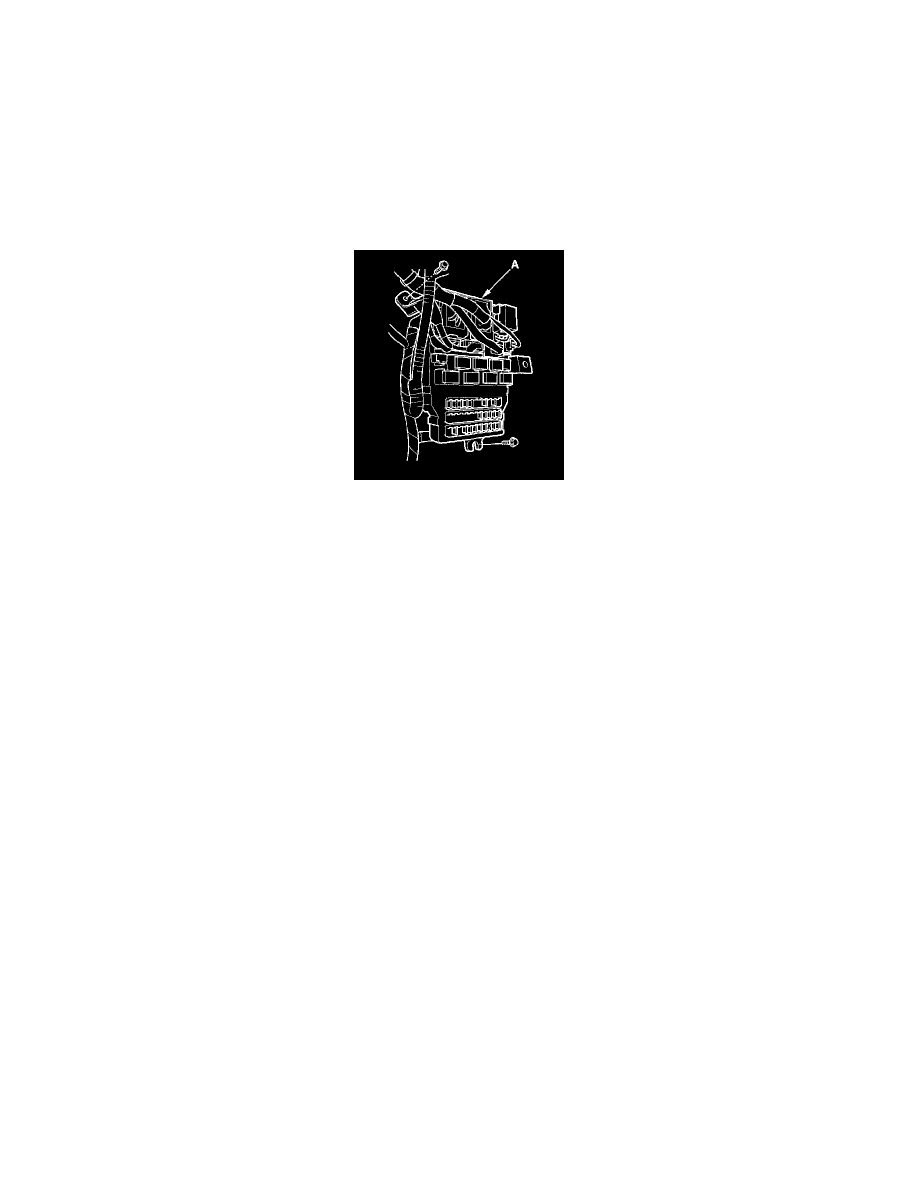
5. Disconnect the connectors from the fuse side of the under-dash fuse/relay box (A).
6. Remove the two mounting bolts and pull the fuse/relay box away from the body.
7. Disconnect the connectors and remove the under-dash fuse/relay box.
NOTE: Some SRS harness connectors are spring-loaded lock type.
8. Carefully remove the relays. Do not use pliers.
Installation
1. Install the removed relays.
2. Connect the connectors to the under-dash fuse/relay box, then install the under-dash fuse/relay box in the reverse order of removal.
3. Install the removed parts in the reverse order of removal.
4. Connect both the positive cable and negative cable to the battery.
5. Reset the power window control unit.
6. Enter the anti-theft codes for the radio and navigation system, then enter the customer's audio station presents.
7. If the IMA battery level gauge (BAT) displays no segments, start the engine, and hold it between 3,500 rpm and 4,000 rpm without load (in Park
or neutral) until the BAT displays at least three segments.
8. Confirm that all systems work properly.
