Accord V6-3.0L Hybrid (2005)

Pressure Regulating Solenoid: Testing and Inspection
A/T Clutch Pressure Control Solenoid Valve A Test
A/T Clutch Pressure Control Solenoid Valve A Test
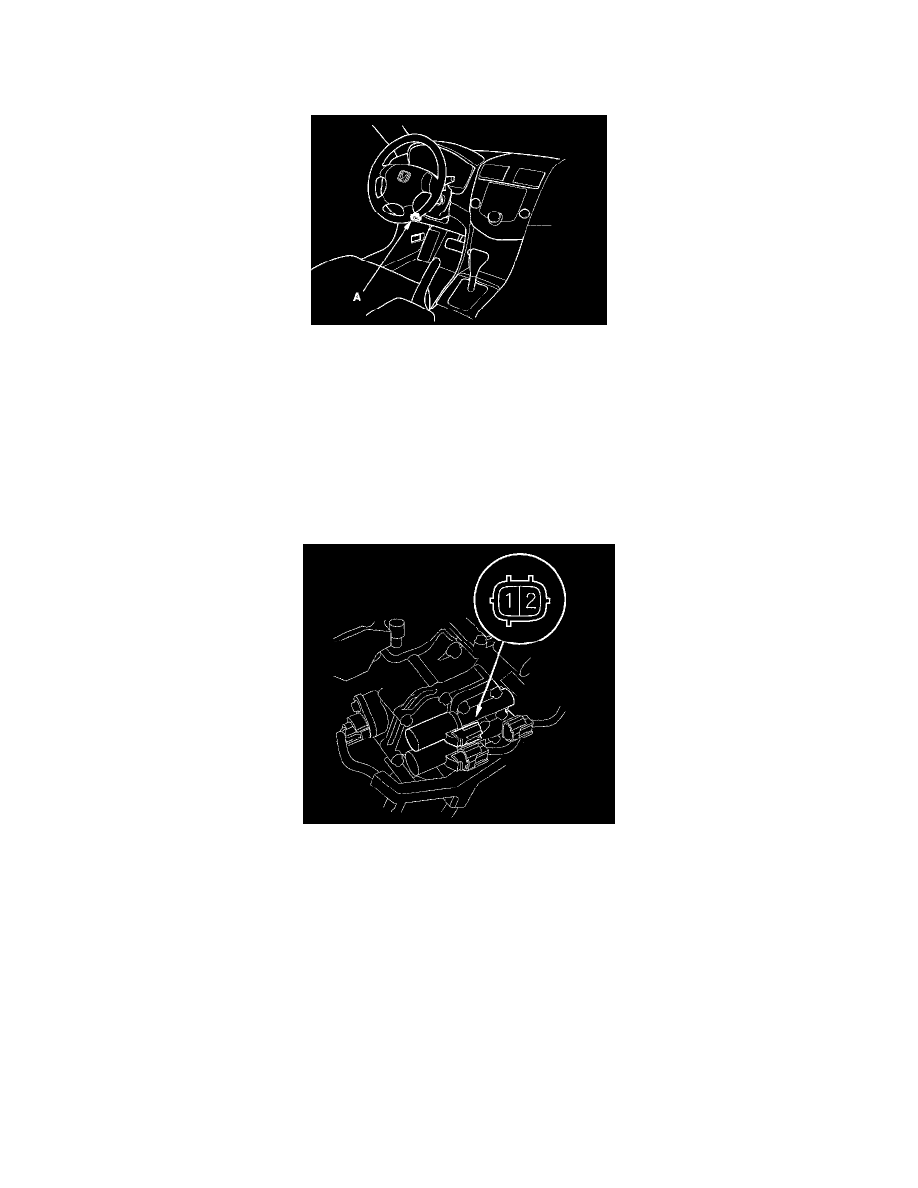
1. Connect the HDS to the DLC (A).
2. Choose Clutch Pressure Control (Linear) Solenoid A in Miscellaneous Test Menu on the HDS.
3. Test the A/T clutch pressure control solenoid valve A with the HDS.
^
If the valve tests OK, the test is complete. Disconnect the HDS.
^
If the valve does not test OK, follow the instructions on the HDS.
^
If the valve does not test OK, and the HDS does not determine the cause, go to step 4.
4. Get the customer's radio anti-theft code (navigation code), and write down the customer's audio presets.
5. Disconnect the negative terminal from the battery, then disconnect the positive terminal.
6. Remove the battery hold-down bracket, and remove the battery and battery tray.
7. Remove the intake air duct and air cleaner housing.
8. Remove the battery base.
9. Disconnect the A/T clutch pressure control solenoid valve A connector.
10. Measure the A/T clutch pressure control solenoid valve A resistance at the connector terminals.
Standard: 3 - 10 ohms
^
If the resistance is out of standard, replace the A/T clutch pressure control solenoid valve A.
^
If the resistance is within the standard, go to step 11.
11. Connect the negative battery terminal to the solenoid valve A connector terminal No. 2, and connect the positive battery terminal to the connector
terminal No. 1.
^
If a clicking sound is heard, the valve is OK. Reconnect the connector, and install all removed parts.
^
If no clicking sound is heard, go to step 12.
