
Accord V6-3.5L (2010)
Rear Shelf: Service and Repair
Interior Trim Removal/Installation - Rear Shelf Area
Special Tools Required
-
KTC Trim Tool Set SOJATP2014
*
Rear Shelf
SRS components are located in this area. Review the SRS component locations, 2-door See: Restraint Systems/Air Bag Systems/Locations/SRS
Component Location Index (2-Door), 4-door See: Restraint Systems/Air Bag Systems/Locations/SRS Component Location Index (4-Door) and the
precautions and procedures See: Dashboard / Instrument Panel/Air Bag(s) Arming and Disarming/Service and Repair before doing repairs or service.
NOTE:
-
Put on gloves to protect your hands.
-
Take care not to bend or scratch the rear shelf or the trim.
-
Use the appropriate tool from the KTC trim tool set to avoid damage when removing components.
1. Remove the C-pillar trim, both sides:
-
2-door See: Trim Panel/Service and Repair/Interior Trim Removal/Installation - Pillar Areas
-
4-door See: Trim Panel/Service and Repair/Interior Trim Removal/Installation - Pillar Areas
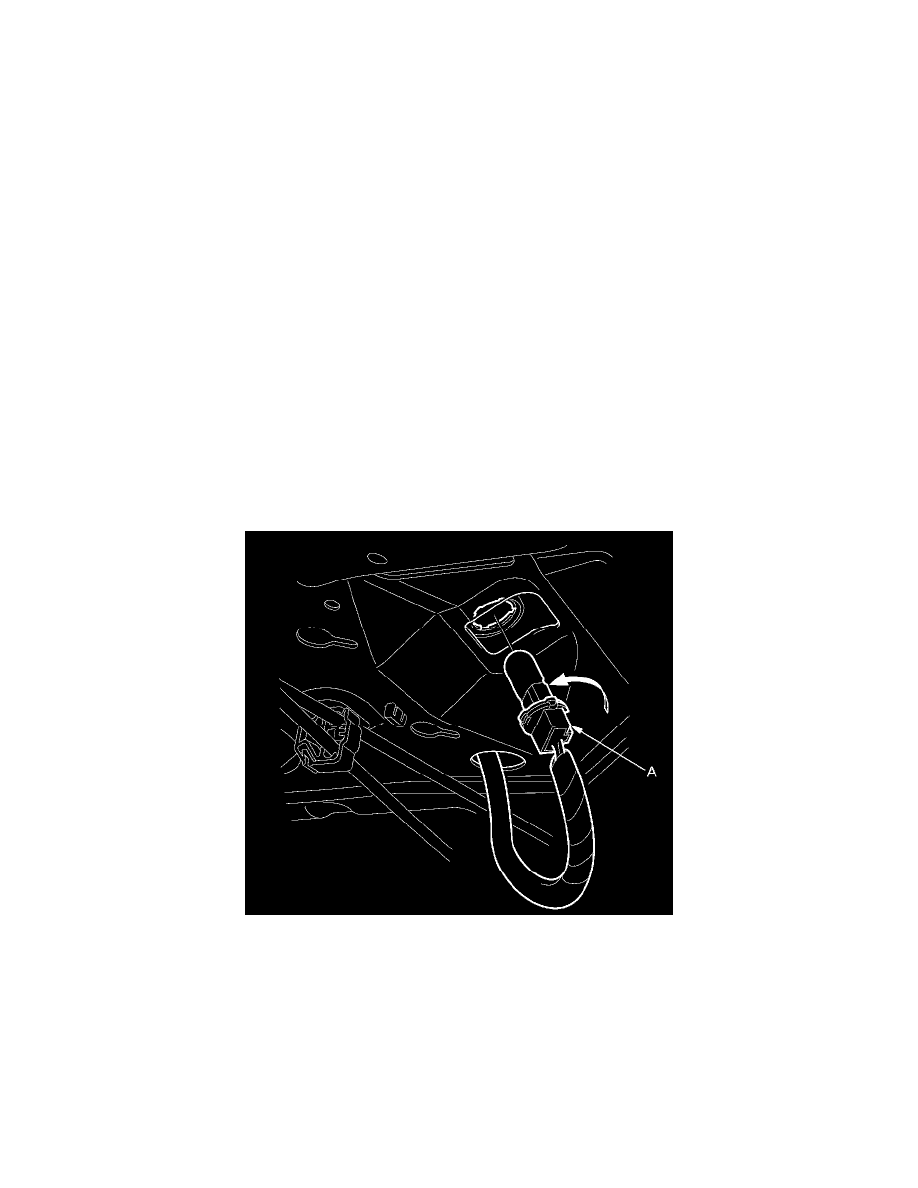
2. From the trunk compartment, turn the high mount brake light socket (A) 45 ° counterclockwise to remove the socket. 4-door is shown; 2-door is
similar.
3. For some models: Disconnect the Active Noise Cancellation (ANC) rear microphone subharness connector (A).
2-door