
Accord V6-3.5L (2010)
Compression Check: Testing and Inspection
Engine Compression Inspection (J35Z3 Engine)
Engine Compression Inspection
NOTE: After the inspection, you must reset the engine control module (ECM). Otherwise, the ECM will continue to stop the fuel injectors from
operating.
1. Warm up the engine to normal operating temperature (cooling fan comes on).
2. Turn the ignition switch to LOCK (0).
3. Connect the Honda Diagnostic System (HDS) to the data link connector (DLC) See: Computers and Control Systems/Testing and
Inspection/Initial Inspection and Diagnostic Overview.
4. Turn the ignition switch to ON (II).
5. Make sure the HDS communicates with the vehicle and the ECM. If it does not communicate, troubleshoot the DLC circuit See: Computers and
Control Systems/Testing and Inspection/Component Tests and General Diagnostics/DLC Circuit Troubleshooting.
6. Select ALL INJECTORS STOP in the PGM-FI INSPECTION menu with the HDS.
7. Turn the ignition switch to LOCK (0).
8. Remove the six ignition coils See: Ignition System/Ignition Coil/Service and Repair.
9. Remove the six spark plugs.
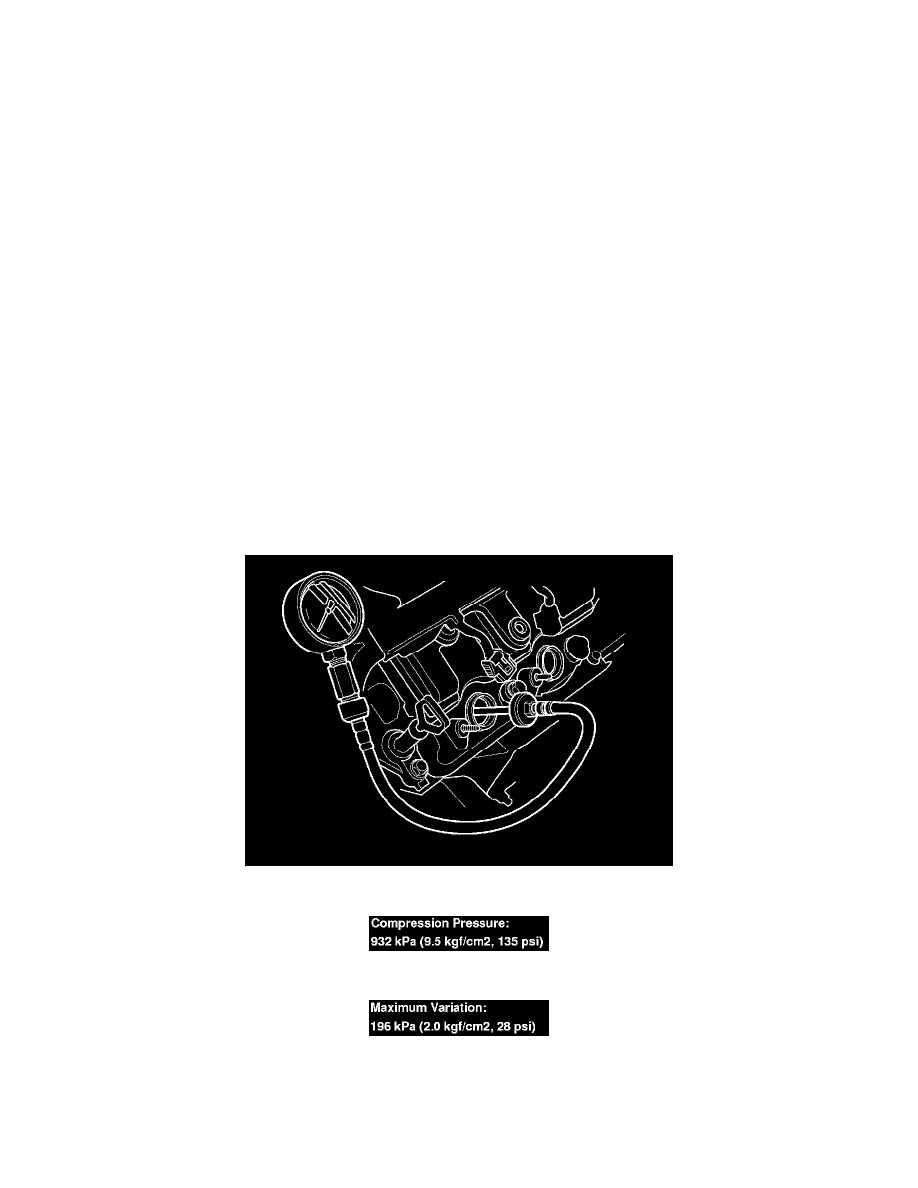
10. Attach the compression gauge to a spark plug hole.
11. Step on the accelerator pedal to open the throttle fully, then crank the engine with the starter motor, and measure the compression.
12. Measure the compression on the remaining cylinders.
13. If the compression is not within specifications, check the following items, then remeasure the compression.
-
Incorrect valve clearance
-
Confirmation of cam timing
-
Damaged or worn cam lobes