
Accord LX Coupe V6-3.0L (2001)
Fuel Pressure: Testing and Inspection
Fuel Pressure Test
Special Tools Required
-
Fuel pressure gauge 07406-0040001
-
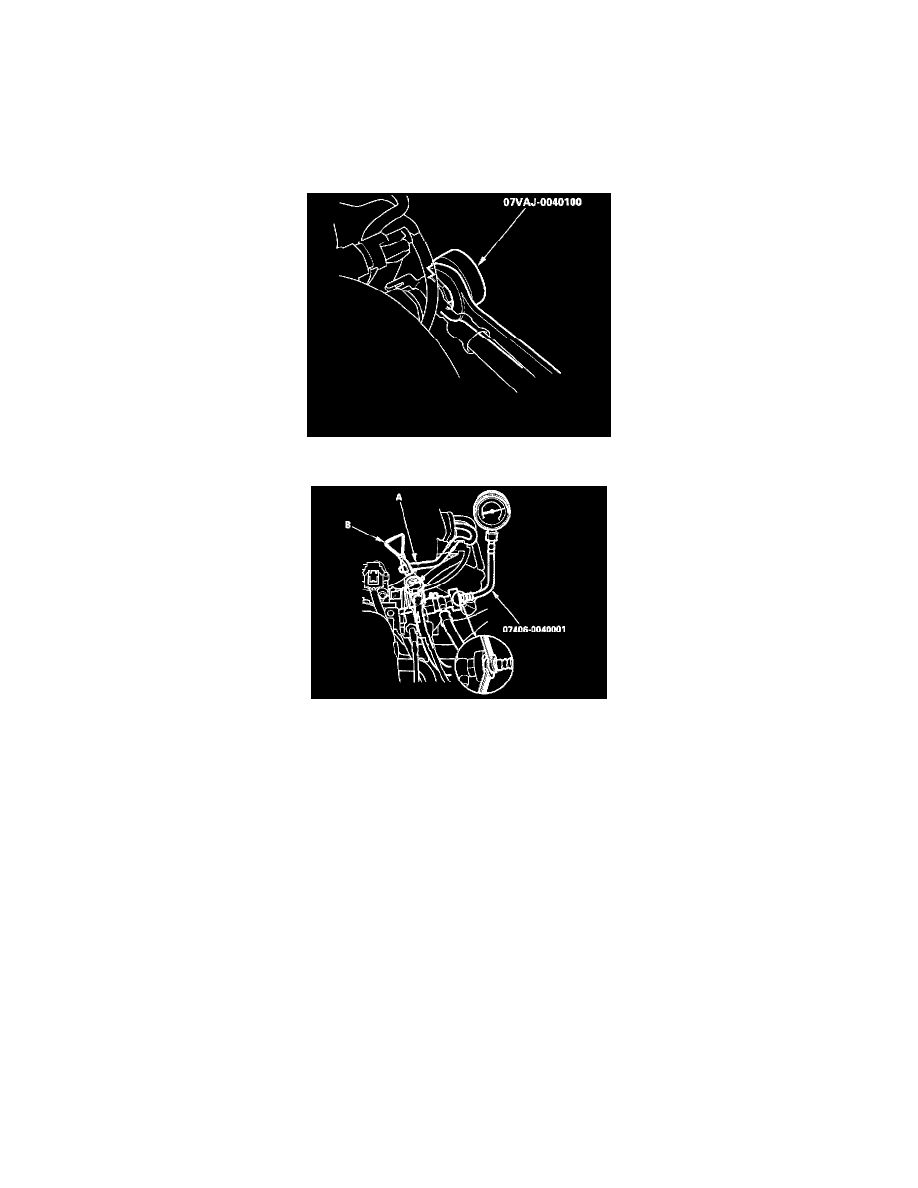
Fuel pressure gauge attachment 07VAJ-0040100
1. Relieve the fuel pressure.
2. Use a wrench to remove the fuel pulsation damper from its fitting, then attach the fuel pressure gauge attachment.
3. Attach the fuel pressure gauge.
4. Disconnect the vacuum hose (A) of the fuel pressure regulator and pinch it closed with a clamp (B).
5. Start the engine and let it idle.
-
If the engine starts, go to step 7.
-
If the engine does not start, go to step 6.
6. Check to see if the fuel pump is running: remove the fuel fill cap and listen to the fuel fill port while an assistant turns the ignition switch ON (II).
You should hear the pump run for about 2 seconds when the ignition is turned ON (II).
-
If the pump runs, go to step 7.
-
If the pump does not run, test it.
7. Read the pressure gauge (with the fuel pressure regulator vacuum hose disconnected and clamped). The pressure should be: 320 - 370 kPa (3.3 -
3.8 kgf/sq.cm, 48 - 54 psi).
-
If the pressure is OK and the engine is running, go to step 8. If the engine is not running, repair the cause, then continue this test.
-
If the pressure is out of spec, go to step 9.
8. With the engine running, reconnect the vacuum hose, and read the gauge again.
The pressure should be: 260 - 310 kPa (2.7 - 3.2 kgf/sq.cm, 38 - 46 psi).
-
If the fuel pressure is OK, the test is complete. Go to step 10.
-
If the pressure is out of spec, go to step 9.
9. Disconnect the vacuum hose from the pressure regulator again while you watch the pressure gauge. The pressure should rise when you disconnect