
Accord LX Coupe V6-3.0L (2001)
1. Reset the ECM/PCM as described above.
2. Turn the ignition switch OFF.
3. Disconnect the OBD II scan tool or Honda PGM Tester from the DLC.
NOTE: The ECM/PCM is part of the immobilizer system. If you replace the ECM/PCM, it will have a different immobilizer code. In order for
the engine to start, you must rewrite the immobilizer code with the Honda PGM Tester.
How to Remove the ECM/PCM For Testing
How to Remove the ECM/PCM for Testing
If the inspection for a trouble code requires voltage or resistance checks at the ECM/PCM connectors, remove the ECM/PCM and test it:
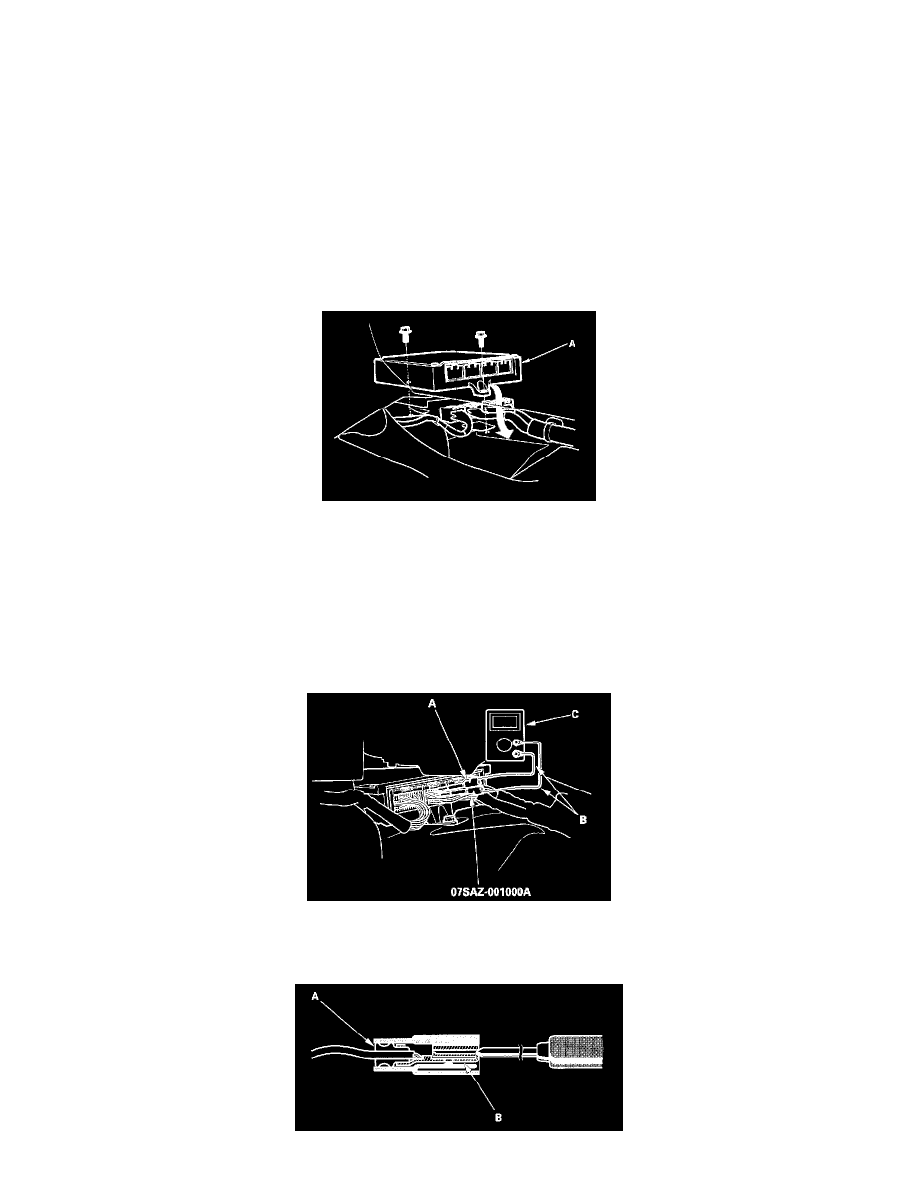
1. Pull back the carpet from the passenger's and driver's side of the center console to expose the ECM/PCM.
2. Remove the two bolts (4 cylinder model), or three bolts (V6 model) from the ECM/PCM (A).
How to Troubleshoot Circuits at the ECM/PCM
How to Troubleshoot Circuits at the ECM/PCM
Special Tools Required
-
Digital Multimeter KS-AHM-32-003 (1) or a commercially available digital multimeter
-
Backprobe Set 07SAZ-001000A (2)
1. Connect the backprobe adapters (A) to the stacking patch cords (B), and connect the cords to a multimeter (C).
2. Using the wire insulation as a guide for the contoured tip of the backprobe adapter, gently slide the tip into the connector from the wire side until it
touches the end of the wire terminal.