Accord LX Sedan L4-2156cc 2.2L SOHC MFI (1997)

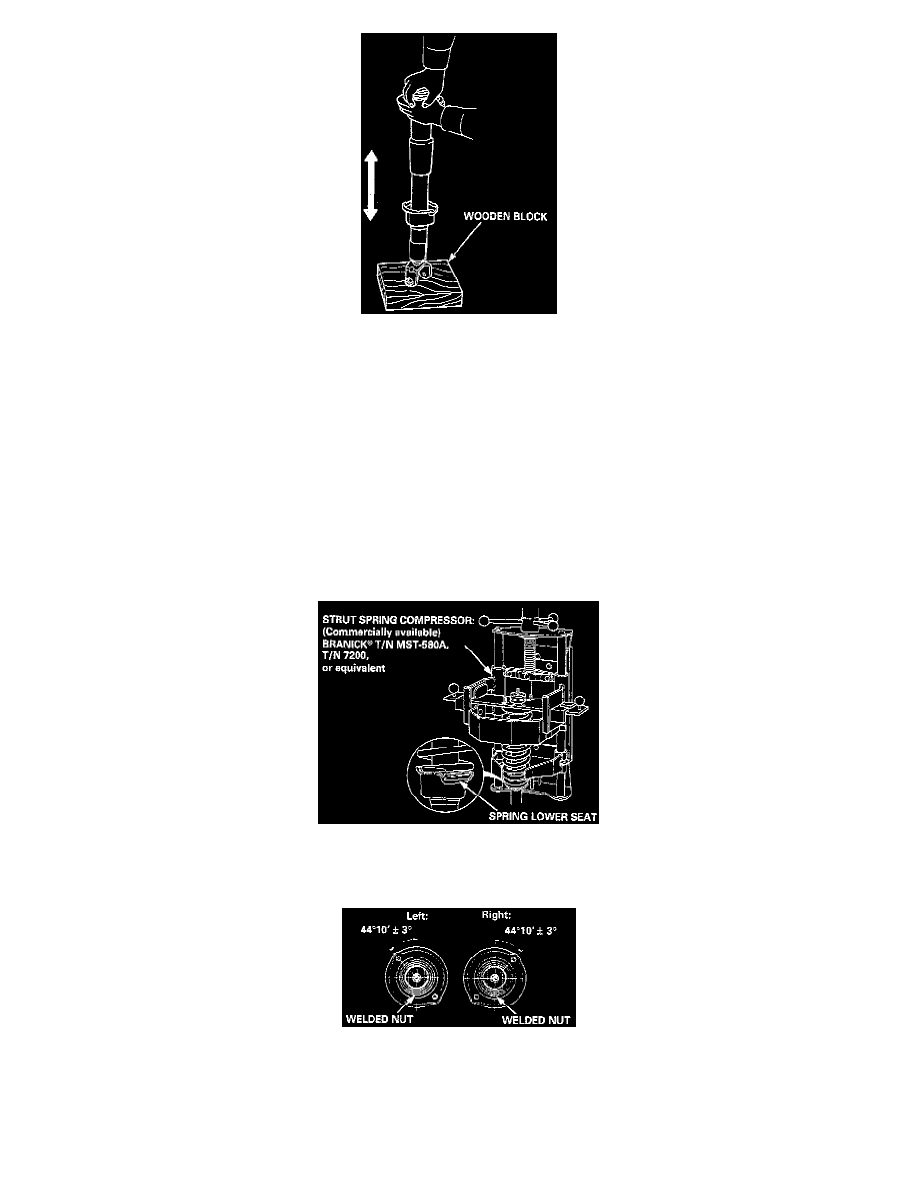
2. Push on the rear damper as shown.
3. Check for smooth operation through a full stroke, both compression and extension.
NOTE: The rear damper should move smoothly. If it does not (no compression or no extension), the gas is leaking, and the rear damper should be
replaced.
4. Check for oil leaks, abnormal noises or binding during these tests.
CAUTION: The spring of the damper springs are different left and right. Be sure to mark the springs R and L before disassembling the rear
dampers.
ASSEMBLE
1. Install the rear damper unit on a spring compressor.
NOTE: Follow the manufacturer's instructions.
2. Assemble the rear damper in reverse order of disassembly, except the damper mounting washer and self-locking nut.
NOTE: Align the bottom of damper spring and spring lower seat as shown.
3. Position the damper mounting base on the rear damper unit as shown.
4. Compress the damper spring with the spring compressor.
5. Install the damper mounting washer, and loosely install a new self-locking nut.
